If you’ve ever stood in your kitchen, staring at that blank wall above the stove, thinking something’s…missing—you’re not alone. That space is screaming for a vent hood. Not just any metal beast from the hardware aisle. I’m talking about a statement-making, jaw-dropping, DIY vent hood. Something you can say, “Yep, I built that,” with your chest out.
But let me warn you—this isn’t like hanging a picture frame. It’s part woodwork, part engineering, and a whole lot of learning things the hard way (like I did). So buckle in. I’m gonna walk you through my wild ride of figuring out how to build a DIY vent hood that actually works and doesn’t look like it belongs in a medieval dungeon.
First—Why Even Bother With a DIY Vent Hood?

That’s a fair question. You could go the standard route and just slap something stainless and store-bought up there. But if you’re anything like me—you want your kitchen to have soul. That handmade vibe. Texture. Warmth. A lil’ rustic, a lil’ modern.
And you don’t want that cold “appliance showroom” look.
That’s where the DIY vent hood comes in. It’s not just functional (because yes, steam, grease, smells—those are real problems). But it’s a chance to flex your creativity and make a space look expensive, without actually… well, you know.
1. Start With a Vision (Even a Messy One)
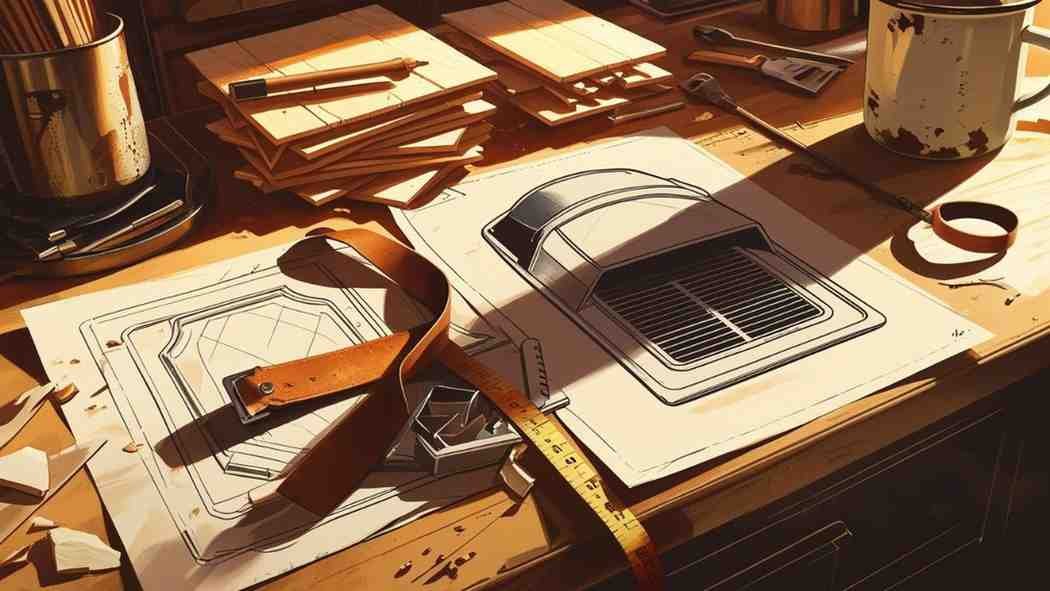
Before I touched a tool, I started Pinteresting like a maniac. Rustic wood? Shiplap? Sleek drywall with an arched curve? Too many styles, not enough coffee.
Eventually, I sketched out a few basic shapes—some curved, some boxed, one that looked like a rocket ship. (Yeah, no.)
The lesson? You don’t need a blueprint. Just start dreaming. Figure out what kind of vibe you’re after, and then keep it simple. Because trust me—things get complicated real quick.
2. Know What’s Behind That Wall
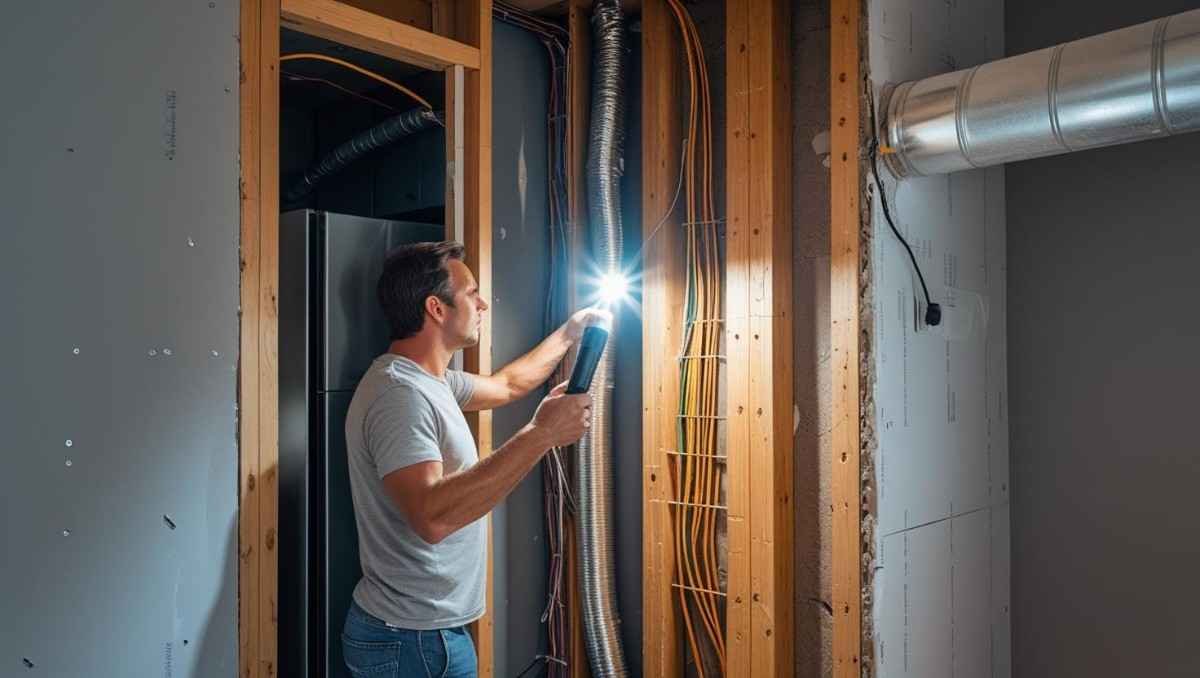
This one bit me. Hard.
I started demo-ing the old microwave above the stove (bye forever), and realized—there’s a whole world of electrical wires and maybe even a stud I was not prepared for.
So here’s a tip: take time to understand what you’re dealing with. Is your range venting outside or is it a recirculating one? Do you need to move electrical? Can you access the attic?
Because before you build your glorious DIY vent hood, you’ve gotta know where the air’s going. Otherwise, you’re just making a pretty box for the steam to party in.
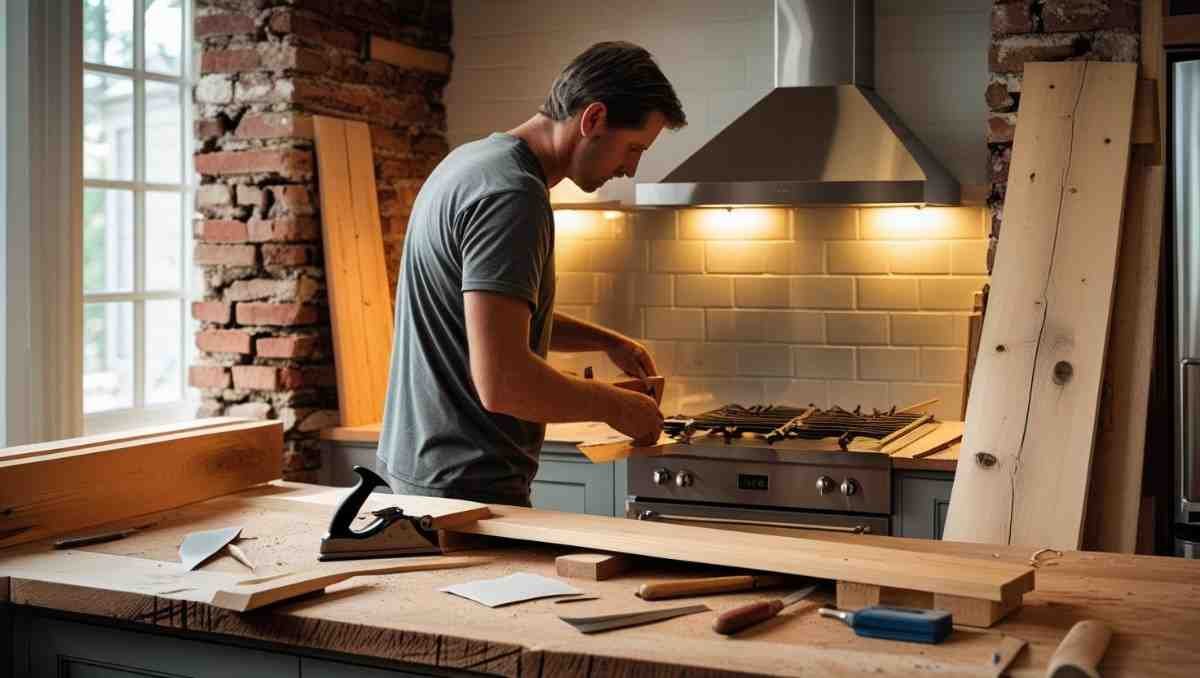
3. Frame It Out—And Expect Chaos
Framing the vent hood is like the skeleton. And skeletons are tricky.
I used 2x4s and created a base box that attached to the wall studs. Then I built a lower frame to create the sloped sides. Honestly? It looked like a science fair project gone wrong at first.
But here’s the truth—framing isn’t pretty. It’s just structure. Don’t get discouraged when your DIY vent hood starts out looking like a wonky birdhouse. It’ll get better. Pinky swear.
4. Drywall or Wood? Pick Your Poison

Okay. Decision time.
Do you want a sleek, painted look? Or a warm, wood-wrapped finish? I wanted texture, so I went with wood. Plywood panels over the frame, then added trim and edge pieces for that built-in feel.
If drywall’s more your thing, go for it. Just know mudding corners on a curved surface is…a spiritual experience. (Not in a good way.)
5. Let’s Talk Vent Insert (AKA The Heartbeat)
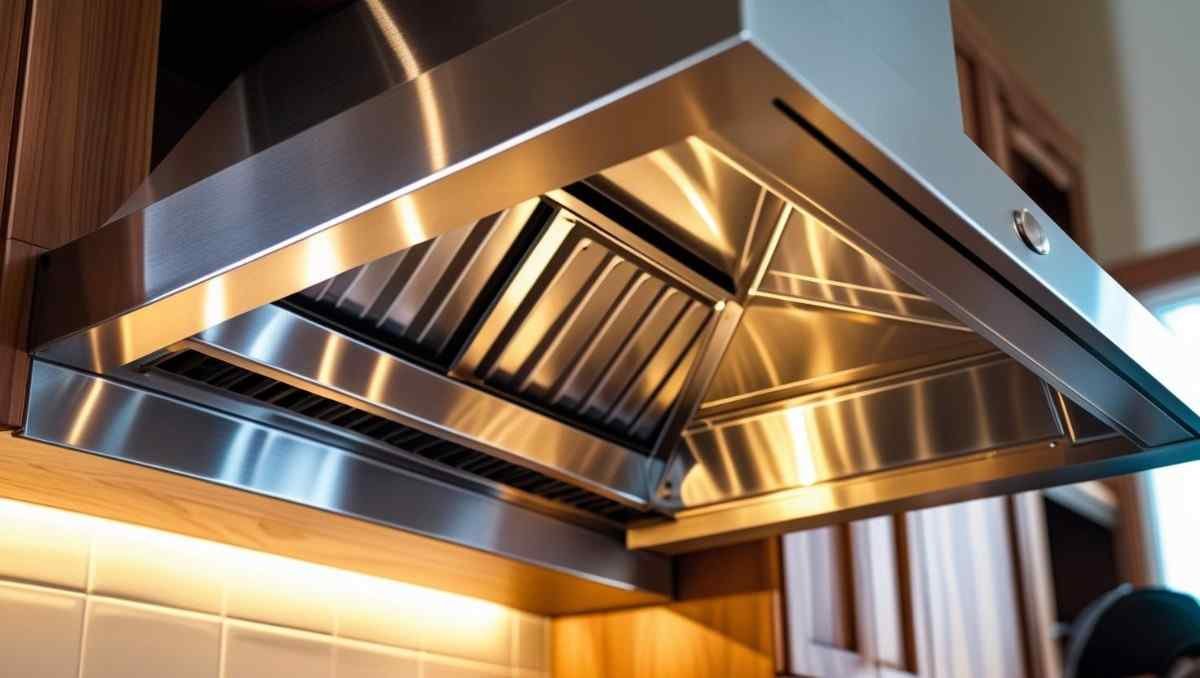
This is where things got a little technical. You can’t just build a box and hope for the best. You need a vent insert. That’s the actual fan, filter, and light setup that pulls the air up and out.
You’ll need to size it based on your stove’s width and power. And you’ll want to build your DIY vent hood around it like a glove. Don’t guess this. Measure it. Twice.
Maybe even three times, if you’re like me and prone to “eyeballing it” chaos.
6. Attach, Adjust, Then Reattach

The first time I mounted the hood frame to the wall… it was crooked.
Like, noticeably.
Don’t be like me. Use a level. Check your measurements. Make sure the hood is centered above the stove and at a good height (usually 30–36 inches from the cooktop).
And yeah, you might have to unscrew and re-screw a few times. That’s normal. This is DIY, not HGTV.
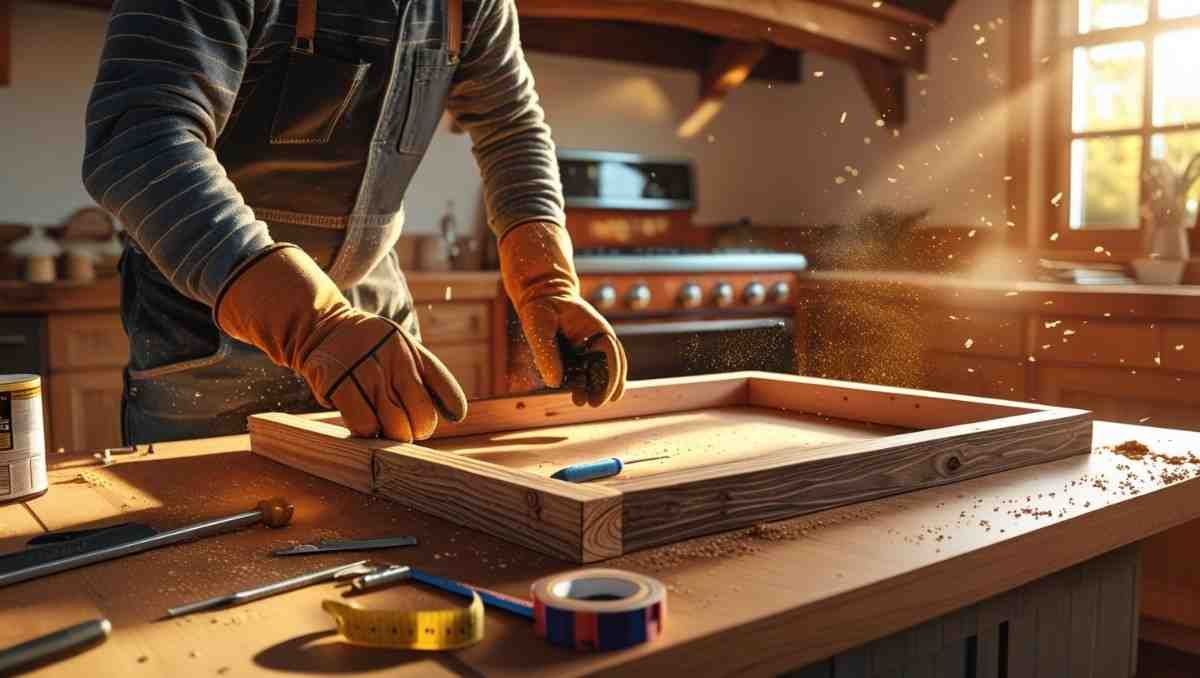
7. Trim Makes Everything Fancy
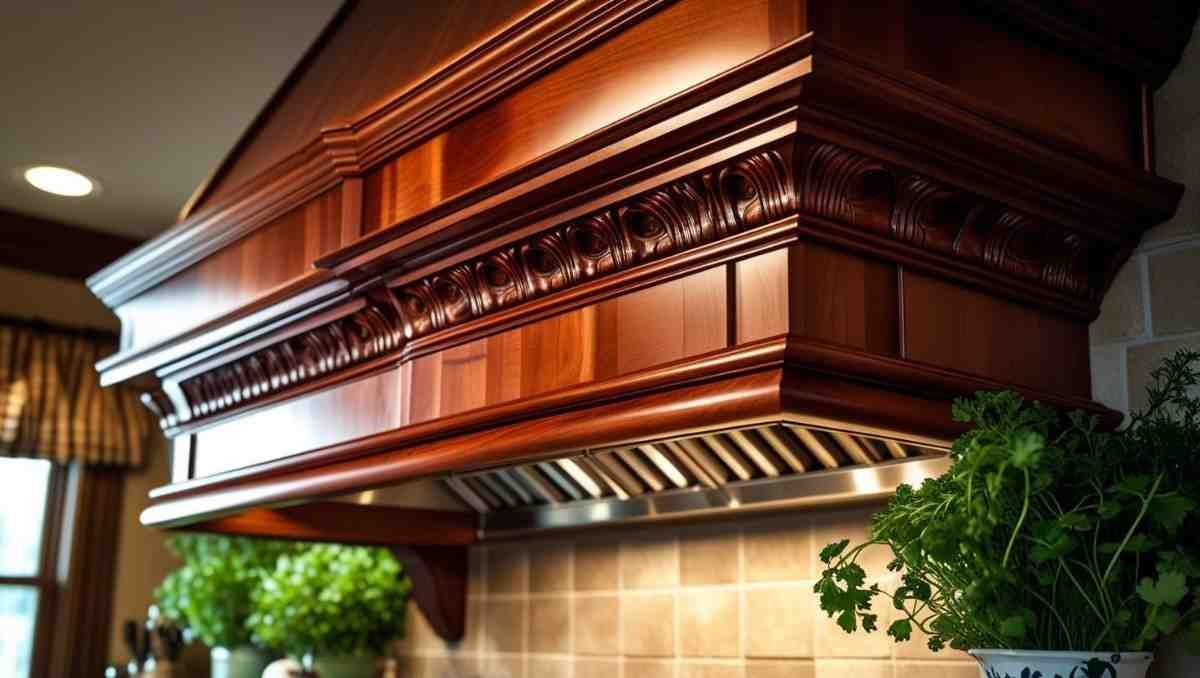
Wanna take your DIY vent hood from “meh” to “marry me”? Add trim.
I used pine lattice to outline the front face and gave the hood a boxy, modern farmhouse look. You can do crown molding, paneling, even faux beams if you’re feeling dramatic.
Trim is like eyeliner. A little goes a long way, but wow—what a difference.
8. The Sanding Saga
Ah yes. The moment where everything’s built… but rough.
Take your time here. Sand the edges, smooth the corners, and get that surface buttery soft. If you’re painting, you’ll thank yourself. If you’re staining—double thanks.
And wear a mask. Breathing in sawdust is not part of the DIY aesthetic.
9. Paint or Stain? The Moment of Truth
Here’s where the hood’s personality really shows.
I went with a light gray wash, letting some wood grain peek through. Gave it that “I live on a Pinterest board” vibe.
You can go bold, white, charcoal, navy—whatever fits your kitchen. But take your time here. Test samples. Because once you commit, it’s like cutting your bangs. Hard to undo.
And hey, if you mess it up? Sand it back and try again. That’s the beauty of a DIY vent hood. It’s yours to mess up.
10. The Insert Goes In (Cue the Stress Sweat)
Installing the insert was like defusing a bomb. I was so scared I’d mess up the wiring or crush the fan inside the hood box.
But with slow moves, lots of YouTube breaks, and a buddy helping hold things—success.
Just make sure you’ve got the correct power source, and you follow the insert’s install instructions to the letter. This isn’t the place to improvise.
Once it was in, though? MAGIC. That baby lit up and whooshed like a dream.
11. The Final Wipe and The Slow Walk-Away

There’s this moment when you finish a project like this… when you wipe it down, step back, and just stare.
You made that.
That once-blank wall? Now it’s got drama. Depth. Personality. And functionality. The kind that makes your kitchen smell less like bacon 24/7.
Your DIY vent hood is more than just a box with a fan. It’s a badge of honor. Proof you can take on a real project and make something beautiful. Imperfect? Sure. But that’s kinda the point.
Bonus Tips I Wish I Knew Earlier
- Make it removable. If you ever need to service the fan or wiring, you don’t wanna destroy your whole hood.
- Use quality wood. Cheap plywood warps. I learned that the hard way. Go for something stable.
- Check local codes. Some areas require certain venting for safety. Better to be safe than sorry.
- Don’t rush the finishing. Your final coat is what people see forever. Take your time.
Do you know how DIY Vent Hood helps in to propose? See Here
So… Should You Try This?
Heck yes. Building a DIY vent hood isn’t easy. But it’s 100% doable with some patience, a decent drill, and a little coffee-fueled confidence.
Will you mess up something? Probably. But that’s the secret sauce of DIY. The mistakes turn into stories. And those stories turn into skills. And those skills? They turn into confidence that spills into everything else you build.
So go ahead—grab that measuring tape. Pull up that blank Pinterest board. You’re about to change your kitchen. One panel, one screw, one splinter at a time.
Want to see more DIY solutions?
Check these: