Let’s be real right off the bat: DIY carpet installation isn’t exactly glamorous. It’s not like painting a wall where you slap on some color and feel accomplished in an hour. No, carpet is… a bit of a beast.
But—and here’s the kicker—it’s totally doable. You don’t need to be some flooring ninja or have a garage full of tools. Just a bit of time, a dash of patience, and a willingness to laugh at yourself when you’re crawling around on your knees, whispering curse words under your breath.
Let’s dive into this wild ride.
Why I Even Tried DIY Carpet Installation (aka My Floors Looked Sad)
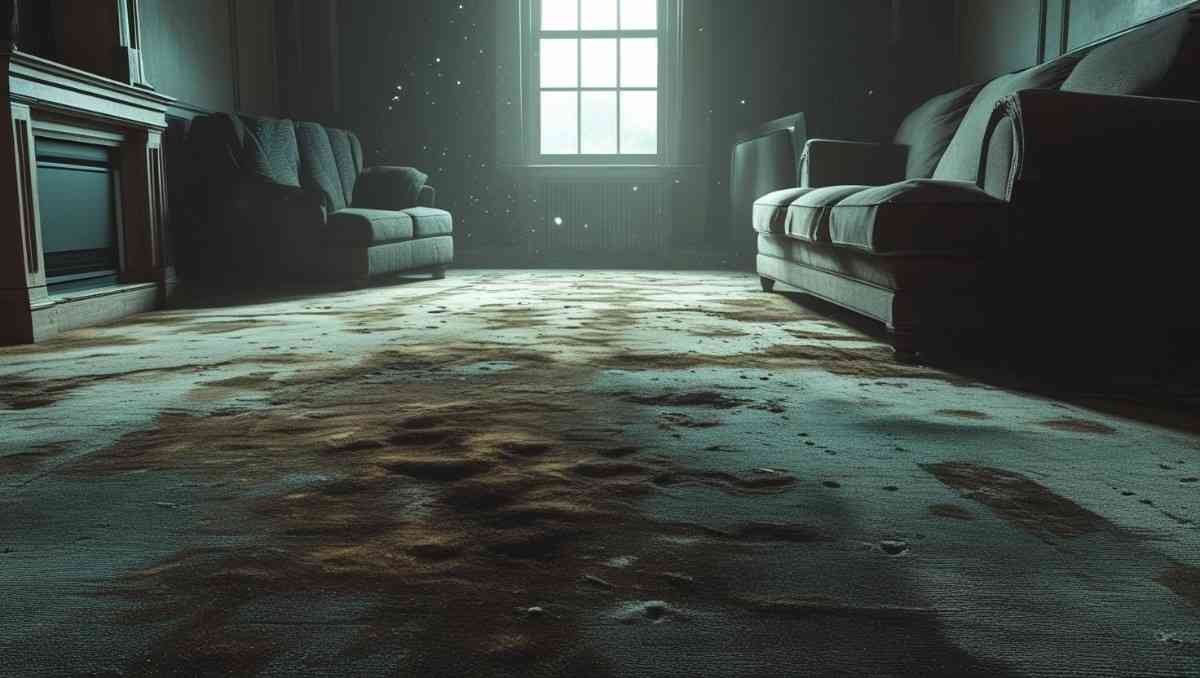
Okay, so this started because my living room floor was… sad. Like, embarrassingly sad. The old carpet had stains from who-knows-what, ripples that could trip a toddler, and a smell that hinted at years of mystery spills.
So, one day I stood there and thought, “How hard can diy carpet installation be?” (Cue dramatic music.)
Spoiler: it was kinda hard. But also satisfying. Like, deeply satisfying in a weird, primal “I did this with my hands” way.
And now I’m here to walk you through how to DIY carpet installation step-by-step—minus the sugar-coating.
Step 1: Mentally Prepare Yourself (No Joke)

Look, this isn’t meant to scare you. But before we get into the tools and tack strips, let’s get our heads right.
DIY carpet installation means:
- Moving everything off the floor (yes, even that weird lamp)
- Working on your hands and knees a lot
- Learning how to stretch carpet without turning into the Hulk
- Messing up, fixing it, and messing up again
This isn’t a 30-minute DIY. It’s a process. But the final result? So worth it.
Step 2: Tools You’ll Actually Need (No Fancy Stuff, Promise)
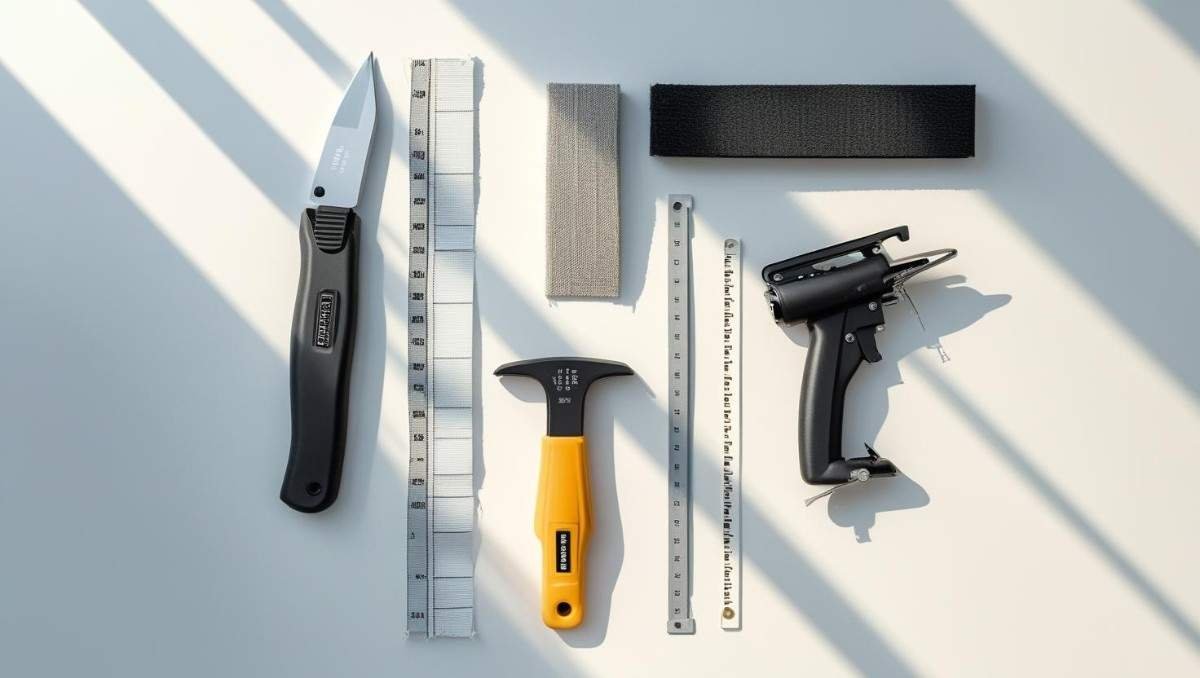
Let me tell you what you really need. You’ll see a million “ultimate toolkits” online, but half of it is overkill. Here’s the essentials:
- Utility knife (the sharper, the better)
- Knee kicker (yes, it’s a real thing and it sounds weird)
- Carpet stretcher (rent it if you can)
- Seam roller (especially if joining carpet pieces)
- Staple gun or hammer stapler
- Tack strips (not optional)
- Carpet tape or adhesive (depending on method)
- Measuring tape and chalk line
Bonus: get yourself some knee pads. You’ll thank me when your knees aren’t screaming.
Step 3: Let’s Rip (Out the Old Stuff)
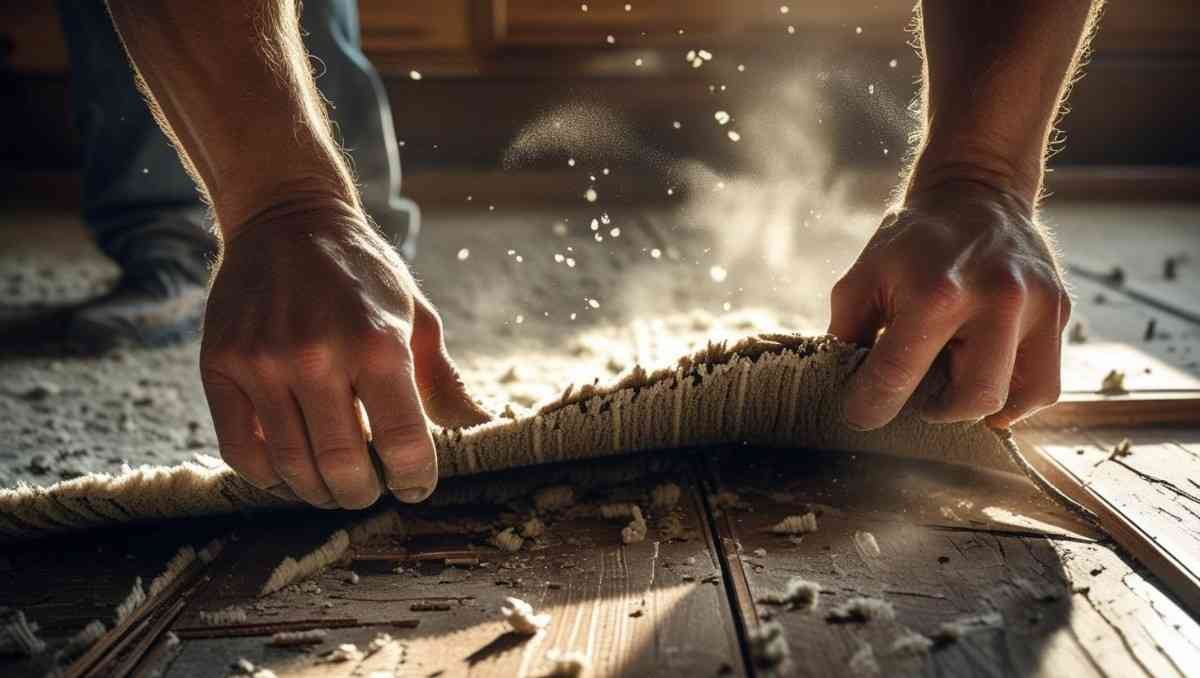
First thing’s first: get rid of the old carpet. It’s the fun part—ripping, tearing, destroying.
But also dusty. Really dusty.
Tips from someone who didn’t know better:
- Wear a mask (your lungs will thank you)
- Roll up the old carpet in manageable sections
- Watch for staples and nails hiding in the padding
Once that’s gone, you’ll see the subfloor. And now… the real diy carpet installation begins.
Step 4: Tack Strips Are… Kinda Evil
Tack strips are thin wood pieces with tiny nails sticking out. They grip your new carpet and keep it stretched.
Sounds harmless? Nope.
They’re sharp. They bite. I stepped on one barefoot, and I don’t want to talk about it.
Install them around the edges of the room—leave a tiny gap (about the width of a finger) between the strip and the wall. Don’t put them across doorways though. That’ll just cause tripping and drama later.
Step 5: Padding – Not Optional
Here’s the thing: carpet padding is what makes your floor comfy. Without it, your carpet will feel sad. Like stepping on cardboard.
Roll out your padding and staple it down. Trim the edges so they sit right inside the tack strips. Overlap padding seams just a little, and tape ’em down.
Your feet will thank you every single day after this.
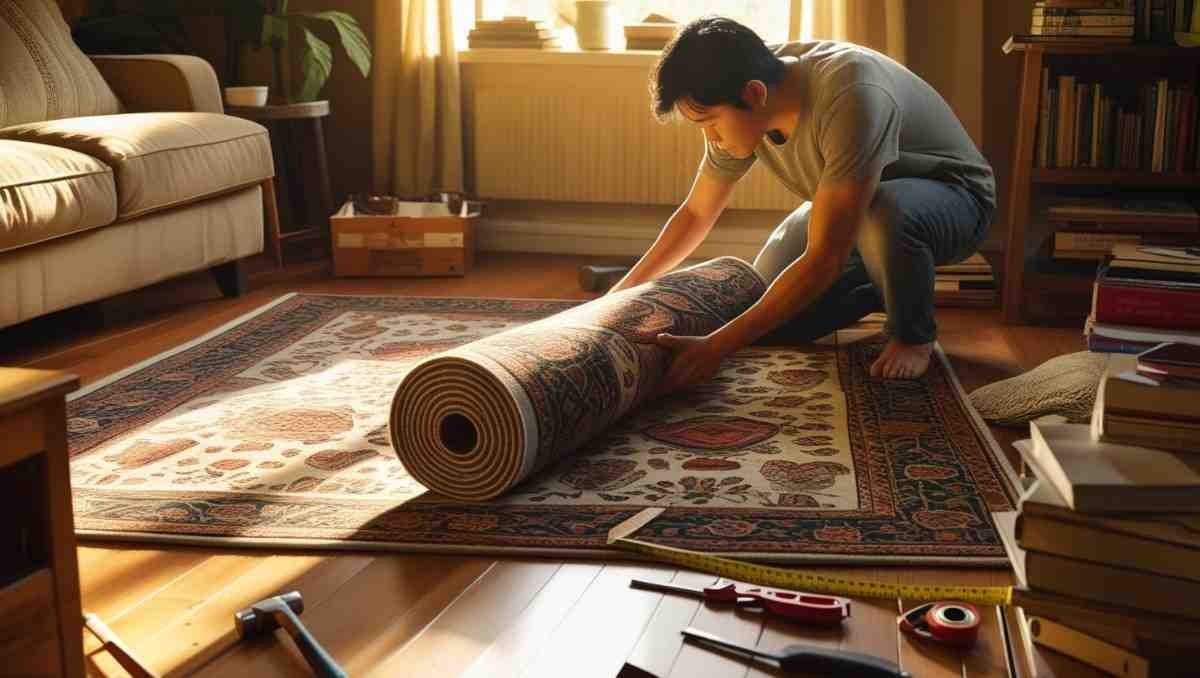
Step 6: Time for the Real Deal – Unroll That Carpet
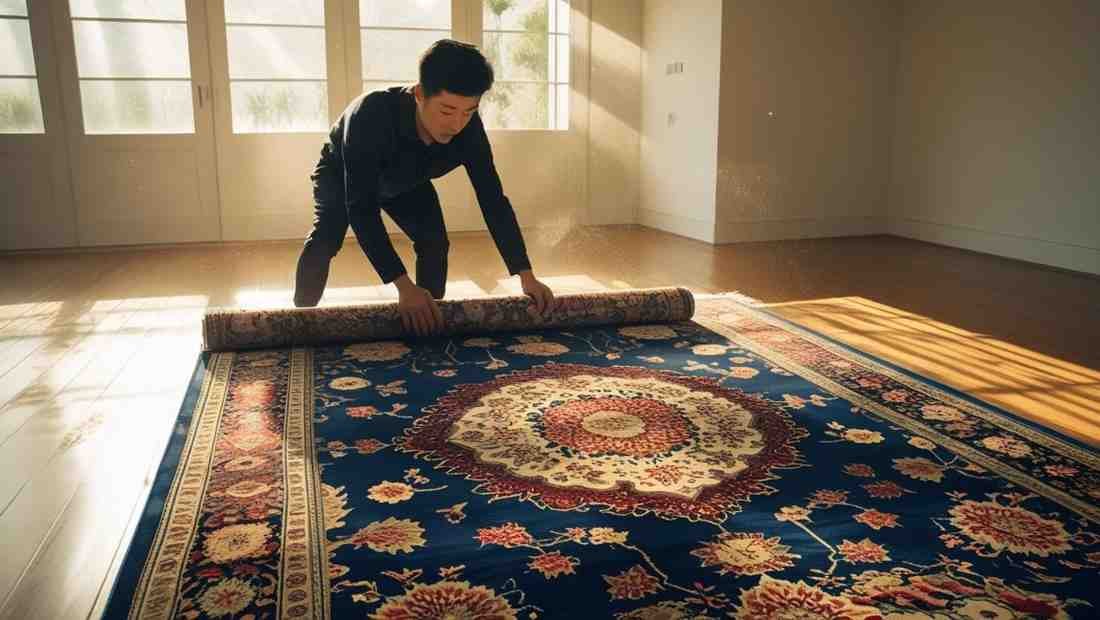
You’ll feel like a boss when you unroll your fresh new carpet. It smells like potential.
Lay it out so there’s extra on all sides. Like, a few inches extra. Trust me, you’ll trim it down later. Better too much than not enough (been there… cried a little).
Let the carpet rest a bit so the wrinkles chill out. A relaxed carpet = easier diy carpet installation.
Step 7: The Knee Kicker (No, You Don’t Kick Yourself)
Here’s where the fun (and sweat) begins.
Use the knee kicker to stretch the carpet onto the tack strips. You place the head of it a few inches from the wall, aim, and give it a good nudge with your knee.
Sounds easy. Feels weird. Looks ridiculous.
But it works.
Work your way around the room, stretching and hooking the carpet onto the strips. Smooth it out as you go. It’s kinda like brushing out a giant cat with a lot of fur.
Step 8: Trim Like You’re a Surgeon
This part gave me anxiety, not gonna lie.
Use your utility knife to trim off the excess carpet along the walls. Slow. Controlled. Breathe.
Hold the blade against the wall edge and press down. You’ll get the hang of it. Eventually. Maybe after messing up once. Or twice.
Step 9: Seams Are Sneaky
If your room is big or shaped weird, you’ll have to join two pieces of carpet. It’s not fun, but it’s not impossible either.
Line up the edges carefully. Use carpet tape or adhesive (check what your carpet type recommends). Press the seams together and roll over them with a seam roller.
Look closely. You’ll probably still see it. That’s normal. Don’t beat yourself up.
It’ll blend more over time. Or you’ll stop caring. Either way—win.
Step 10: Celebrate and Crawl Into a Nap

And that’s it.
Your diy carpet installation journey is (finally) done.
Stand back. Take a photo. Brag to your group chat. Or your cat. Whoever’s there to listen.
And maybe order pizza and sit on that new carpet floor because, dang it, you earned that rest.
What I Wish I Knew Before Starting
Let’s get real for a sec. Here’s the stuff no one tells you about diy carpet installation:
- It’s sweaty work. Even in air conditioning.
- Carpet fibers go everywhere. You’ll find some in your hair, your socks, your soul.
- You’ll mess up something. Probably a corner. Probably more than once.
- You will Google things mid-installation. That’s normal.
- It actually feels kinda amazing once it’s done. Like you conquered something.
And no one can take that away from you.
Do you know how DIY Carpet Installation helps in to propose? See Here
Common Mistakes (Yup, I Made Most of These)
Let’s learn from each other, shall we?
- Not measuring properly. Measure. Then measure again. Then double it because math is rude.
- Skipping padding. No. Don’t. Just don’t.
- Trying to rush the stretch. Wrinkles will haunt you. Forever.
- Trimming too much. Once it’s gone, it’s gone.
- Not sealing seams well. If you half-do it, it’ll come back to haunt you.
DIY carpet installation rewards patience. But it will test yours. Be ready.
Final Thoughts (aka Go Do the Thing)
Listen, if I can do diy carpet installation with zero experience and a whole lot of stubbornness, so can you.
It’s not perfect. My seams are a little visible. One corner has… character. But it’s my work. And every time I walk on that soft floor, I feel like I won a quiet battle.
You don’t need to be a pro to make your space feel new. You just need to start.
So, go on. Rip out that sad old carpet. Stretch out the new. And enjoy the floor you built with your own two hands.
Even if you swear a little along the way.
Want to see more DIY solutions?
Check these: