Ever tried to bend sheet metal without a brake?
Yeah, don’t.
It’s like trying to fold a license plate with your bare hands. Spoiler alert: it doesn’t end well.
That’s exactly why I decided to make my own diy metal brake. I was in the middle of a home project—trying to build a tool cabinet with clean edges—and I realized I needed to fold some sheet metal. No way was I going to buy one of those big heavy things. So I did what any slightly reckless weekend warrior does—I made one.
And let me tell you… it worked.
So, if you’re here to make your own diy metal brake, buckle up. I’m gonna walk you through how I did it, what I learned (including the dumb mistakes), and how you can get clean, crisp bends like a pro.
First Things First: What Even Is a Metal Brake?
If you don’t already know, a metal brake is a tool that helps you bend sheet metal into clean, straight lines. Think HVAC ducts, toolboxes, metal siding—you get the idea.
Now, the fancy ones are made of heavy cast iron and can cost a ton. But we’re not here for that. We’re going full diy metal brake—using stuff you probably already have lying around (or can find easy).
Why Build a DIY Metal Brake?

Good question. Here’s why I did:
- I needed to bend metal for a project (a shelf to be exact)
- I didn’t want to borrow a brake, because they weigh like a small elephant
- Renting one? Nope.
- Making one? Heck yeah.
Also, there’s just something stupidly satisfying about building your own tools. Like you’re leveling up in the DIY world or something.
And trust me—this isn’t just a “get by” version. A well-built diy metal brake can actually give you clean, sharp bends. Not wavy, crumpled junk.
What You’ll Need (Don’t Panic, It’s Not That Much)
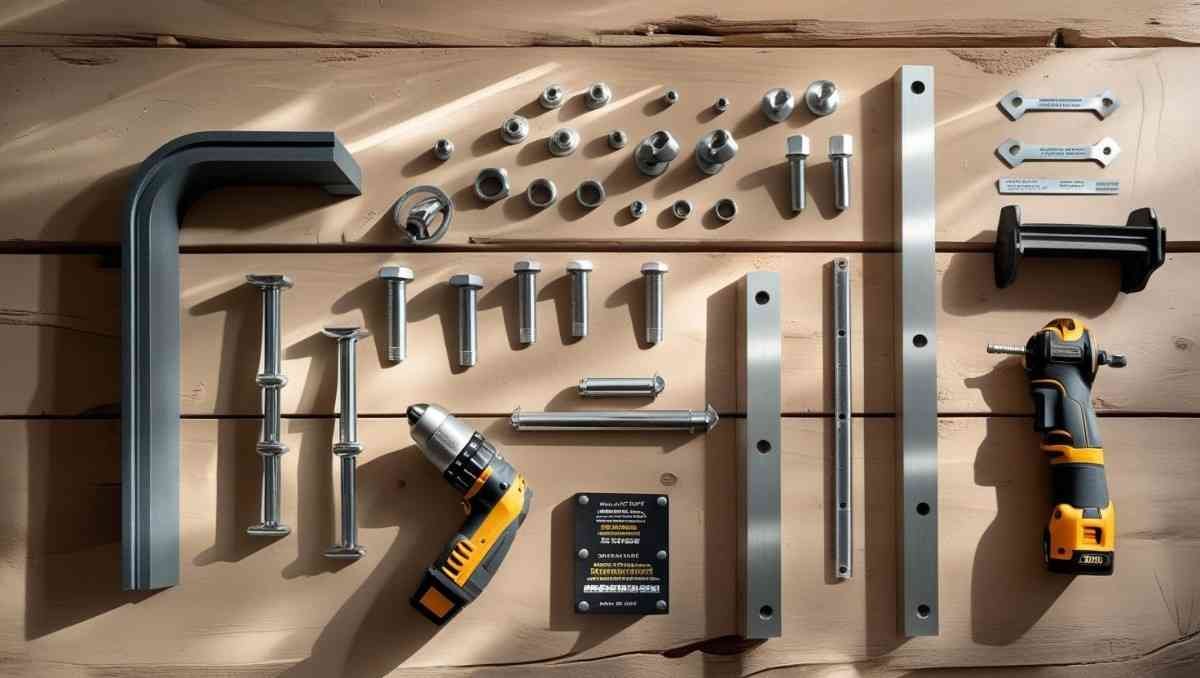
Okay, let’s keep it simple. You’ll need:
- 2x angle irons (about 36 inches long works fine)
- A sturdy piece of flat steel or steel bar (used for clamping)
- Heavy-duty hinges (like door hinges but stronger)
- Wood screws and bolts
- A thick wood base (like a 2×6 or 2×8 plank)
- C-clamps or bolts for holding metal in place
Optional:
- Handle (for leverage while bending)
- Metal file (for cleaning up sharp edges)
Most of this you’ll find in your garage. Or your dad’s garage. Or that one friend who keeps everything.
Step 1: Cut the Base and Mark the Holes
Start with your wood base. This is gonna be the backbone of your diy metal brake.
I used a chunk of 2×8. Lay it down flat and mark the center line where your first angle iron will go. Measure and mark where the hinges will sit. If you screw this part up, your brake won’t open and close right.
Use a drill to pre-drill holes for your hinge screws. Trust me, drilling first makes everything smoother.
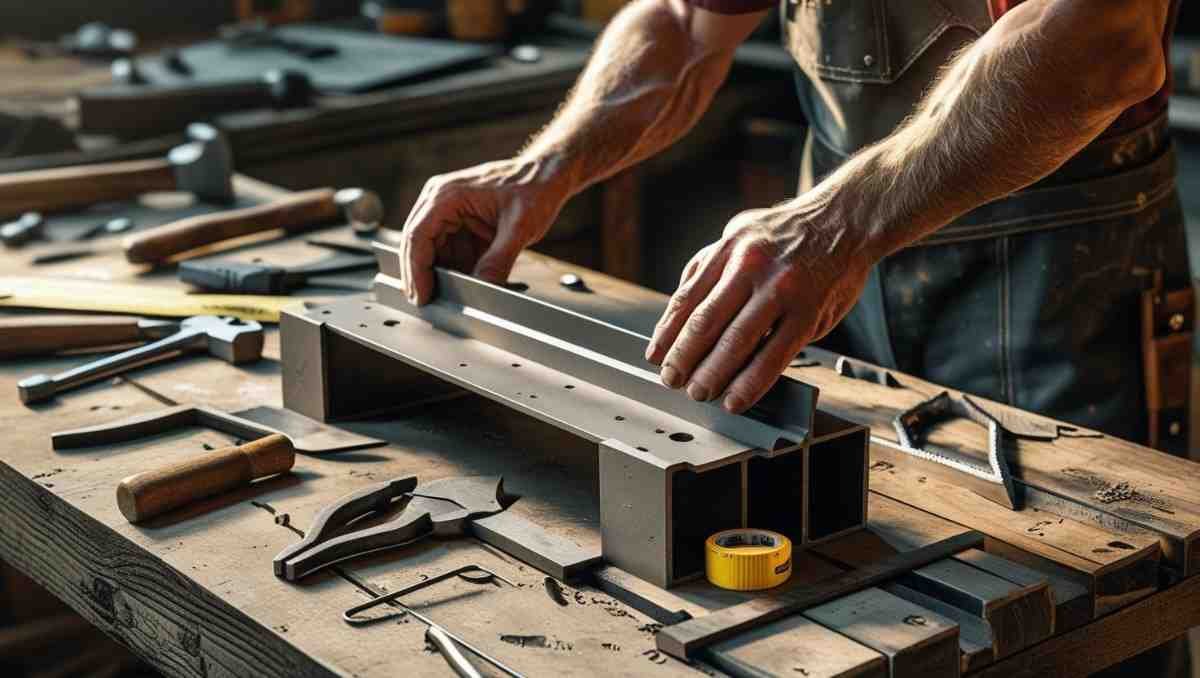
Step 2: Attach the Angle Iron With Hinges
Now, grab that first angle iron. This will be your bending leaf. Line it up with the holes you just drilled and attach it with your hinges.
Make sure it swings open smoothly—no grinding or jamming. It should feel like a gate opening.
If it sticks, check the alignment of the hinges. Shim it if needed.
Step 3: Secure the Clamping Bar
The clamping bar is what holds your sheet metal in place while you bend it. This goes directly above the edge of the bending leaf.
You can use another piece of angle iron or a thick steel bar. I used a flat steel bar with holes drilled into it.
Bolt it to the wood base using screws or bolts at both ends. Make sure it’s solid—like rock-solid.
This is key. If the clamping bar moves even a little, your bends are gonna look like melted cardboard.
Step 4: Add Leverage (Aka, the Handle)
Here’s where things get fun. If you want real bending power, you’ll need a handle.
I welded two metal rods to the sides of my bending leaf, kind of like handlebars. If you don’t have a welder, you can bolt on steel pipes or even wooden dowels. Just make sure they can handle pressure.
These handles give you the leverage to bend thick sheet metal without turning red in the face.
Trust me—you’ll thank yourself later.
Step 5: Test It Out (Don’t Skip This)
Okay, now grab a test piece of metal. Clamp it down, grip the handle, and pull it toward you.
Boom. You should get a clean, crisp bend.
If it’s uneven or the metal slides out, tighten your clamping bar or check for gaps. Every diy metal brake needs a little tuning before it works like a charm.
Don’t give up. You’re close.
Step 6: Make Adjustments
Let’s be honest—your first test bend probably won’t be perfect.
Maybe the angle iron needs adjusting. Maybe the clamping bar is too loose. Or maybe you installed one of the hinges upside down (yep, I’ve done that).
Don’t freak out. Just tweak it. That’s the whole beauty of DIY. It’s your brake. You can fix it. You built it.
Step 7: Use That Thing Like a Boss
Once it’s tuned up, you can start bending for real. HVAC ducts? Yep. Metal drawer fronts? Go for it. I even made a small mailbox with mine (don’t ask why).
Just always clamp tight, bend slow, and don’t overdo it.
Some folks even mount their diy metal brake to a workbench or saw horses for stability. Totally optional—but helpful.
Common Mistakes (So You Don’t Make ‘Em)
Alright, real talk. Here are a few things I totally messed up the first time:
- Loose hinges: Leads to wobbly bends
- Weak clamping bar: Metal slips right out
- Trying to bend too thick: Know your limits. Quarter-inch steel isn’t gonna bend on this thing.
- No handle: You’ll need the strength of three people to bend anything thicker than a cookie sheet
Avoid these, and you’re golden.
Can You Make a Portable One?
Yes. You can build a mini version of this diy metal brake for mobile jobs.
Just use smaller angle iron, shorter base, and maybe even a clamp system instead of bolts. It won’t bend huge sheets, but it’s awesome for small fixes or tight spaces.
Plus, it fits in your truck bed.
What Thickness of Metal Can You Bend?
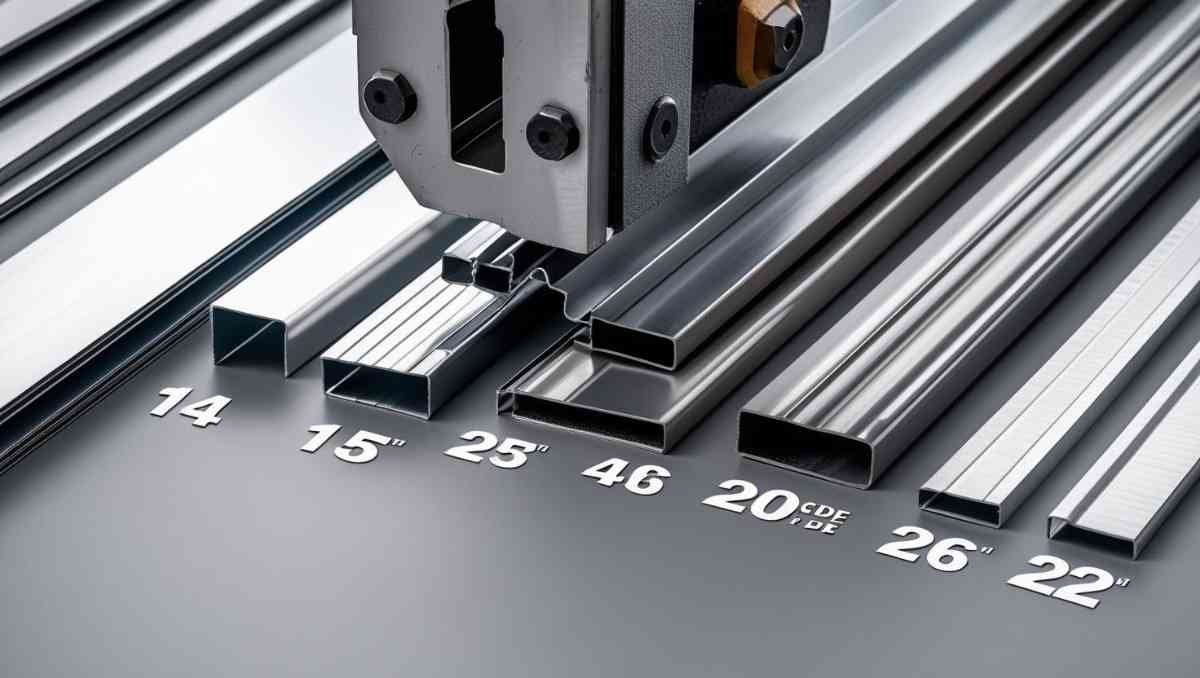
Realistically, you’re looking at:
- 20–22 gauge steel? No problem.
- 16 gauge? With some muscle.
- 14 gauge? Uh, maybe. On a good day.
The thicker the metal, the more leverage and strength you’ll need. That’s why those fancy store-bought brakes are so big.
But for most home projects, your diy metal brake will do the job.
Do you know how DIY helps in to propose? See Here
Final Thoughts (And a Confession)
Here’s the thing: I didn’t think this would work.
When I started building my first diy metal brake, I thought I’d end up with a janky mess. But after tweaking and testing, I now use it more than half the other tools in my shop.
It bends clean. It’s sturdy. And it’s mine.
So if you’re on the fence—try it. Worst case? You learn something. Best case? You make something awesome.
And hey, it’s kinda fun being the person who builds the tools that build the project. That’s next-level DIY.
Want to see more DIY solutions?
Check these: