You think they’re just shelves, rods, maybe a drawer or two. But then you try building one yourself—and suddenly, you’re knee-deep in wood shavings, muttering things like “why is everything slightly crooked?” and “where even is the stud?!”
Yeah. I’ve been there.
So this post? It’s not your average stiff, step-by-step manual. It’s the real-talk version of how to diy built in closet—with all the quirks, surprises, and genuine “oops” moments thrown in.
Let’s do this.
Step 1: Start With the Chaos (Aka, Clear That Space)
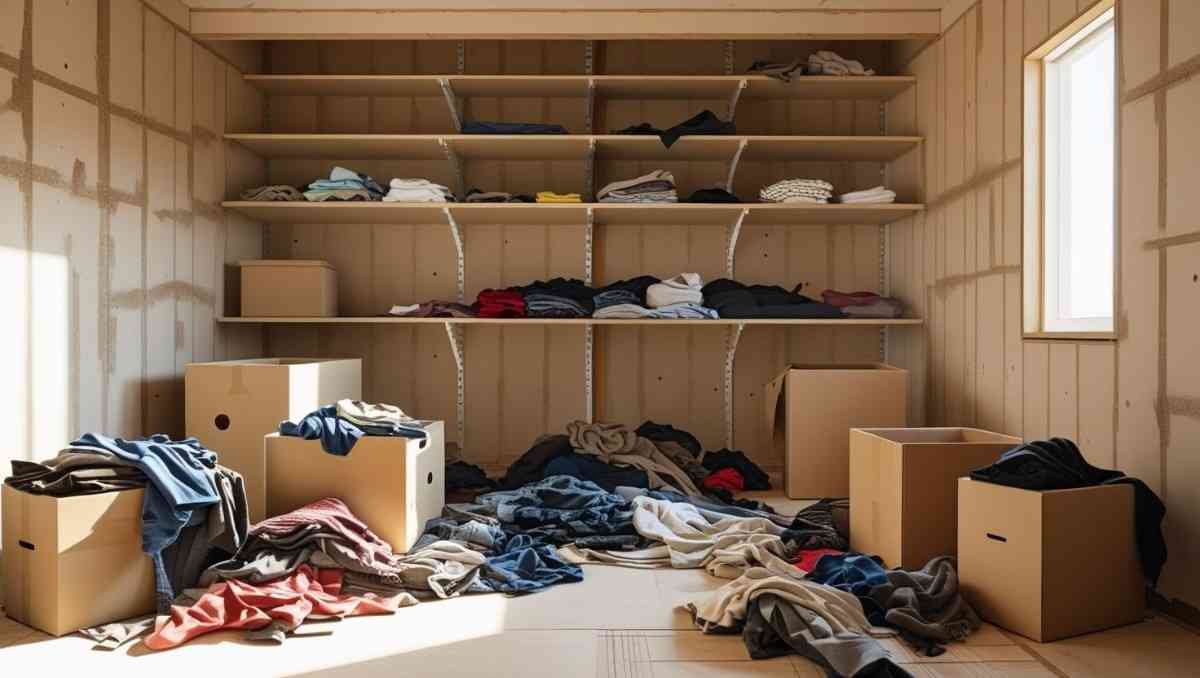
Before the magic happens, the mess has to go.
Take everything out of the space you’re working in. I mean everything. Clothes, shoes, boxes, those old hangers from 2009. Just clear it.
And then just… stare at it for a bit. The empty space. Imagine the dream closet you want. Visualize it. (Mine had drawers, lots of shelves, and a place to hide snacks. Priorities.)
This is your blank canvas, and now it’s ready to become a diy built in closet masterpiece.
Step 2: Plan Like a Pro (But Not Too Much)
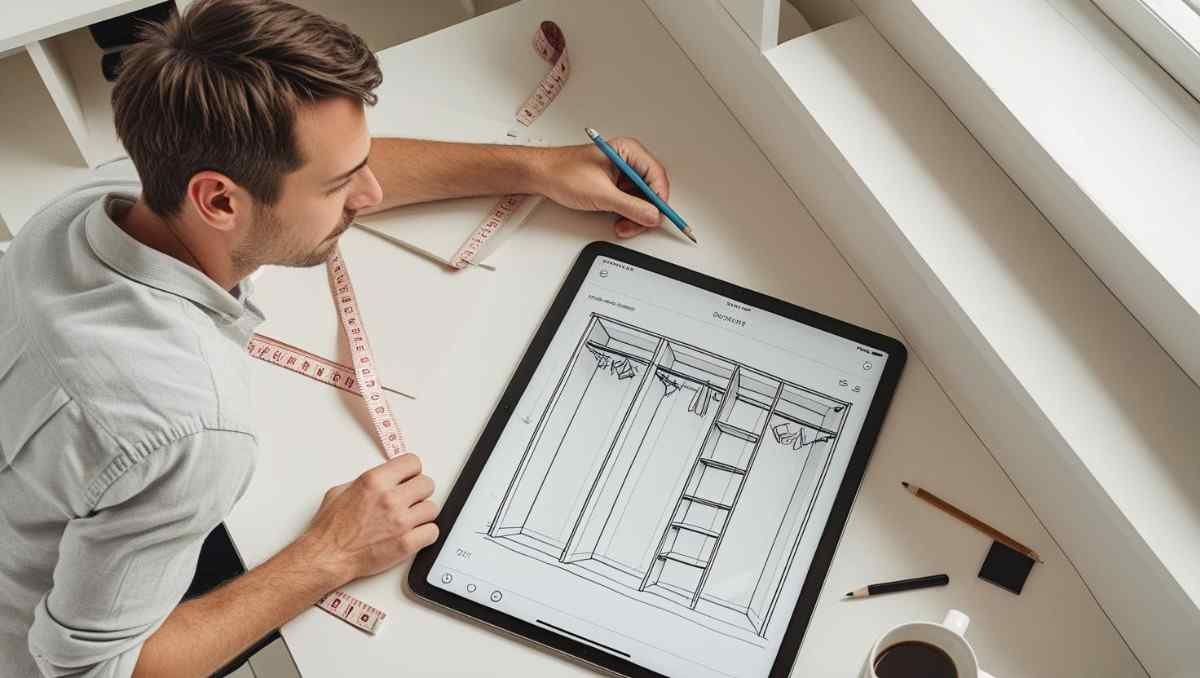
You don’t need to be an architect. But a little sketch goes a long way.
Take measurements—height, width, depth. Use a simple notebook or even a napkin (been there). Figure out how many sections you want: maybe shelves up top, double rods for hanging, some shoe cubbies at the bottom?
Keep it flexible. Your first idea might evolve mid-build. That’s the charm of a diy built in closet—it grows with you.
A good rule: plan function before form. If it’s pretty but doesn’t fit your stuff, it’s useless. (Like that one drawer I installed that didn’t open all the way because of the wall… sigh.)
Step 3: Materials? Keep It Simple
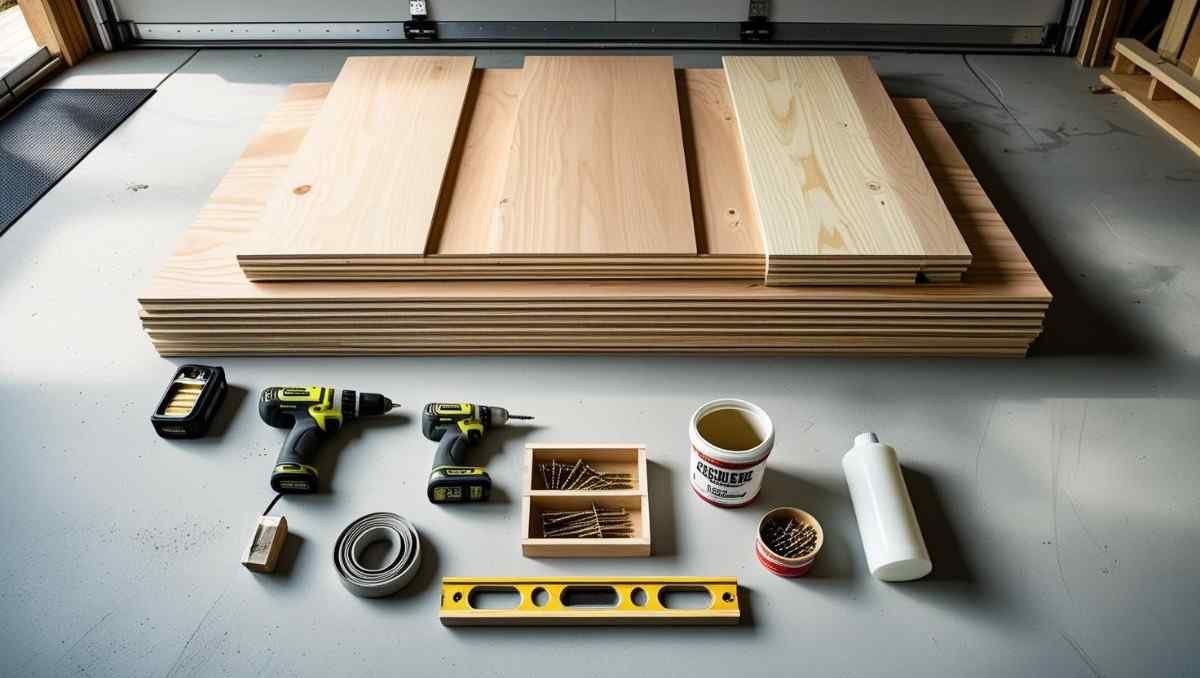
You don’t need a fancy truckload of materials. Just the basics:
- Plywood or MDF for shelves and frames
- 2x4s or 1x4s for framing
- Wood screws
- Drill, saw (circular or miter)
- Level (for your sanity)
- Caulk and wood filler (for the mess-ups)
- Paint or primer
- Closet rods or brackets
Optional but helpful: a stud finder, brad nailer, and caffeine. Definitely caffeine.
The beauty of a diy built in closet is that you can build it with stuff from any decent home store—and you don’t need a full-blown workshop either.
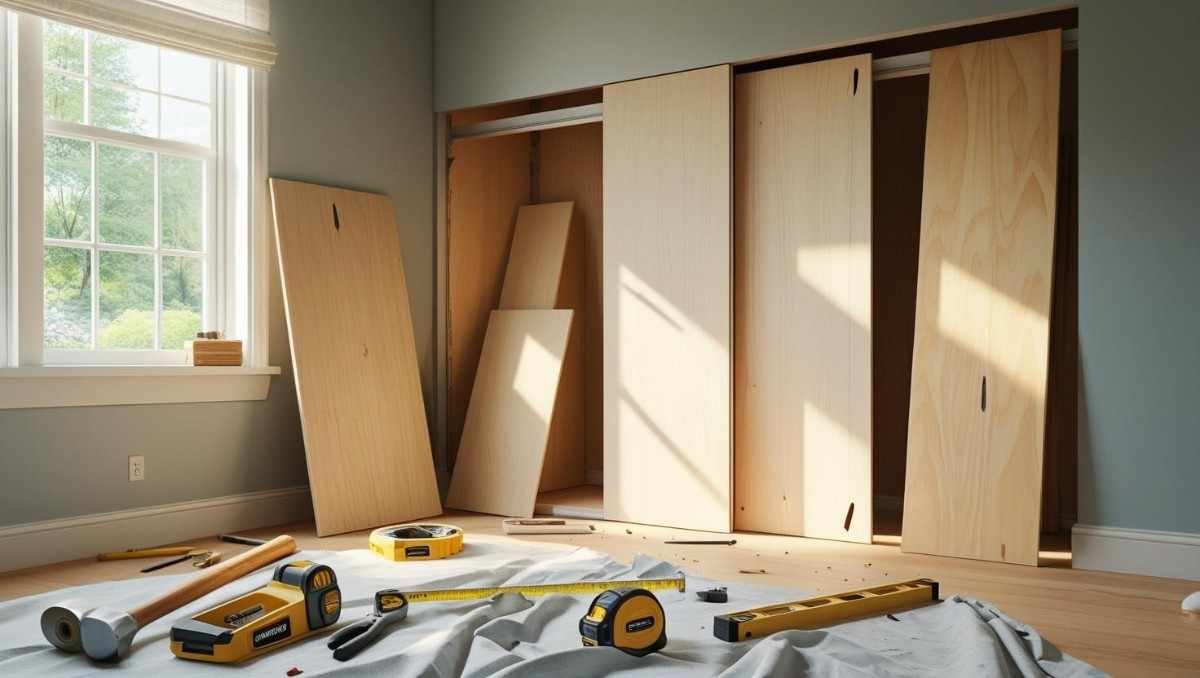
Step 4: Frame It Out (Time to Make It Real)
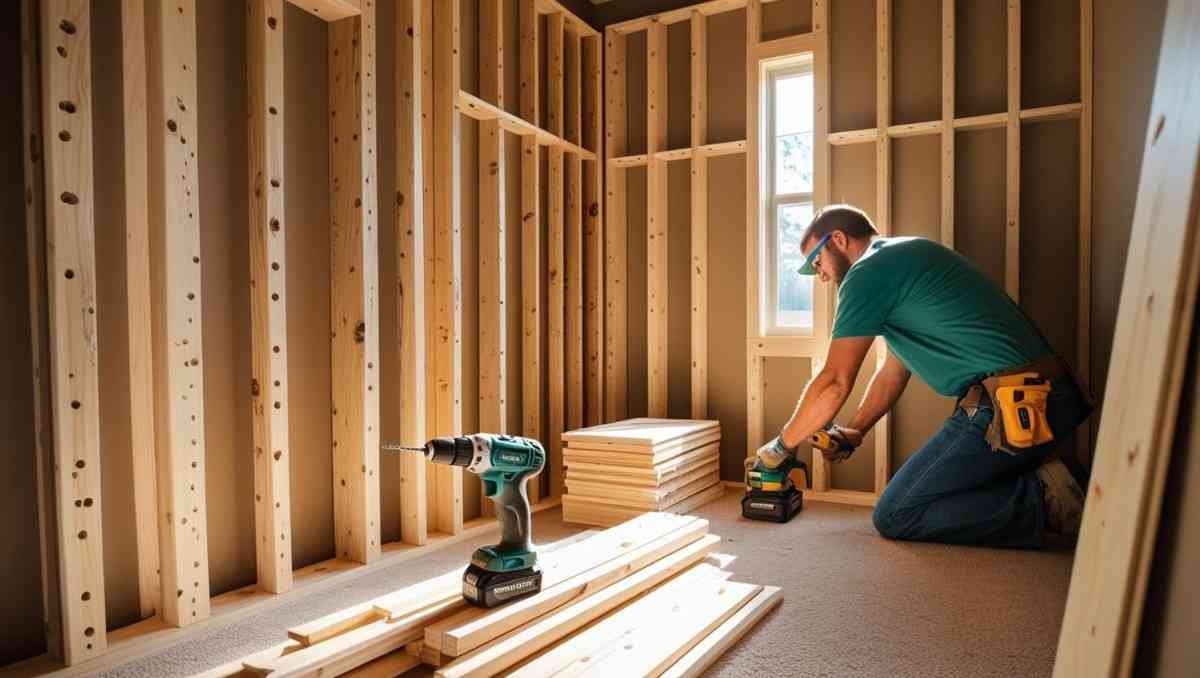
Okay. Deep breath. Here comes the actual build.
Start with the base frame using 2x4s. Think of it like building a platform to support the rest of your closet. Screw it into the floor (preferably into the studs if you can find them—this is when the stud finder becomes your bestie).
Once the base is in, add vertical supports. Then the horizontal ones.
And here’s a thing: it will not look Pinterest-perfect at this point. You’ll squint at it and wonder if it’s lopsided. That’s fine. That’s normal. Keep going.
This is the skeleton of your diy built in closet. It’ll get better, promise.
Step 5: Add the Shelves (Measure Twice, Cut Once… or Twice)
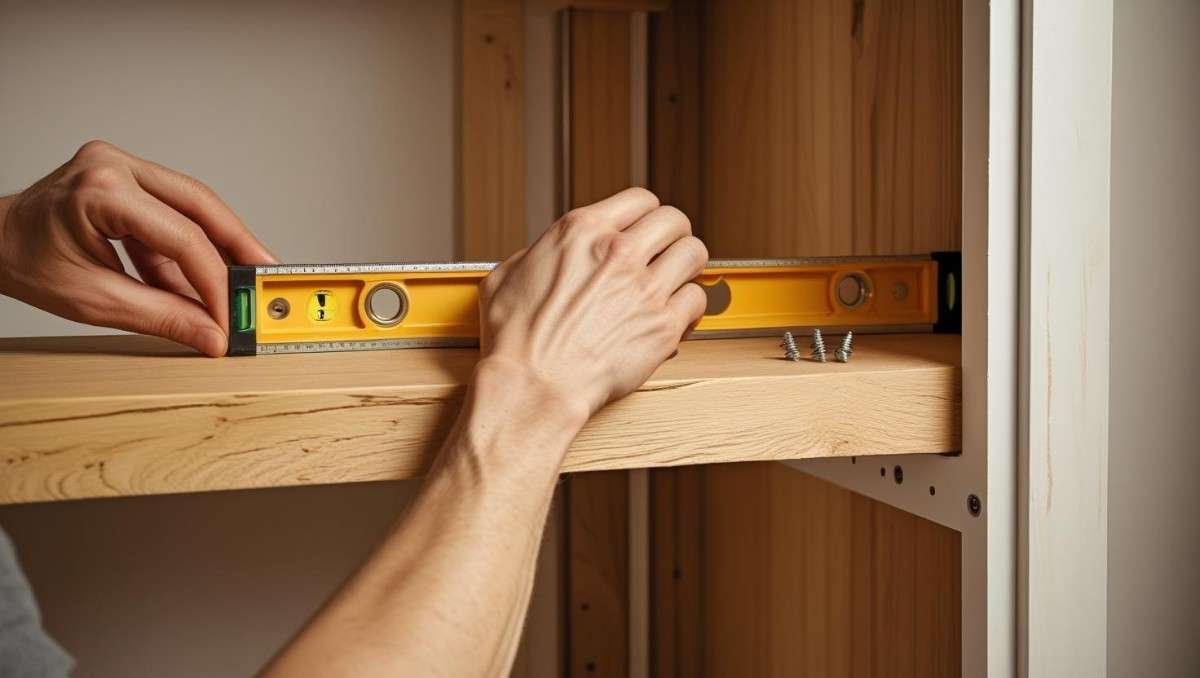
Time for shelves!
Cut your boards to size and start installing them inside the frame. Use a level to make sure they’re straight. (Mine weren’t at first. I had to un-screw, re-measure, and mutter apologies to the drywall.)
Use wood screws and brackets to secure each shelf. For longer shelves, add center support underneath so they don’t sag.
You can adjust shelf spacing depending on what you’re storing. More shoes = more little shelves. Long dresses? You’ll need rod space.
This part? It’s satisfying. You’ll start to see the diy built in closet take shape. It’ll start feeling real.
Step 6: Rods, Drawers, and All the Extras

Let’s customize this bad boy.
Add closet rods using brackets—usually one at about 66 inches high for longer clothes and a second one at 42 inches for shorter items. Boom: double hanging space.
Drawers? They’re a bit more advanced but so worth it. You can use pre-made drawer slides or even repurpose an old dresser into the bottom half of your closet. (I Frankenstein-ed one. No regrets.)
Hooks, cubbies, baskets—whatever suits your style. That’s the beauty of a diy built in closet. You’re the boss of it.
Step 7: Caulk, Fill, Sand, Repeat
Okay, this is the not-so-glamorous part. But it’s the glow-up zone.
Use caulk to seal the edges where wood meets wall. Wood filler goes in screw holes or gaps. Then sand everything. It smooths out the chaos.
This stage transforms your build from “DIY project” to “did a pro do this??” (Kind of. Maybe. If you squint.)
And don’t worry if some parts are still a little uneven or weird. This closet has character. It’s not from a factory. It’s real.
Step 8: Paint It Pretty
Pick your color—bright white, deep navy, calm beige, whatever vibes with your space. I went white with gold hardware. Fancy-ish.
Use primer if your wood needs it. Then paint away.
Two coats usually does the trick. If you’re using a roller, use an angled brush for corners and edges.
This is where your diy built in closet becomes a Pinterest-worthy beauty. Suddenly, all those weird measurements and uneven shelves look intentional. Clean. Custom. You-made-this level good.
Step 9: Organize Like a Grown-Up (Or Fake It)
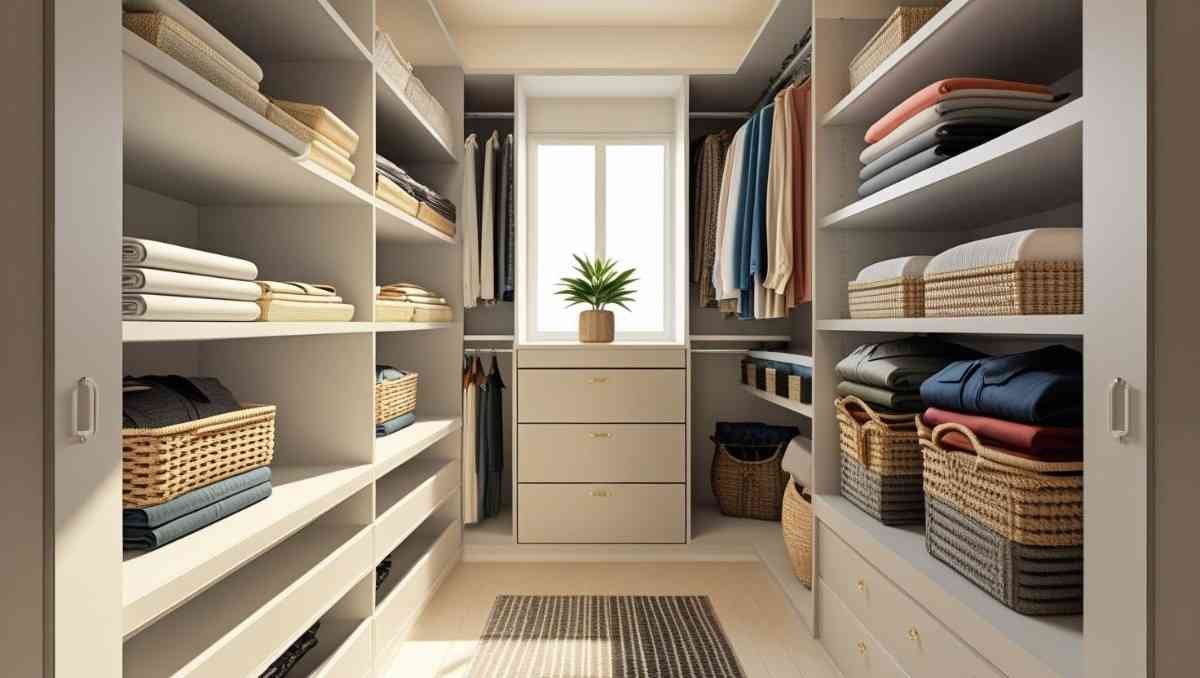
Time to load it up.
Hang your clothes. Add baskets. Toss in some fake plants if you’re feeling aesthetic.
I sorted my clothes by color because, well, TikTok made me do it. But even if you just throw stuff in and shut the door—it’s your closet.
You built it. With your own hands. It’s not just a closet anymore—it’s a tiny piece of pride you get to use every single day.
A diy built in closet that works for you, because it was built by you.
Real Talk: Mistakes I Made (So You Don’t Have To)
Alright. Confession time.
- I didn’t double-check my stud placement. Ended up with floating screws.
- I measured once. Cut wrong. Twice.
- I didn’t leave room for baseboard trimming. Had to rip the whole base out and re-frame.
- Painted without sanding. It looked… crusty. Not in a cute way.
But here’s the thing: all of that taught me something.
Doing a diy built in closet isn’t about being perfect. It’s about figuring it out. Adjusting. Laughing at your mess-ups. Then making it work anyway.
It’s growth. In wood and mindset.
Why DIY It at All?
You might be wondering—why even build your own closet? Isn’t it easier to just get a kit or hire someone?
Yeah, maybe. But you won’t get the same satisfaction. You won’t get that tiny rush every time you grab a shirt and remember that you made this space real.
Plus, diy built in closet projects are flexible. You can customize it to your weird little nook or that awkward ceiling slope. No one-size-fits-all nonsense.
And best part? You’ll actually use it. Because you designed it for you.
Do you know how DIY Built In Closet helps in to propose? See Here
Final Thoughts (And a Little Pep Talk)
If you’re still reading, you’re probably at the edge of trying this. Maybe nervous. Maybe overwhelmed.
Totally get it.
But here’s the honest truth: a diy built in closet is doable. No matter your skill level. Even if your only tool experience is hanging IKEA shelves. You’ll learn. You’ll mess up. And you’ll absolutely crush it.
So go ahead. Start planning. Clear the space. Grab the drill. Make the mess.
Because that closet you’ve been dreaming about? You’re just a weekend away.
And once it’s done, every time you walk into it, you’ll think:
“I did that. That’s mine.”
Now go build it.
Want to see more DIY solutions?
Check these: