
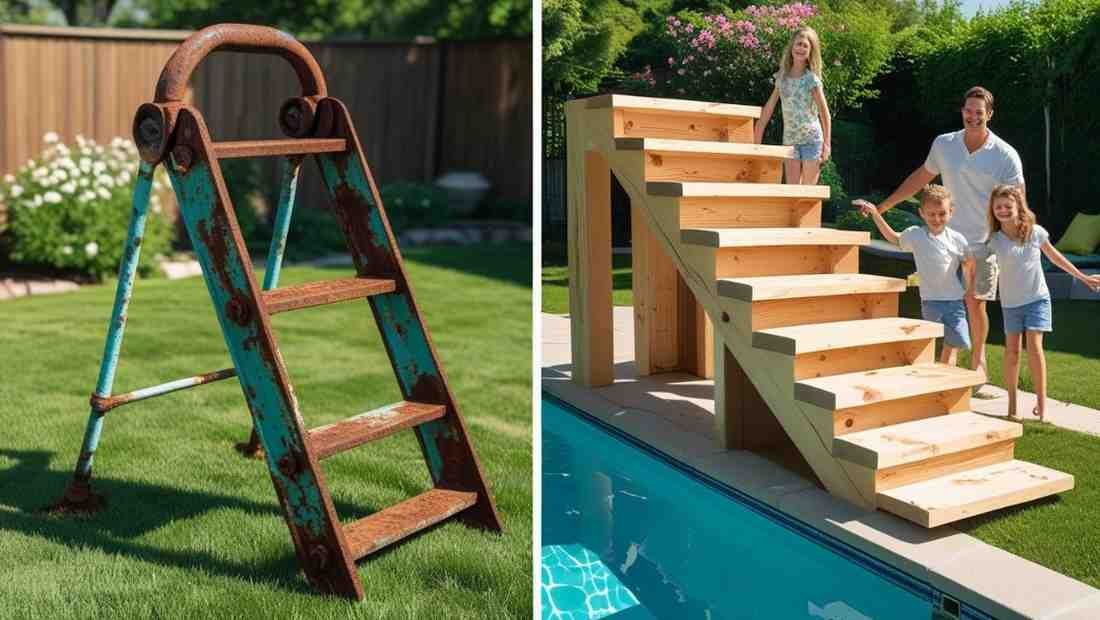
Okay, let’s be real. If you’ve ever tried getting into an above-ground pool using one of those flimsy metal ladders that came with the pool set… you already know. Wobbly. Unstable. Basically a full-on danger zone. Especially when it’s wet (which is, um, always).
So, here’s the deal: diy stairs. Yeah, we’re talking about building your own solid, safe, and actually good-looking stairs for that above-ground pool of yours. It’s cheaper than buying those overpriced plastic steps, and hey—it’s kinda fun, too.
Let’s dive in. (Pun totally intended.)
Why Even Bother with DIY Stairs?
Because we like our necks unbroken, for one. But also…
- They’re safer for kids, grandparents, pets, you name it.
- You can make them match your deck or backyard vibe.
- Store-bought pool stairs? Ugly and expensive.
- Custom stairs = a cool weekend project.
- You’ll feel like a dang hero when it’s done.
Also, it’s not as hard as it sounds. Pinky swear.
Picture This
It’s July. Sun’s out. You’re chillin’. Drink in hand. Kids are splashing around. You walk out with your towel, ready to hop in. And there they are: your brand new diy stairs—solid, smooth, even got that wood smell. No rattling. No slipping. No drama.
Just you, stepping into the water like royalty.
Planning the Vibe First
Before grabbing the hammer and going full HGTV, slow down.
You need a game plan.
Ask yourself:
- How high is your pool wall?
- Got a deck already, or will the stairs stand alone?
- How many steps do you want?
- Want a little platform at the top?
- Want them removable or permanent?
Visualize the whole thing. Walk it through in your head. Or sketch it (stick figures work too).
Materials You’ll Need
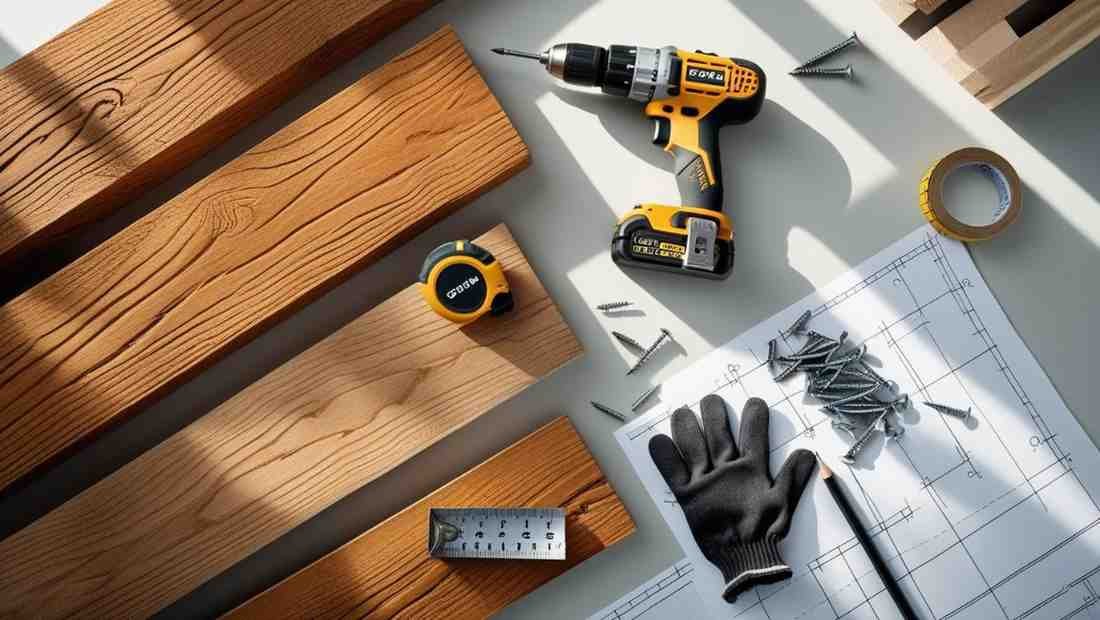
Okay, let’s not overcomplicate.
Here’s the basic list:
- Pressure-treated wood (2x6s, 2x4s, maybe some 4x4s if you’re fancy)
- Exterior screws or deck screws
- Concrete blocks or footers (if you’re going big)
- Measuring tape
- Circular saw (or a good ol’ handsaw if you love pain)
- Drill
- Level
- Wood sealer or waterproof stain
- Safety goggles (don’t skip these)
- A buddy (highly recommended)
Add a playlist, maybe an iced tea. You’re good to go.
Step 1: Measure Twice, Cut Once (No, Seriously)
We’ve all been there. Cut too short, curse loudly, go back to the store. Let’s avoid that.
Measure the height from the ground to the top of your pool. Then figure out how many steps you’ll need. Usually, a 7–8 inch rise per step is comfy.
Example: If your pool is 42 inches tall, you’ll need about 6 steps.
Now, draw it out. Mark it up. Double-check. Then start cutting.
Step 2: Build the Stringers
These are the bones. The angled side parts where the steps will rest.
If you’re good with geometry, bless your soul. If not, cheat: you can buy pre-cut stair stringers at Home Depot or Lowes. No shame. Totally valid DIY move.
But if you’re cutting them yourself:
- Grab a framing square
- Mark the rise and run
- Cut the notches carefully
- Sand the edges smooth (no one likes splinters)
Use three stringers for stability: left, right, and center.
Step 3: Frame It Out
Now that you’ve got your stringers, connect them.
Attach a 2×6 board across the top of the stringers to hold them together. Then another across the bottom.
Secure with screws, not nails (trust me on this).
Lay it on level ground or concrete blocks. Use your level to make sure everything’s even. Wiggle it. Is it sturdy? Good. If not—tighten it up.
Step 4: Add the Treads
Time to actually make them stair-like.
Cut your 2x6s to the width you want—about 36 inches is solid. Attach them across the stringers, one by one. Use two screws per side, per step.
Start from the bottom, work up.
Don’t rush this. This is where your feet will go. Make ’em solid. Make ’em beautiful. Or at least… not crooked.
Step 5: Consider a Platform (Optional But Awesome)
At the top of your diy stairs, you can build a little mini-deck. Just a 3’x3′ platform makes a huge difference.
Frame it out with 2x4s, reinforce it with cross beams, and attach deck boards on top.
It gives you a safe place to stand, turn, or cannonball with confidence.
Plus, it just looks cool.
Step 6: Seal It Up
Wood + water = rot. No bueno.
Before calling it done, grab a good water-resistant stain or wood sealer. Coat everything. Twice.
Bonus: this makes it look more pro.
If you want, paint it a funky color. Go wild. It’s your pool.
Step 7: Add Handles or Rails (Optional but Smart)
Especially if kids or older folks are climbing in and out, a simple handrail goes a long way.
You can:
- Use 2x4s and attach them upright
- Add a horizontal grip rail
- Even install PVC railing (cheap & weatherproof)
Your diy stairs just leveled up.
Real Talk: Safety Tips
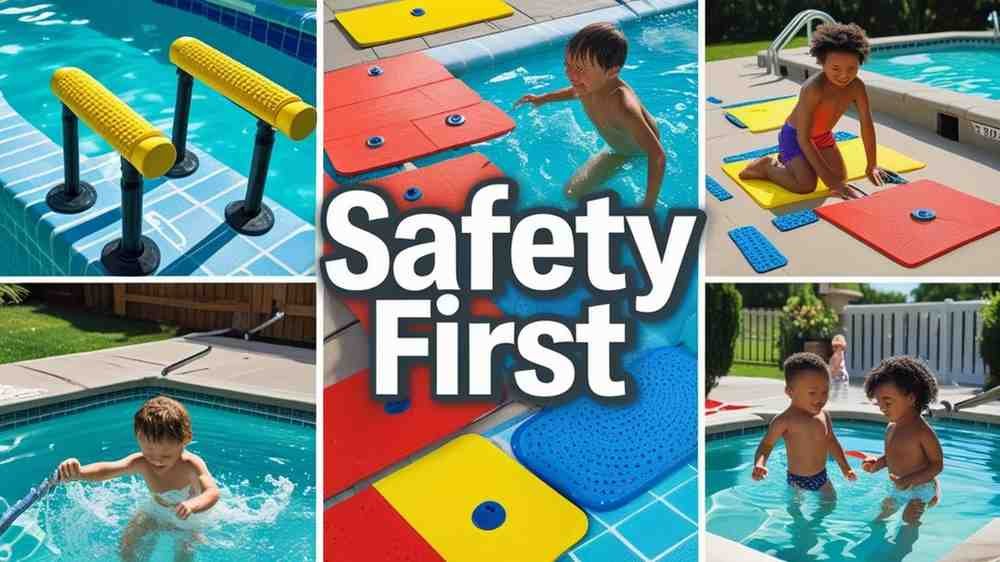
Just gonna toss these out there:
- No sharp edges
- No wobbly boards
- Check screws regularly
- Don’t let algae grow (slippery = danger)
- Keep it clear of toys, floaties, etc.
You’re building stairs. Safety is kinda the whole point.
Ideas to Make It Fancy
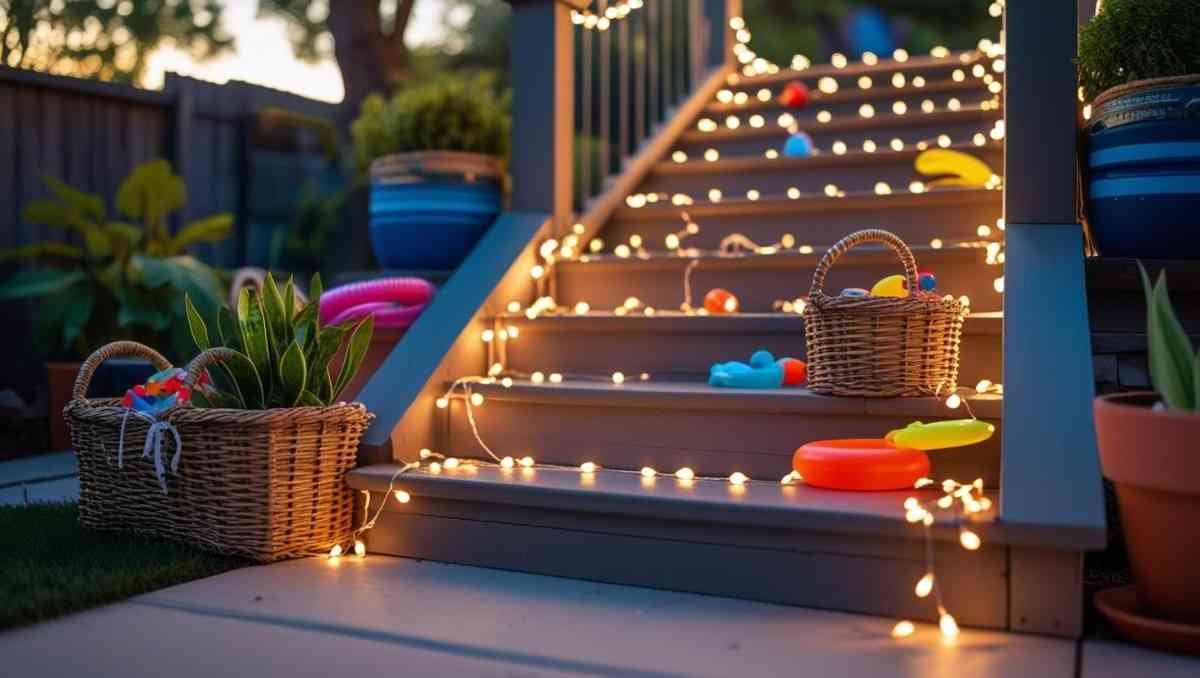
Want to be a little extra? Do it.
- Add solar lights on the sides
- Paint the stairs to match your deck
- Put a flower pot on the side (aesthetic = everything)
- Add a towel hook
- Install non-slip grip strips
Because if you’re gonna DIY… might as well flex a bit.
Budget Breakdown (Roughly)
You’re probably wondering… how much is this gonna cost?
Here’s a ballpark:
| Item | Cost |
|---|---|
| Wood (pressure-treated) | $60–$120 |
| Screws | $10 |
| Stain/Sealer | $20–$40 |
| Concrete blocks | $15 |
| Optional railing stuff | $20 |
| Total | $125–$200 (give or take) |
Compared to $300+ for a store-bought one? Yeah. Not bad.
What If I Have No Tools?
No worries.
Ask a neighbor. Rent them. Some hardware stores rent out tools for cheap. Or grab a basic drill and saw set online—you’ll use ’em again.
Remember: building diy stairs is a skill you’ll use for life. (Porches, sheds, bunk beds… endless possibilities.)
Things I Wish I Knew Before Building Mine

Story time.
First time I built my own diy stairs for the pool, I forgot to level the ground first. Thought I could “fix it later.” Ha. The whole thing leaned left. Looked like a funhouse.
Had to take it apart, dig, level, and redo it.
Also didn’t stain the wood right away. Rookie mistake. It turned gray in like two weeks. Learned fast.
So here’s what I wish someone told me:
- Level first. Always.
- Stain before you install.
- Double check screw length (don’t poke through).
- Don’t rush it—it’s not a race.
- Make sure you can actually carry the whole thing into place.
Do you know how DIY Stairs helps in to propose? See Here
Final Words (and a Splash)
Listen. You don’t need to be a pro carpenter to pull this off. Just patience, a plan, and maybe a cold drink or two.
Your diy stairs will be something you’re proud of. And trust me, once people see them, they’ll be asking you to build theirs too.
So go ahead. Get out there. Build something cool. Make pool days even better.
Then sit back, soak your feet in the water, and admire your handiwork.
You earned it.
Drop Your Questions!
Got stuck somewhere? Not sure about a measurement? Wanna brag about how amazing your diy stairs turned out?
Drop it in the comments (or wherever you’re reading this). I’d love to hear how yours turned out.
Till then—stay cool, stay safe, and keep building.
Want to see more DIY solutions?
Check these: