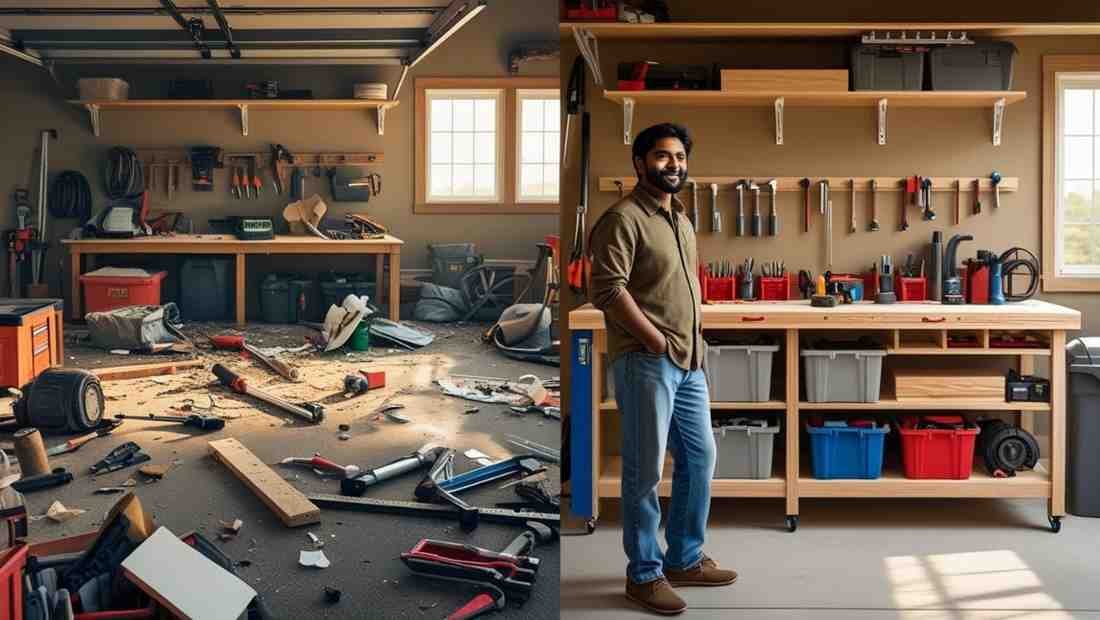
Let’s just admit it. You’ve thought about building a diy work bench before. You looked at your garage or that dusty corner of your shed and thought—I could totally build one of those. Right?
But then you scrolled Pinterest for a bit, got overwhelmed, and gave up.
Been there.
But guess what? This guide’s gonna change that. No fluff. No unnecessary tools. Just a solid, functional, diy work bench with storage you’ll actually use. Not one that looks cool on Instagram but falls apart when you sneeze on it.
Let’s get into it.
Why Even Bother With a DIY Work Bench?
Honestly?
Because you’re tired of working on the floor, or worse… the dining table.
A diy work bench gives you:
- Your own space.
- Organization.
- A place to throw stuff (in a good way).
- Somewhere to pretend you know what you’re doing.
And hey, building it yourself? Kinda makes it yours. Personal. Satisfying.
Planning the Vibe
Before we go all-in, let’s think.
Are you working with a tight space? Got a two-car garage? A basement? Are you a woodworker, crafter, weekend fixer-upper?
Knowing your vibe helps shape the bench.
Some questions to ask yourself:
- Do I need drawers?
- Do I want a pegboard on top?
- Should this bench be mobile or fixed?
- How much weight will it need to support?
Write down the answers. Seriously. It helps.
What You’ll Need (Not That Much)
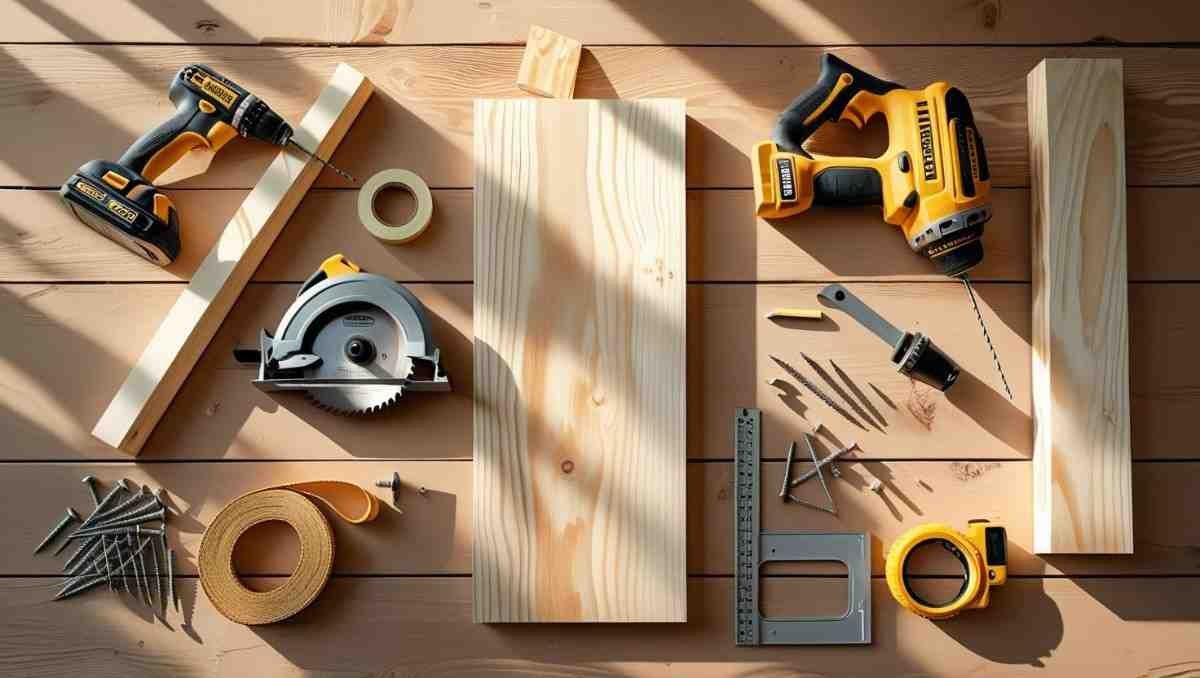
No, you don’t need fancy tools or a degree in carpentry.
Here’s the basic list:
- 2×4 lumber (about 6–10 pieces depending on size)
- Plywood sheet (3/4″)
- Wood screws (2.5” and 1.5”)
- Casters (if you want it to roll)
- Wood glue
- Drill
- Circular saw (or a handsaw if you’re bold)
- Sandpaper
- Measuring tape
- Level
Optional (but really helpful):
- Clamps
- Power sander
- Drawer slides (if you’re feeling spicy)
Step 1: Measure. Then Measure Again.
Classic rule.
Figure out how big you want your diy work bench. A common size is around 60″ wide by 30″ deep. But hey, it’s your bench. Make it work for your space.
Mark it out with tape on the floor if you have to. Visuals help.
Step 2: Build the Frame
Okay, now we’re cookin’.
- Cut your 2x4s to size for the top and bottom frames.
- Build a rectangle (box frame).
- Screw ‘em together. Make sure it’s square.
- Do this twice—top and bottom.
Boom. You’ve got the skeleton.
Step 3: Add Legs
Time to give this baby some height.
- Measure how tall you want the bench. 34–36″ is standard.
- Cut four 2x4s to that length.
- Screw them into the corners, connecting the top and bottom frames.
Now it’s starting to look like something.
Step 4: Add the Top
Here’s where things start feeling real.
- Cut your plywood to size.
- Glue it. Screw it. Secure it on top of your frame.
Congrats. You now have a diy work bench that could technically hold a toolbox.
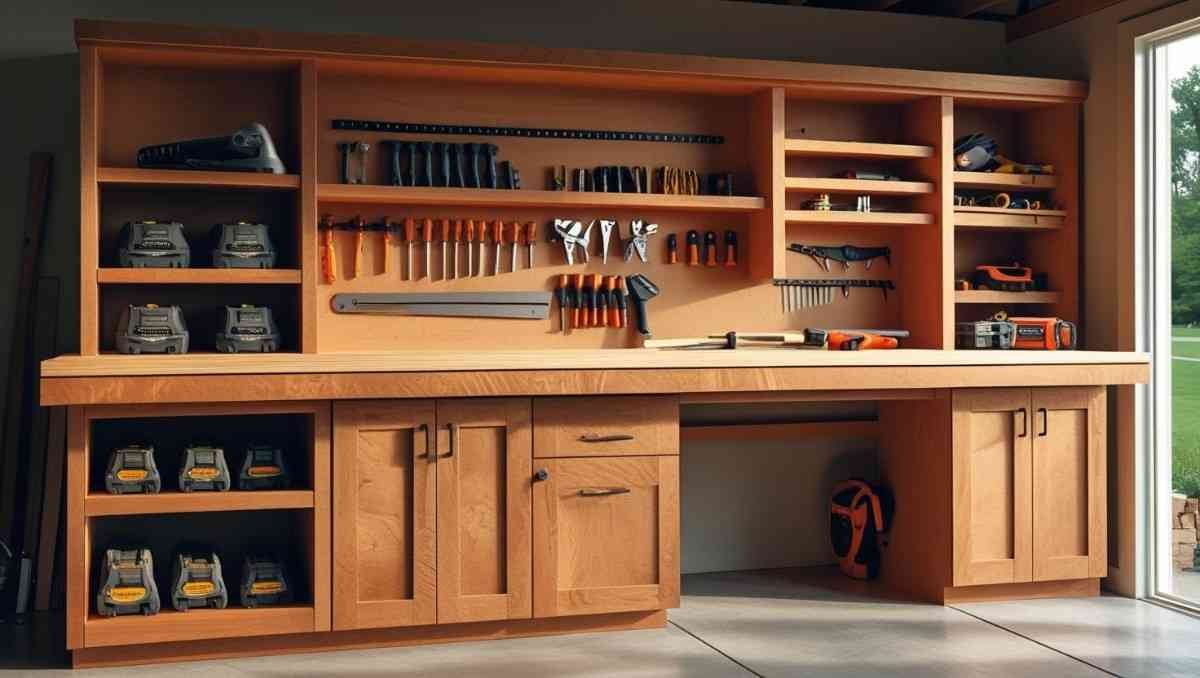
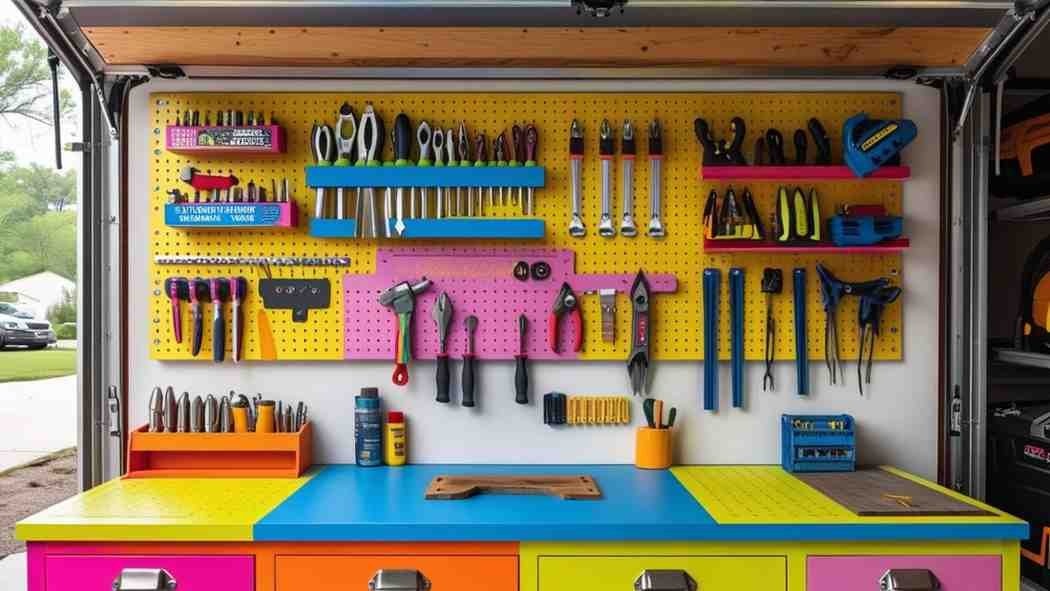
Step 5: Add Storage (The Fun Part)
This is where your diy work bench gets personality.
Some options:
- Shelves: Easy. Just add horizontal boards between the legs.
- Drawers: A bit more work. But if you’re up for it, install drawer slides and go wild.
- Bins: Don’t want to build drawers? Toss in labeled bins or crates.
- Pegboard Back: Attach a pegboard to the back frame. Tools hanging = instant pro look.
Don’t overthink it. Start simple. Add more later.
Step 6: Add Casters (If You Want Mobility)
Wanna roll it around?
Attach heavy-duty locking casters to the bottom legs. Just make sure they’re rated to hold the weight of the bench AND your stuff.
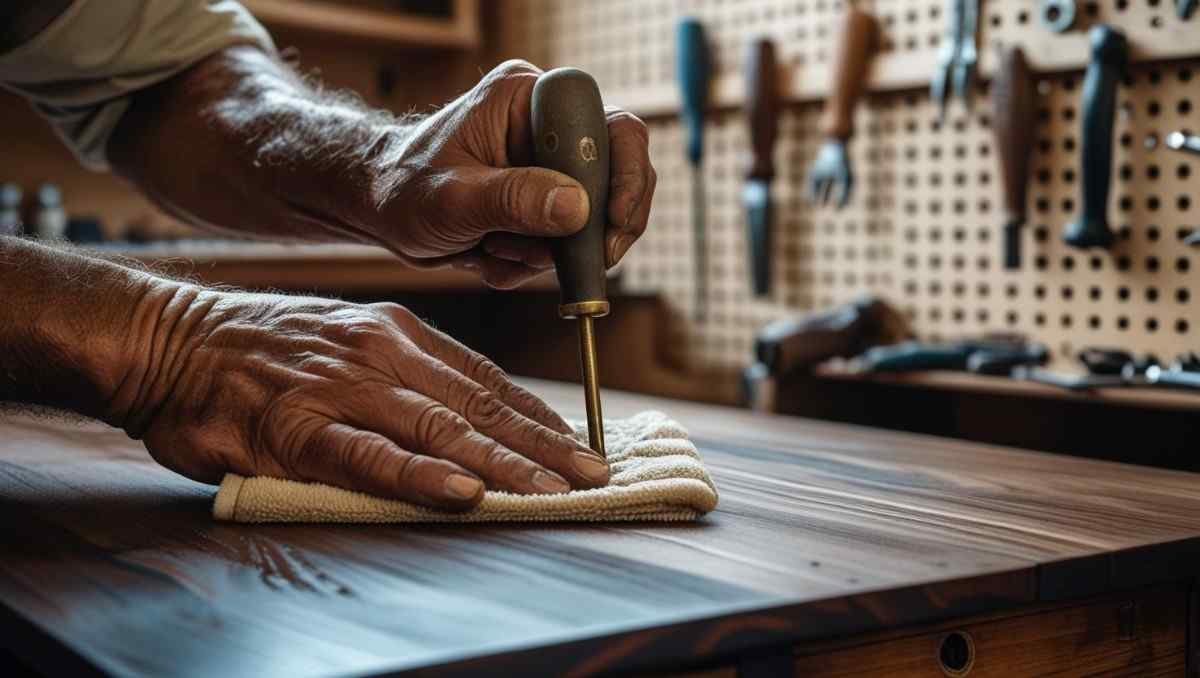
Step 7: Sand It Down, Make It Nice
Nobody likes splinters.
Grab sandpaper (or a sander if you’re fancy) and smooth those edges. Round off corners. Sand the top until it feels nice to the touch.
Optional: Throw on a coat of polyurethane or wood sealer.
Boom. Now it’s not just useful. It’s slick.
Real Talk: What Can You Use This Work Bench For?
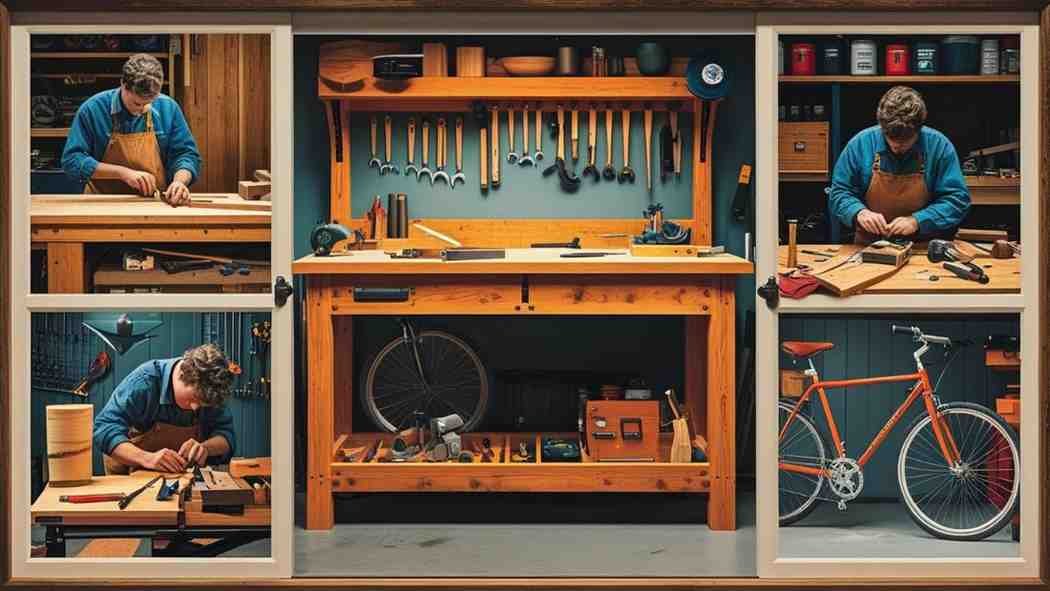
Let’s be honest. A diy work bench like this? It’s a game changer.
Here’s what folks use theirs for:
- Woodworking projects
- Painting and staining
- Bike repairs
- Gardening stuff
- Organizing power tools
- Crafting chaos
- Random household projects (aka weekend warrior life)
Once it’s built… you’ll find reasons to use it. Trust me.
Mistakes I Made So You Don’t Have To
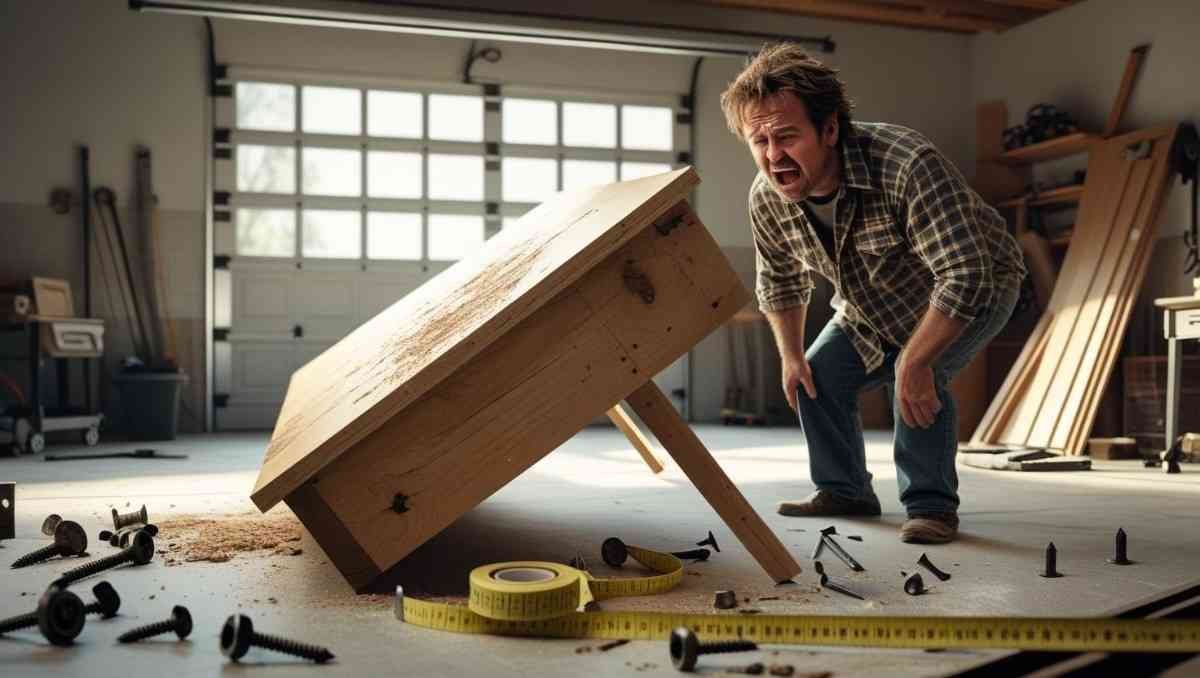
Oh, you thought I did this perfect the first time? Ha.
Let me tell you what went wrong the first time I built my diy work bench:
- Didn’t level it. Wobbly mess.
- Used cheap screws. Snapped in half.
- Made it too tall. Felt like I was working on a bar counter.
- Didn’t seal the top. First spill? Ugly stains.
But hey, every mistake? A lesson. You’ll make a few too. It’s part of the fun.
Customize It (Your Bench, Your Rules)
Once the base is done, start playing.
Add a power strip to the side.
Screw in a magnetic tool holder.
Paint it fire-engine red if that’s your thing.
This is YOUR diy work bench. It should feel like it.
Do you know how DIY Work Bench helps in to propose? See Here
Maintenance? Pff, Just Don’t Abuse It
Truth? These things are tanks.
But still, give it a little love:
- Wipe it down sometimes.
- Tighten screws if they get loose.
- Re-sand the top if it gets gnarly.
- Don’t stand on it (unless you build it like a beast).
Final Thoughts (Before You Get Building)
Building a diy work bench isn’t hard. It just sounds like it is.
Start small. Don’t chase perfection. Don’t let YouTube make you feel bad because you don’t own a router table and $900 worth of clamps.
You need a surface. A sturdy frame. A bit of storage.
That’s it.
And you’ll feel like an absolute legend when you’re done.
Promise.
Ready to Build Your DIY Work Bench?
No more excuses.
Grab your tools. Or borrow some. Call a buddy. Blast some music in the garage. Drink a cold soda while the sawdust flies.
Build something with your hands. That’s the whole point.
And remember, you’re not just building a diy work bench.
You’re building your space.
Want to see more DIY solutions?
Check these: