Okay, confession time.
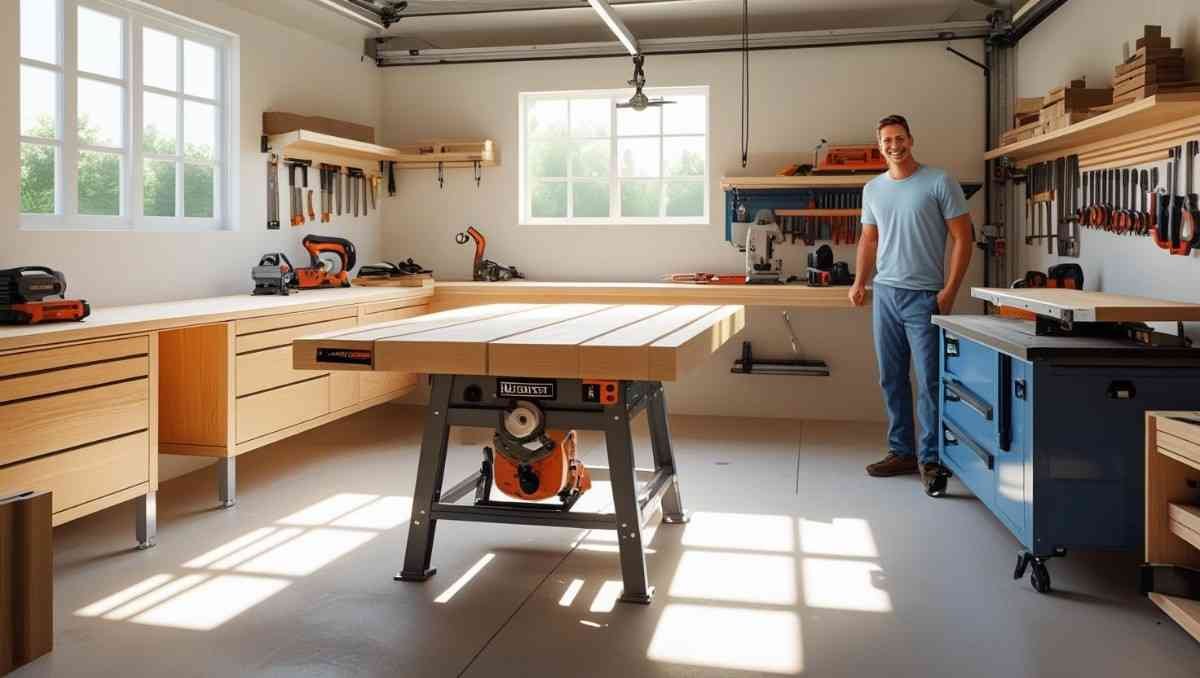
I didn’t even know what a table saw was until I bought one…on sale. Just staring at it in the garage like, “Cool. Now what?” If you’ve been there, too—you know, standing there with tools and zero plan—this one’s for you.
Let’s talk diy workbench plans. But not the overly complicated kind. Nope. This is the kind of project you can actually pull off. Even if your workspace is basically a single-car garage with a baby stroller and two bikes hanging from the ceiling.
This ain’t a pro-level guide. This is real talk from one DIY-er to another. Grab your coffee. Or Red Bull. Or whatever you drink when you’re about to turn chaos into creation.
Why Even Bother With DIY Workbench Plans?
Good question.
You can just buy a workbench, right? Sure. You could. But where’s the fun in that?
And let’s be honest. Those prebuilt benches are either:
- Way too flimsy.
- Way too expensive.
- Or both.
Plus, there’s something kinda magical about building the thing you’re gonna build other things on. It’s like… building your own stage before stepping into the spotlight. Boom.
Also? You can customize the heck out of it.
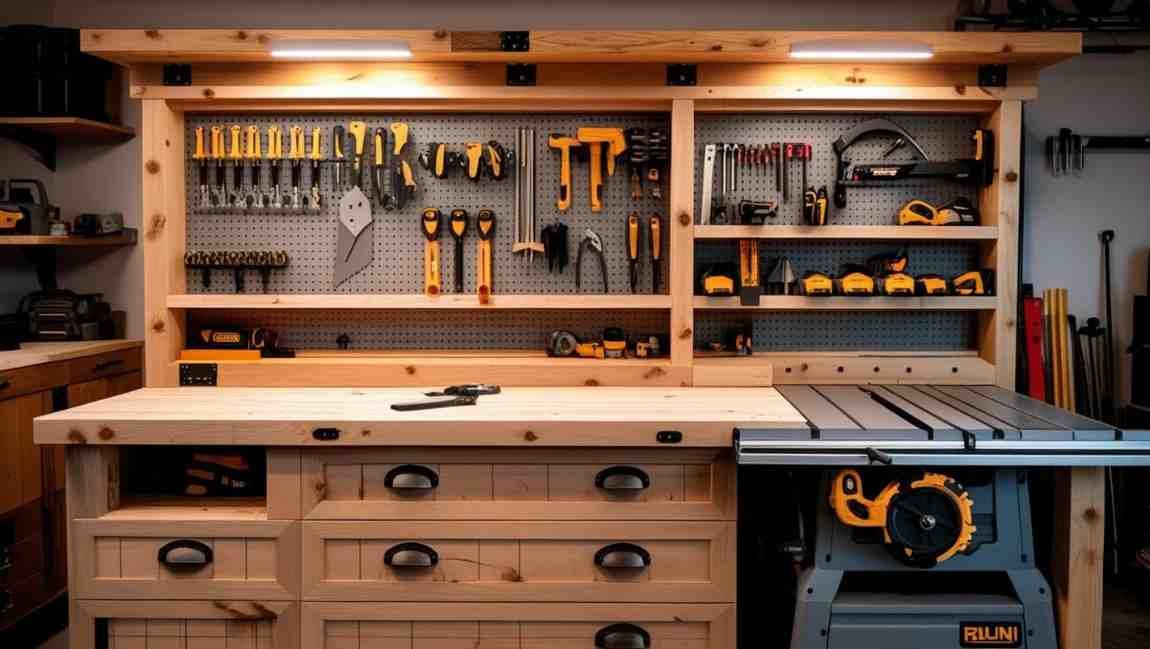
Drawers. Pegboards. Outlets. Storage for your table saw. All of it. Your bench, your rules.
So yeah—diy workbench plans aren’t just smart. They’re essential.
True Story: My First Workbench Was a Disaster
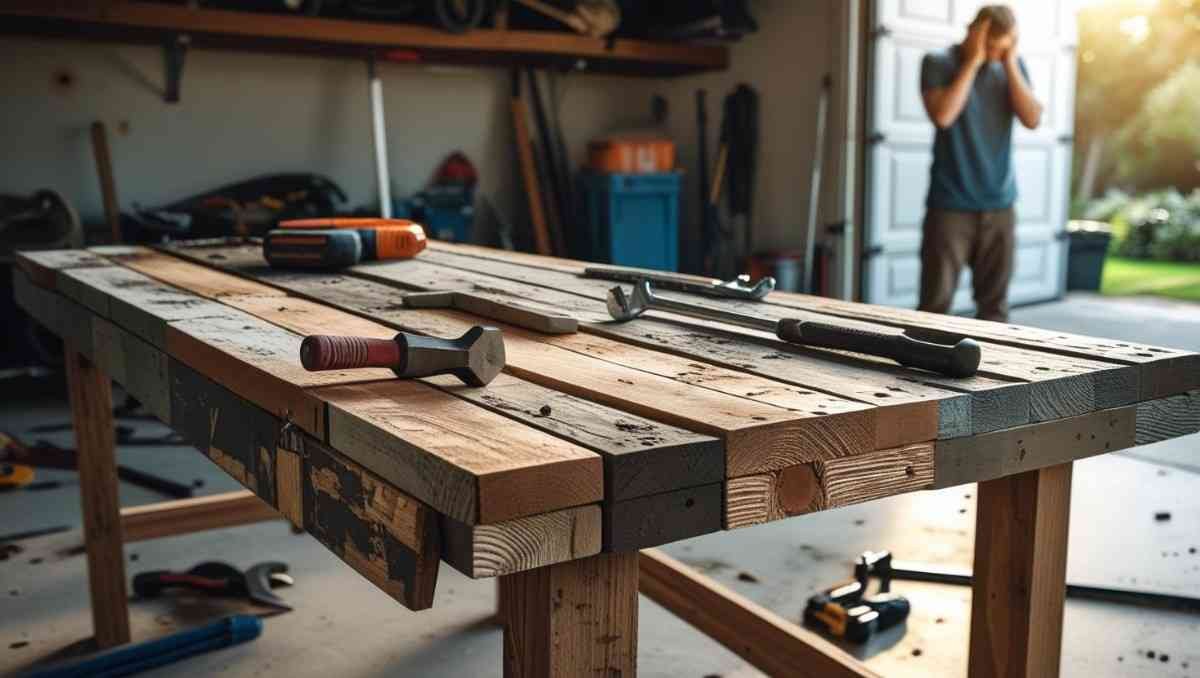
No shame in saying it.
I didn’t follow any diy workbench plans the first time. I just… winged it. Stacked some pallets. Threw an MDF sheet on top. Called it a day.
Ten minutes into using my table saw? The whole thing wobbled like a folding chair at a kid’s birthday party.
Lesson learned. Don’t skip the plan.
What You Actually Need
Now we’re getting into the fun stuff.
Here’s the thing about diy workbench plans: they can be as simple or as wild as you want. But let’s focus on a solid middle ground—strong, stable, functional.
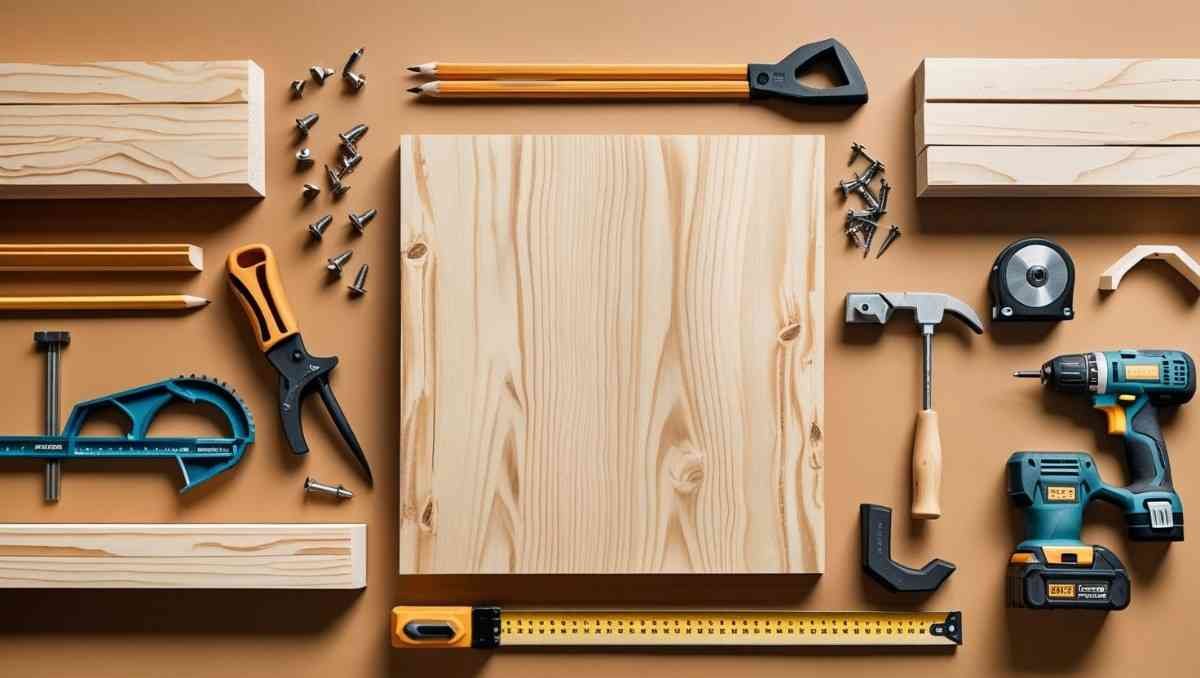
Here’s what you’ll need to get started:
Basic Materials:
- 2x4s (a bunch, trust me)
- 3/4” plywood (for the top and lower shelf)
- Wood screws (2.5” and 1.5”)
- Wood glue
- Caster wheels (optional, but highly recommended)
- Pocket hole screws (if you’re fancy)
Tools:
- Table saw (yep, that’s the star of the show)
- Drill
- Kreg Jig (not required, but helpful)
- Measuring tape
- Level
- Clamps
- Square
- Pencil (you’ll lose this like, 6 times, so maybe grab a few)
Step 1: Measure Twice, Cut Once (Seriously)
You’ve heard it. You’ve ignored it. We all have.
But when you’re building something like this? Accuracy matters. Start by deciding how big you want the workbench to be. Think:
- Do you want it mobile?
- Will it be flush with other benches or tools?
- How tall should it be for your height?
Standard bench height is around 36 inches, but you can tweak that depending on your needs. Once you’ve got your dimensions, it’s cuttin’ time.
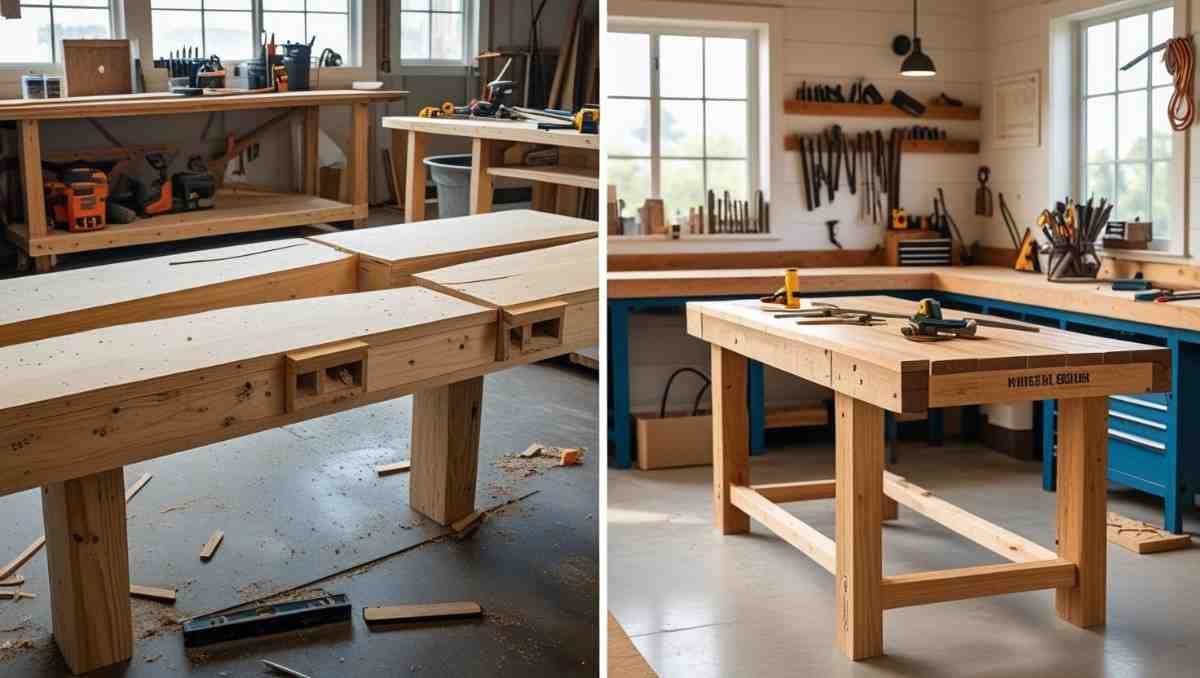
Step 2: Build the Frame (Like a Boss)
Think of the frame as the skeleton of your beast.
Use 2x4s to create a rectangular frame. Add legs (more 2x4s) at each corner, and if you’re planning to install a shelf, frame that out too.
A super basic layout looks like this:
- Top frame: rectangle with a cross support
- Four legs
- Bottom shelf frame: same as the top
Attach everything using screws and glue. If you’ve got a Kreg Jig, this is where it shines—those pocket holes make things look real clean.
Oh, and don’t forget to check for square. Seriously. Wonky benches are the worst.
Step 3: Time to Top It Off
Now take that 3/4” plywood and slap it on top.
Okay not literally slap it—you wanna line it up perfectly. Screw it into the frame, nice and tight. This is your actual work surface, so make it count.
Some folks double up the plywood for extra strength. Totally optional, but if you’re going to be tossing heavy tools around (looking at you, table saw), might be worth it.
Pro Tip: Sand the top. Even a quick pass. Your future self will thank you.
Step 4: Give That Table Saw a Home
This is where your diy workbench plans really earn the “custom” badge.
If you’re building your bench with the table saw in mind, think about whether you want the saw built-in. Like, level with the bench. Flush.
Why? Because it turns your entire surface into an extended cutting table. Super handy for ripping long pieces of wood.
You’ll need to:
- Measure the saw base
- Cut out a space in the bench top
- Add supports underneath
- Maybe even build a little fence system (if you’re feelin’ spicy)
Not essential—but pretty awesome.
Step 5: Shelf It
Remember that lower frame? Time to drop in another sheet of plywood for your shelf.
This is where you can stash:
- Scrap wood
- Tools
- Paint cans
- That one random drawer pull you keep saving “just in case”
Optional: You can add dividers. Or even drawers if you’re feelin’ extra ambitious.
Again—your bench, your vibe.
Step 6: Wheels or No Wheels?
Tough call.
If your space is tiny (hello garage-turned-workshop), then wheels are a lifesaver. Roll it out when you need it. Roll it back when you’re done.
But if you’re doing heavy-duty stuff, keeping it planted is better. Stability > mobility sometimes.
If you do go with wheels, make sure they lock. Otherwise, you’re chasing your bench around like it’s possessed.
Mistakes I Made (So You Don’t Have To)

Here’s where I air my dirty laundry. So you can skip these screw-ups:
- Didn’t measure the table saw base correctly. Had to redo the top.
- Used drywall screws. Big no. Use wood screws.
- Forgot to check level. Had a tilted bench. Ugh.
- Didn’t sand the edges. Got a splinter in the worst place.
- No caster locks. Bench was like a shopping cart with one broken wheel.
Learn from me. Don’t be me.
Customize the Heck Out of It
Here’s where you can get creative.
Add-Ons You Might Love:
- Power strip mounted on the side
- Pegboard backing for tool storage
- Drawer slides for small tools
- Clamp rails
- Workbench vise
- Built-in miter saw station
- Dust collection system (okay, now we’re getting fancy)
Whatever makes your DIY life easier—add it in.
That’s the beauty of following your own diy workbench plans. It’s not a one-size-fits-all. It’s build-what-you-need.
Real Talk: It’s Not That Hard
I know, the idea of building a big, heavy-duty bench sounds intimidating.
But once you break it down? It’s really just a rectangle with legs and a top. The rest is just bonus.
The hardest part is starting.
And hey—you don’t have to do it all in one day. Break it up. Frame it one night. Top it another. Customize over time.
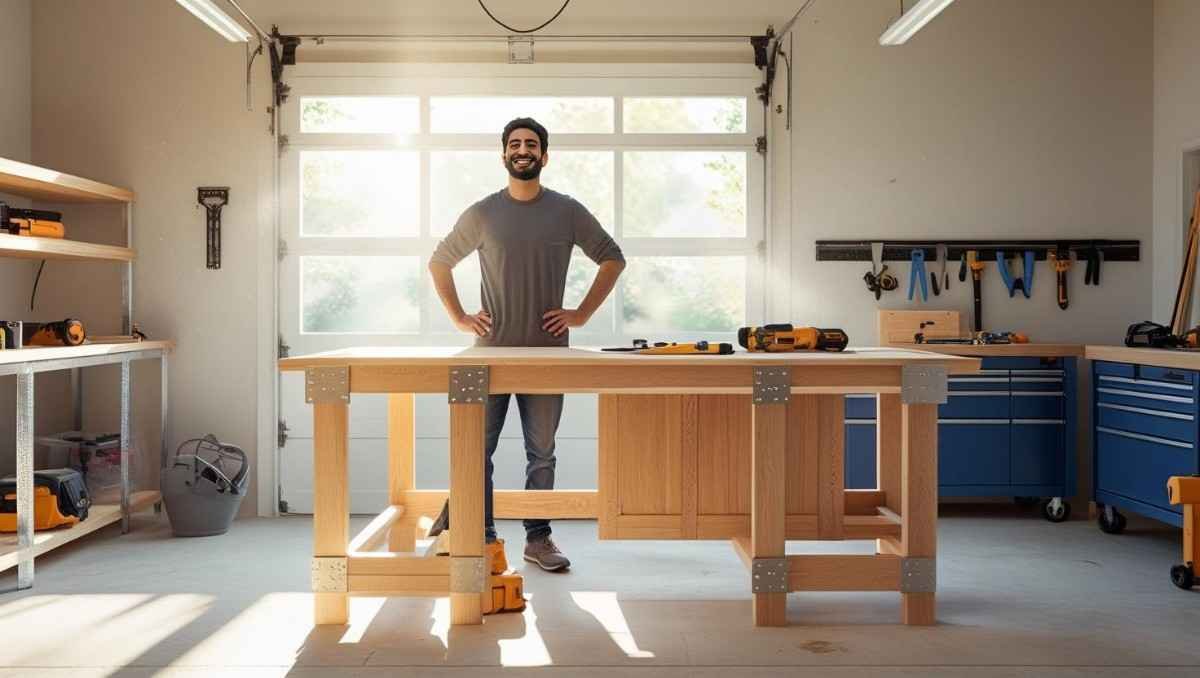
Sooner than later, you’ll have that “Whoa, I built that” moment. And trust me—it’s addictive.
Do you know how DIY Workbench helps in to propose? See Here
Final Thoughts (aka: Go Do the Thing)
So if you’re staring at your table saw wondering what to do next, here’s your answer: build the bench first.
It’s the launchpad for every project after this.
And if you’re worried about messing it up? You probably will. That’s okay. That’s part of it.
The point of following diy workbench plans isn’t to be perfect—it’s to create a workspace that works for you.
So measure, cut, glue, screw. And enjoy the ride.
Because nothing beats the feeling of making something with your own two hands.
Especially when you get to say, “Yeah, I built that.”
TL;DR Recap (But You Should Really Read It All)
- DIY workbench plans are the key to a strong, stable workspace.
- Build it with your table saw in mind—flush-mount it if possible.
- Start with 2x4s and plywood. Simple, strong.
- Customize it however the heck you want.
- Don’t skip the plan. And please… measure twice.
If you made it this far, go grab your tools. Sketch out your diy workbench plans. Fire up that table saw. Let’s build something real.
Your garage will thank you.
Want to see more DIY solutions?
Check these: