Okay. So picture this.
You’re staring at that one awkward wall in your living room. Or bedroom. Or hallway.
It’s just… there.
Boring. Wasted space. Sad.
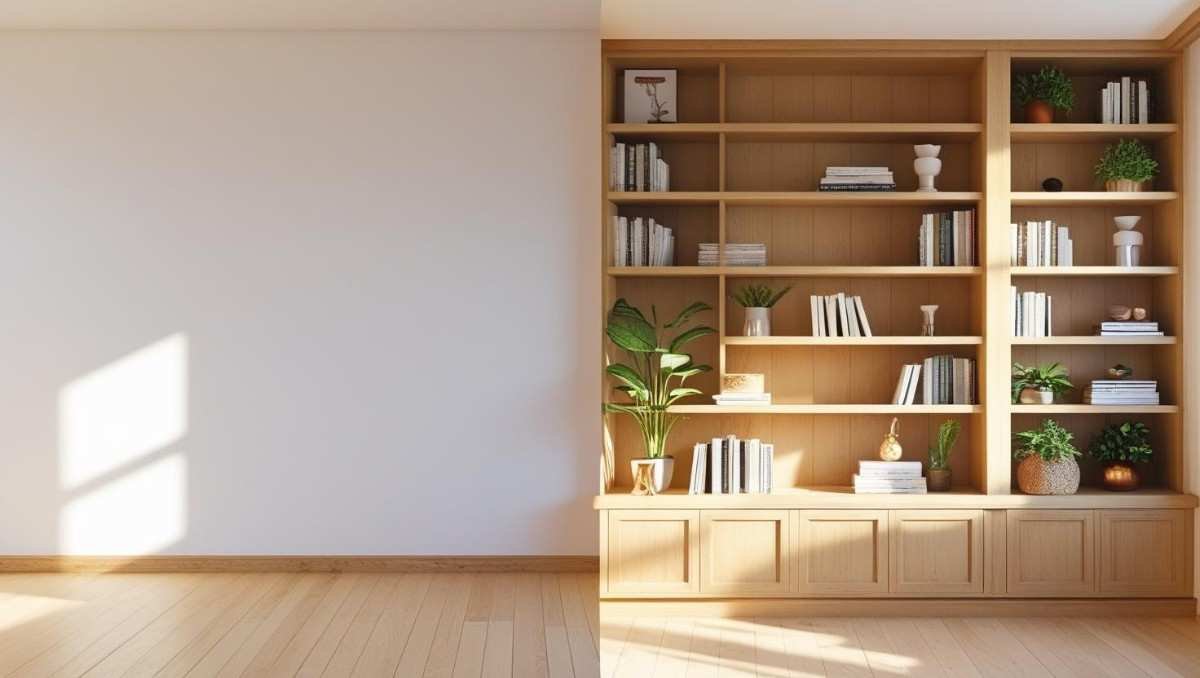
Now imagine turning that exact wall into something that looks straight outta a Pinterest dream board. Yep. We’re talking diy built in bookshelves, baby.
Functional? Yup.
Pretty? Uh-huh.
Impressive enough to make your friends ask, “Wait… you built that?!”
Heck yes, you did.
Let’s get into how to pull off this magical transformation (without wanting to toss your power drill through the drywall).
Why Even Try a DIY Built In?
So let’s start with the real talk.
Why not just go buy a bookshelf from IKEA or something?
Valid question. Totally fair.
But here’s the thing… store-bought shelves never fit quite right. There’s always a weird gap. Or it’s too tall. Or not tall enough. Or looks like a college dorm piece.
A diy built in though? It fits your wall. Exactly. Edge to edge. Custom vibes. Built for your space. Your stuff. Your life.
Plus—it looks expensive.
Even if it wasn’t.
You built it with your own two hands (and possibly a lot of cursing and measuring mistakes, but still… you did it).
My First Attempt (Spoiler: I Messed Up)
So I’ll be honest here.
My first diy built in bookshelf?
Total mess.
I didn’t plan. I didn’t measure properly. I forgot to account for trim. And somehow… I built it half an inch too tall. Half. An. Inch.
You know what that means?
Yeah. I had to disassemble the whole thing and start over. Fun.
But I learned. And now I’m here to save you from making the same mistakes.
(You’re welcome.)
Planning the Vibe (Aka Don’t Skip This Step)
Before you even pick up a saw, slow down for a sec.
What’s the vibe?
Do you want modern? Clean lines? Shaker-style trim?
Or are you dreaming of that cozy built-in library feel—with thick shelves, crown molding, and maybe even a rolling ladder if you’re feeling extra?
Decide now.
This isn’t just about slapping some shelves on a wall. A diy built in becomes part of your house. It’s permanent. So… commit to a look.
Oh, and Pinterest? Absolute goldmine for inspo.
Grab the Tools (You Probably Already Have Most)
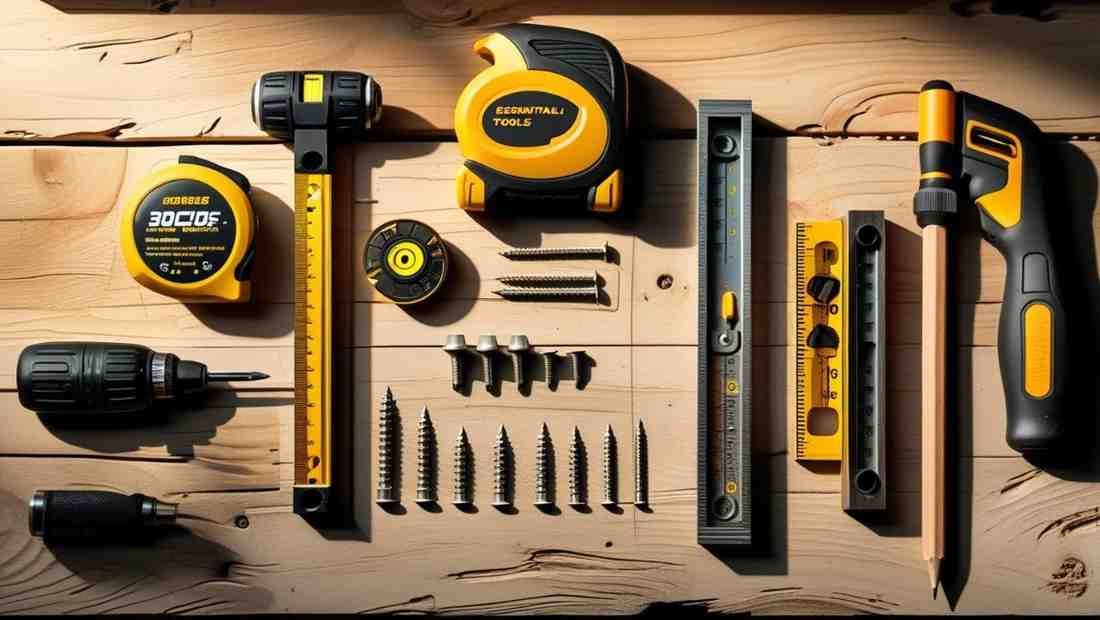
Here’s the beauty of this project: you don’t need a full-blown workshop.
But you do need the basics:
- Tape measure
- Circular saw or table saw
- Stud finder
- Drill
- Wood screws
- Level
- Caulk gun
- Wood filler
- Sandpaper
- Paint (or stain if you’re feeling fancy)
- Patience (don’t skip this one)
Optional (but amazing): a nail gun. Total game changer.
Materials You’ll Need
Depends on your design, but generally:
- ¾” plywood (for the structure)
- 1×2 or 1×3 boards (for facing and trim)
- Backing material (can be plywood or beadboard)
- Baseboard and crown molding (optional but looks pro)
- Paint + primer
Pro tip: Sketch out your wall. Measure EVERYTHING. Double check.
Cut list? Write it down before heading to the store. Lumber aisles are overwhelming. Trust me.
Step 1: Measure Like Your Life Depends On It
Okay this part? Don’t rush it.
Seriously.
Measure your wall. Floor to ceiling. Side to side. Check for any outlets, vents, or weird bumps you’ll need to work around.
Because the secret to a diy built in not looking like a DIY disaster?
It fits. Snug. Like it was always supposed to be there.
So pull out that tape measure. Then measure again.
Step 2: Frame It Out
Start with the base.
Literally.
Build a simple frame (just a box!) to act as the base of your unit. This gives your shelves something solid to sit on and helps raise them up a bit for that custom look.
Attach the base to the wall—into studs. No studs? Find them. Or your bookshelf will one day gently lean forward and crush your dreams.
Then build vertical side panels out of plywood. These form the walls of your diy built in.
Attach them to the base. Again—level everything. This isn’t the time to eyeball it. Not unless you enjoy books slowly sliding off over time.
Step 3: Add the Shelves
This part is fun.
Well… if you’re into geometry.
Mark where you want each shelf. Equal spacing? Cool. Varying sizes? Awesome. Just make sure they’re actually level. Always level. Forever level.
Cut your shelf boards. Slide them into place.
Secure with screws. Or pocket holes if you’re fancy.
Wanna hide those ugly shelf edges? Add trim later. We’ll get to that.
Step 4: Back It Up (Optional but Pretty)
Now technically… you don’t need a backing.
But adding one? Huge upgrade.
You can use thin plywood, beadboard, or even shiplap if you’re feeling rustic. Paint it first—way easier before installing.
Attach it to the back of your shelf unit. Nail it in place.
Boom. Instant depth.
Now your diy built in is looking real polished.
Step 5: Trim It Out (Magic Happens Here)
This is the part where people start saying, “Wait… you made that?”
Because the trim is what makes a diy built in look like a built-in. Not a freestanding shelf.
Use 1x2s or 1x3s to cover all raw edges. Face the front of every shelf and side.
Add baseboard to match your room. Maybe even crown molding up top if you’re going for the wow factor.
Caulk every seam. Fill every gap. Sand those corners. Smooth it all out.
It’s tedious, yeah. But totally worth it.
Step 6: Paint Like a Pro
Now it’s time to paint.
Pick your color. Bold navy? Soft white? Go wild. It’s your house.
Prime everything first. Then paint in light, even coats.
Don’t rush. Don’t glob it on. This part takes patience.
And after you finish… step back.
Look at your work.
You just made a real diy built in bookshelf. With your hands. Your brain. Your hustle.
Proud moment.
Mistakes I Made (So You Don’t Have To)

- I didn’t plan for the trim, so my shelves were slightly misaligned. Rookie move.
- I forgot to paint the backing before attaching it. It was a nightmare.
- Used drywall screws instead of wood screws. They snapped. Ugh.
- Didn’t anchor into studs at first. Bad idea. Shelf nearly tipped forward.
So learn from me. Do it right. Take your time.
Where to Put Your Built-In?
Short answer? Anywhere.
Long answer?
- Living room wall? Epic.
- Flanking a fireplace? Classic.
- Hallway nook? Unexpected and cool.
- Home office? YES.
- Bedroom corner? Books + plants = cozy vibes.
There’s no wrong place for a diy built in bookshelf. Just pick a spot and claim it.
Add Some Style, Will Ya?

Your diy built in isn’t just for books.
Try mixing it up:
- Stack some vintage books horizontally
- Add plants (real or fake, no judgment)
- Use baskets to hide clutter
- Display art, candles, travel souvenirs
- Leave some space empty (seriously—it looks intentional)
You built a whole vibe. Now style it like you own it.
Because you do.
Total Cost? Surprisingly Low
Let’s talk numbers.
A custom built-in from a carpenter? Probably $2,000–$5,000.
Your diy built in?
More like $150–$500 depending on size and materials.
Big savings. Bigger bragging rights.
And honestly… it’s fun. Once you get past the sawdust.
So… Should You Try It?
If you like power tools, instant home upgrades, and casual compliments from guests…
Then yeah.
Build the bookshelf.
Try the diy built in life.
It might be messy. It’ll definitely test your patience. But in the end?
You’ll look at your wall, smile, and say, “Dang. I made that.”
Do you know how DIY Built In Bookshelves helps in to propose? See Here
Final Thoughts (AKA: Go Do the Thing)
If you made it this far… you’re either very ready to build or very overwhelmed.
Maybe both.
That’s cool.
Just take it one step at a time. Measure first. Plan the vibe. Get your tools ready. And then build your diy built in bookshelf like the confident, slightly chaotic genius you are.
Because you don’t need to be a pro carpenter.
You just need a weekend… some wood… and the guts to try.
You got this.
Now go build it.
Want to see more DIY solutions?
Check these:

