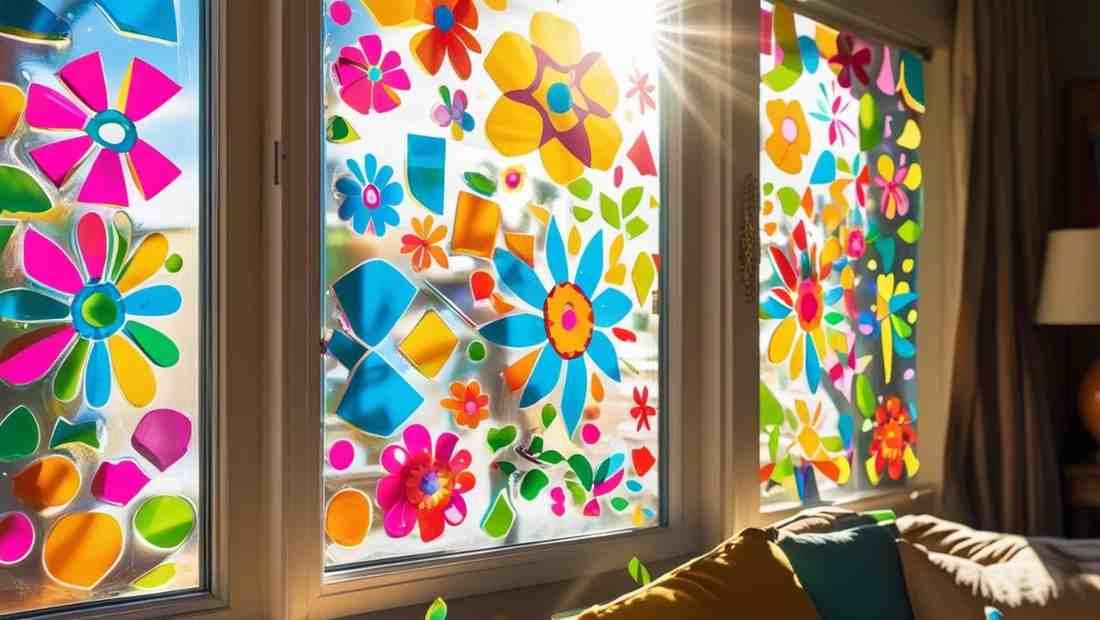
Windows are great — they let in the light, the view, the mood. But sometimes, they also feel like a blank canvas just begging you to do something. That’s how I ended up deep-diving into DIY window clings. It started with one little snowflake design for winter… and next thing I knew, my kitchen window looked like a craft store exploded (in a good way).
If you’ve never made them before, you’re about to learn the easy, the clever, and the slightly ridiculous ways to make your own DIY window clings. The best part? You don’t have to be some Pinterest-perfect craft wizard to pull this off.
Let’s get into it.
1. First, What Even Are DIY Window Clings?
Think stickers… but cooler.
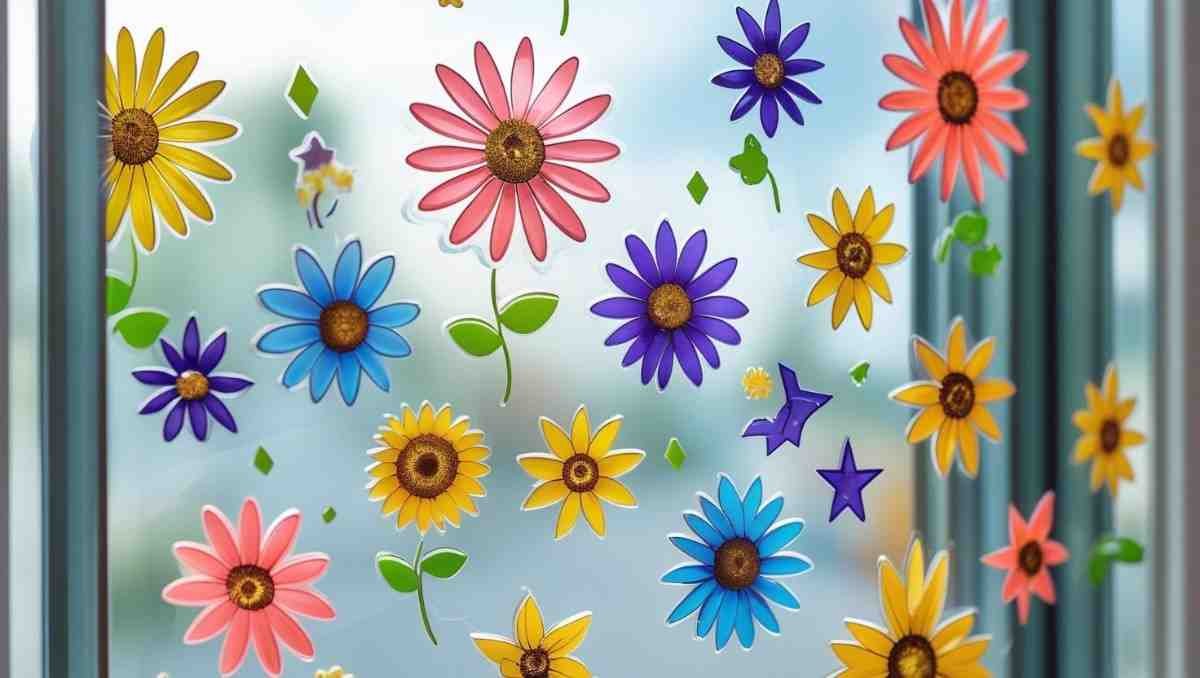
DIY window clings are those decorative, often reusable shapes or patterns you stick right on glass surfaces. No glue, no nails, no permanent damage. Just a static, clingy magic that makes your space feel personal.
You’ve probably seen them in kids’ rooms, holiday setups, or even as privacy blocks in bathrooms. But here’s the fun part — when you make them yourself, you control everything: colors, shapes, themes, and just how weird or wonderful they turn out.
2. The Easy Starter Method (Aka, White Glue and Food Coloring)

I’m telling you — this is crafting 101 level simple.
- Take clear school glue.
- Add a few drops of food coloring.
- Mix it up in a disposable cup.
- Pour the mixture into plastic sheet protectors or a silicone baking mat.
Draw your designs with a toothpick or paintbrush. Let it dry overnight, peel it off, and boom — you’ve got your first set of DIY window clings.
Pro tip: The thicker the glue, the easier it peels without tearing.
3. Turn It Into a Holiday Tradition

Halloween bats, Christmas snowflakes, Valentine hearts — you get the idea.
One of the coolest things about DIY window clings is how seasonal they can be. Imagine the excitement of swapping designs every month. Kids will lose their minds over this, but honestly, adults get the same thrill.
You can even make it a family night: hot cocoa, music, everyone at the table making weird shapes. It’s chaos, but the fun kind.
4. When You Want Something Fancy — Try Puffy Paint
Puffy paint is a game-changer.
It comes in every color under the sun, it’s easy to control for fine lines, and it gives your clings that slightly raised texture.
Here’s the trick:
- Print out a design you like.
- Slip it under a plastic sheet protector.
- Trace it with puffy paint.
Let it dry for 24 hours before peeling. Now you’ve got something that looks store-bought… except you made it in your pajamas.
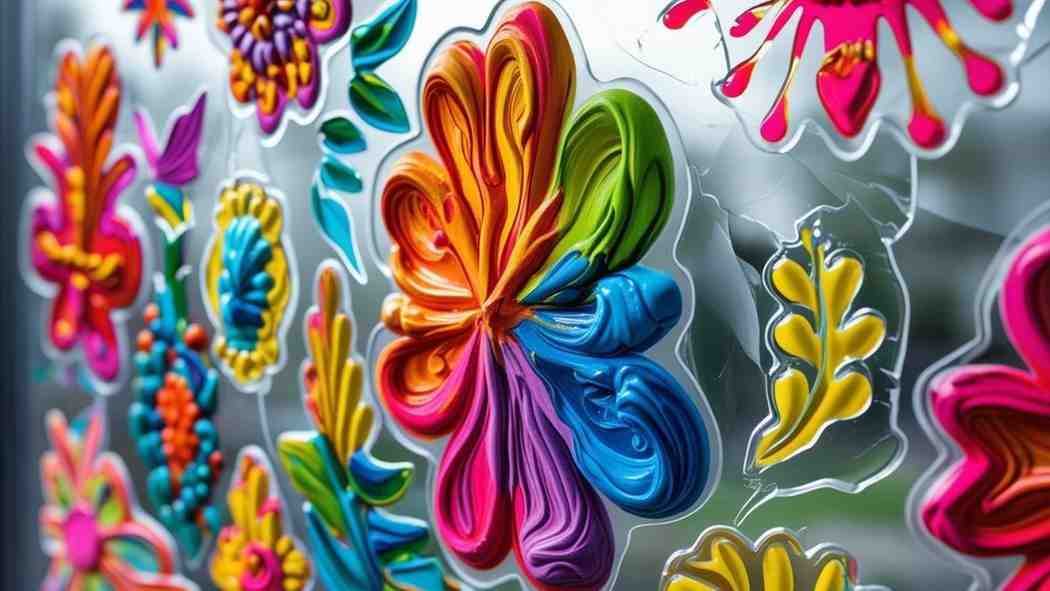
5. Layering Colors for That “Whoa” Effect

One thing I learned: DIY window clings don’t have to be flat and boring. You can layer colors while the base is still a bit wet to create marbled effects. Swirl with a toothpick for tie-dye vibes.
Or, layer a solid color, let it dry, then add a design on top. Suddenly, your window cling looks like it came from a boutique.
6. Using Cookie Cutters as Cling Molds
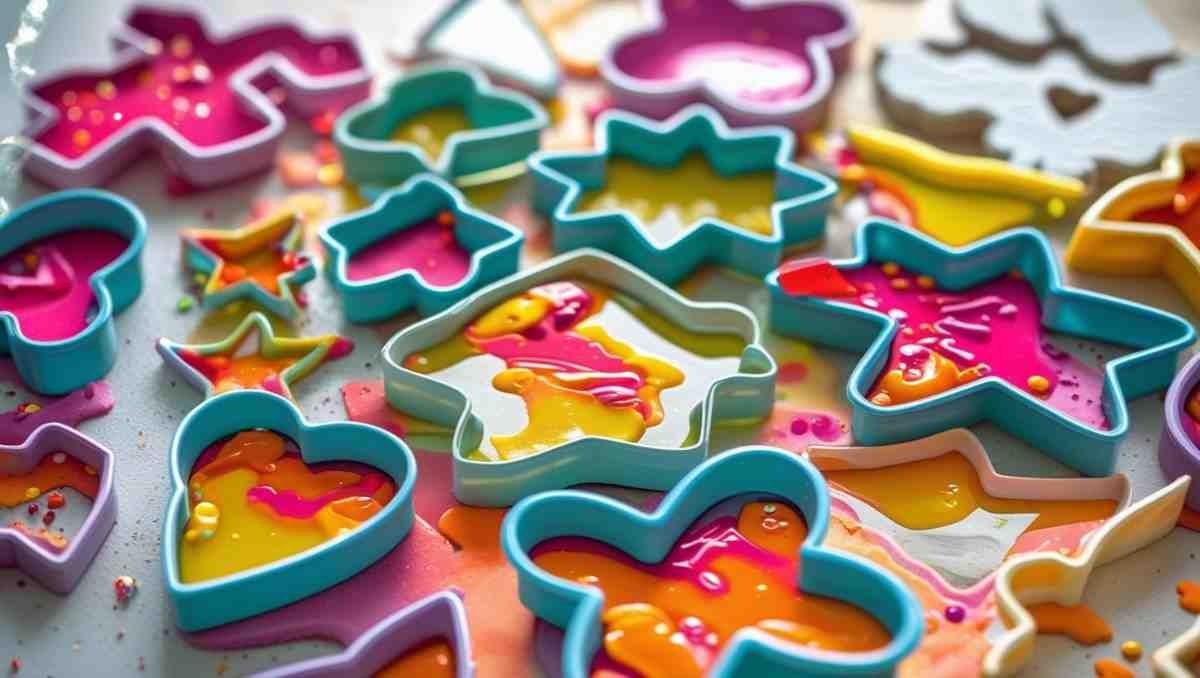
I discovered this by accident while baking.
If you pour tinted glue or puffy paint inside metal cookie cutters placed on a plastic mat, you get perfect shapes every time. Stars, trees, dinosaurs — if there’s a cutter for it, you can make it cling.
And yes, you can absolutely make a whole “cookie platter” for your windows. No calories, just cute.
7. Stained Glass-Style DIY Window Clings

This is where things get artsy.
Outline your design in black puffy paint (for that “lead” look), let it dry, then fill each section with colored glue. When it’s done, hold it up to the window and… wow. Instant stained glass without the expense or commitment.
Pro tip: Use jewel-tone colors for a real glass-like glow when the sun hits.
8. The Reusable Privacy Screen Trick
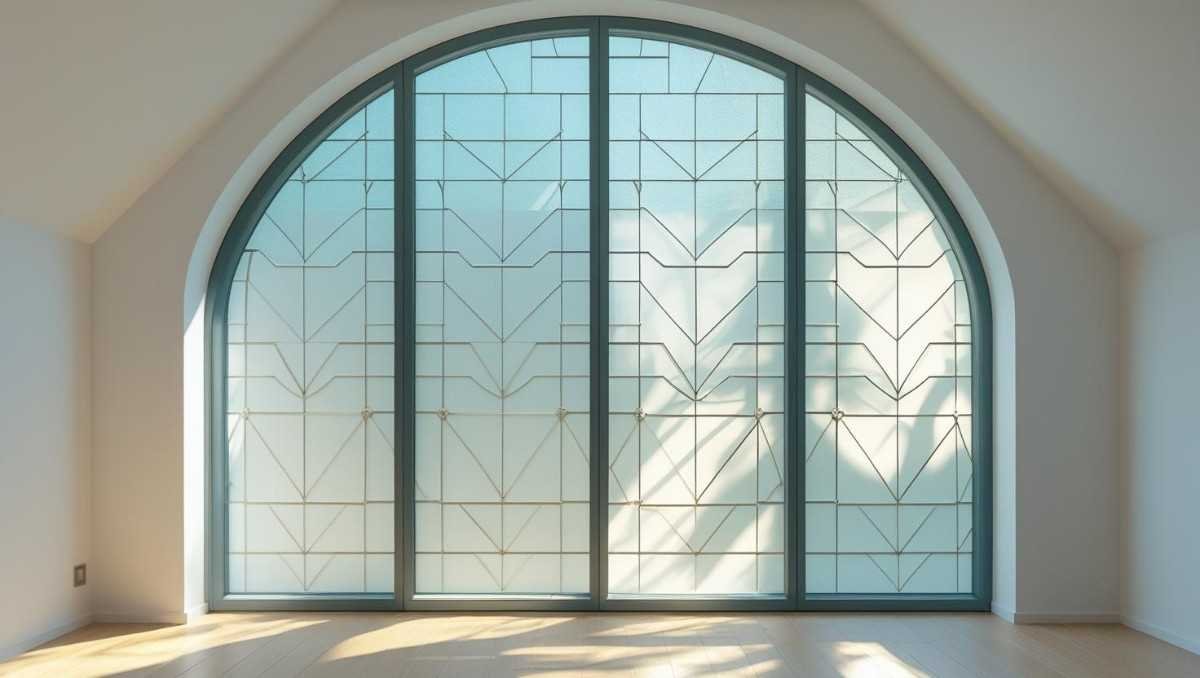
Here’s a practical use for DIY window clings — make them big enough to block a portion of the glass.
Want privacy in your bathroom without frost film? Make frosted-looking clings using white glue mixed with a drop of acrylic paint. Shape them into geometric blocks and arrange them however you like.
It’s functional and pretty.
9. Making Scented Window Clings (Yes, Really)
This one’s weird but delightful. Add a drop of essential oil to your glue mix before pouring. Lavender for calm, citrus for freshness. The scent won’t last forever, but it’s a nice bonus while it does.
Imagine opening a window and getting a little whiff of vanilla from your cling.
10. Kids’ Finger Painting Version

If you’ve got little ones, give them the paint, the glue, and the mat — and let them go wild.
The designs will be abstract, messy, and probably have fingerprints all over, but when they see their art on the window? Best. Day. Ever.
This is also a sneaky way to keep them entertained without screens for an afternoon.
11. The “Why Stop at Windows?” Idea

Here’s the slippery slope: once you get into DIY window clings, you start realizing… they cling to any smooth surface. Mirrors, glass doors, even your fridge.
Before you know it, your house has little pops of color and personality everywhere. Not a bad problem to have.
A Few “I Wish I Knew This Earlier” Tips
- Dry Time Matters – rushing the peel is the fastest way to rip your cling.
- Store Flat – keep them in wax paper folders when not in use.
- Avoid Direct Heat – sunny windows can soften clings in summer.
- Don’t Overthink Designs – simple shapes look amazing in sunlight.
Why DIY Window Clings Are Weirdly Addictive
I didn’t think much of it at first. But once you start, it’s hard to stop because it’s instant gratification without a huge mess or long prep.
They’re also a conversation starter. People notice them, ask where you bought them, and you get to smugly say, “Oh, I made them.”
And let’s be real — there’s something satisfying about peeling them off and re-sticking them somewhere else. It’s like bubble wrap for your inner child.
Do you know how DIY Window Clings helps in to propose? See Here
Wrapping This Up
If you’ve been itching for a low-effort, high-impact creative project, DIY window clings are it. You can start simple with glue and food coloring or go all out with layered puffy paint stained-glass masterpieces.
Whether you’re decorating for the seasons, adding privacy, or just trying to brighten up your space, this is one of those crafts that makes your home feel alive.
So grab your glue, your colors, and maybe a cup of tea — and get ready to turn those boring windows into something worth staring at.
Want to see more DIY solutions?
Check these: