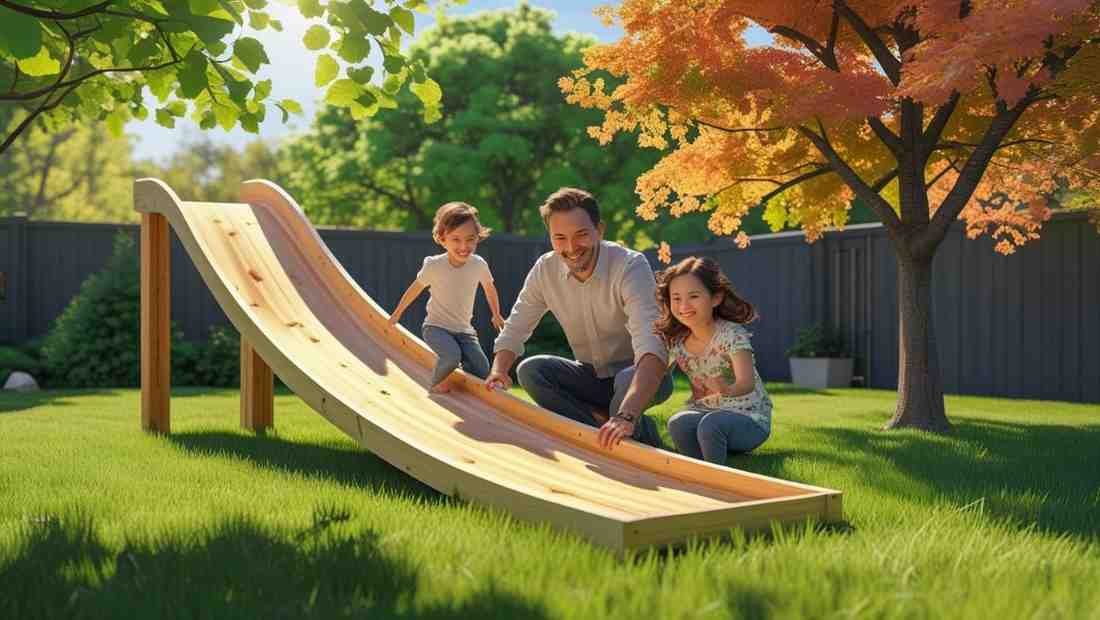
Have you ever stared at an empty corner in your backyard or that awkward space in your kid’s playroom and thought… This needs a slide? Yeah, me too. A diy slide is one of those magical projects that’s equal parts thrill, chaos, and “why did I start this again?” But in the end—it’s all worth it.
Here’s the thing. Slides aren’t just for playgrounds. They can sneak into so many spots—treehouses, loft beds, back decks, even a garden if you’re feeling quirky. And building one yourself? That’s where the adventure begins.
Let me walk you through the journey. No stiff how-to instructions, no intimidating technical jargon. Just you, me, some wood, screws, a little planning, and a sprinkle of “oops” moments along the way.
Step 1: The Big Why — Why You Even Want a DIY Slide
Before you pick up a saw or start Googling “how to diy slide in 10 minutes” (spoiler: it’s not happening in 10 minutes), let’s pause. Why are you making this thing?
For me, it started with my niece. She was at that age where playgrounds were magical but my backyard… not so much. I wanted something fun, something bold. And honestly, a diy slide just sounded like a project that’d make me feel like the cool grown-up.
Your reason might be different—maybe you’re upgrading a treehouse, adding a twist to a loft bed, or creating a backyard masterpiece. Knowing your “why” keeps you from quitting halfway through when the screws roll under the deck and the measuring tape mysteriously disappears.
Step 2: Choosing the Right Spot (The Slide Deserves It)
Slides have personalities. Some are fast and steep, others are gentle and chill. Where you place it shapes the whole vibe.
Ask yourself:
- Will it connect from a platform like a deck or loft?
- Is there enough landing space at the bottom?
- Is it shaded (because hot slides are the enemy of bare legs)?
- Is the ground soft enough for a safe landing, or will you need to add a mat or grass patch?
My first diy slide idea was to attach it to my porch. Great idea—until I realized the bottom ended right next to the rose bushes. Not exactly a kid-friendly landing.
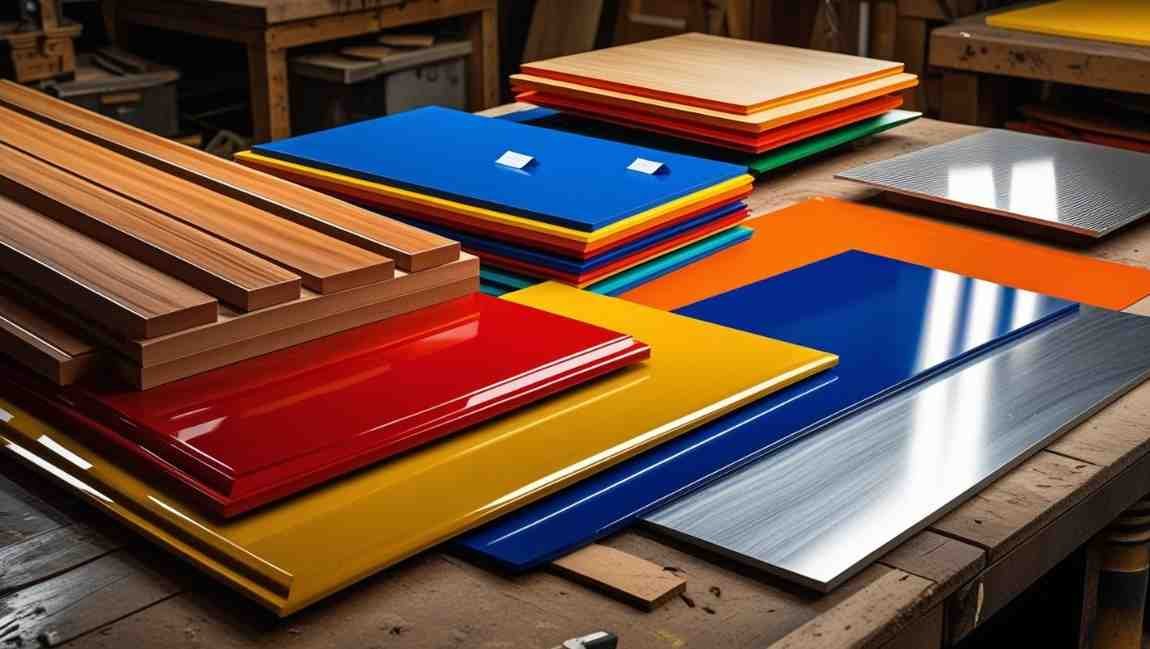
Step 3: Picking the Material (The Slide Personality Test)
Here’s where you get creative.
Popular DIY Slide Options:
- Wood: Classic, sturdy, but needs a slick surface for sliding.
- PVC Sheets: Smooth and fast, perfect for smaller indoor slides.
- Repurposed Metal: Great for durability, but you have to watch for sharp edges and heat.
- Fiberglass: Fancy, but harder to work with if you’ve never done it before.
For my backyard project, I went with plywood for the structure and a thin sheet of smooth laminate to make it slippery. Worked like a charm. The key with a diy slide is balancing durability with “zoom factor.”
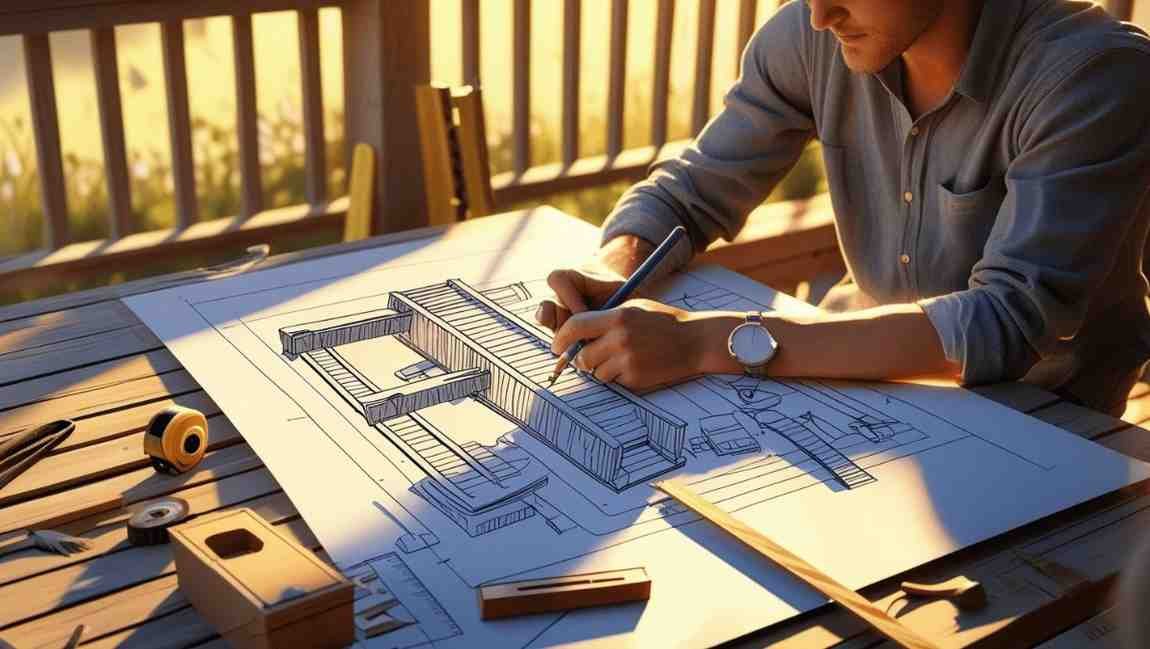
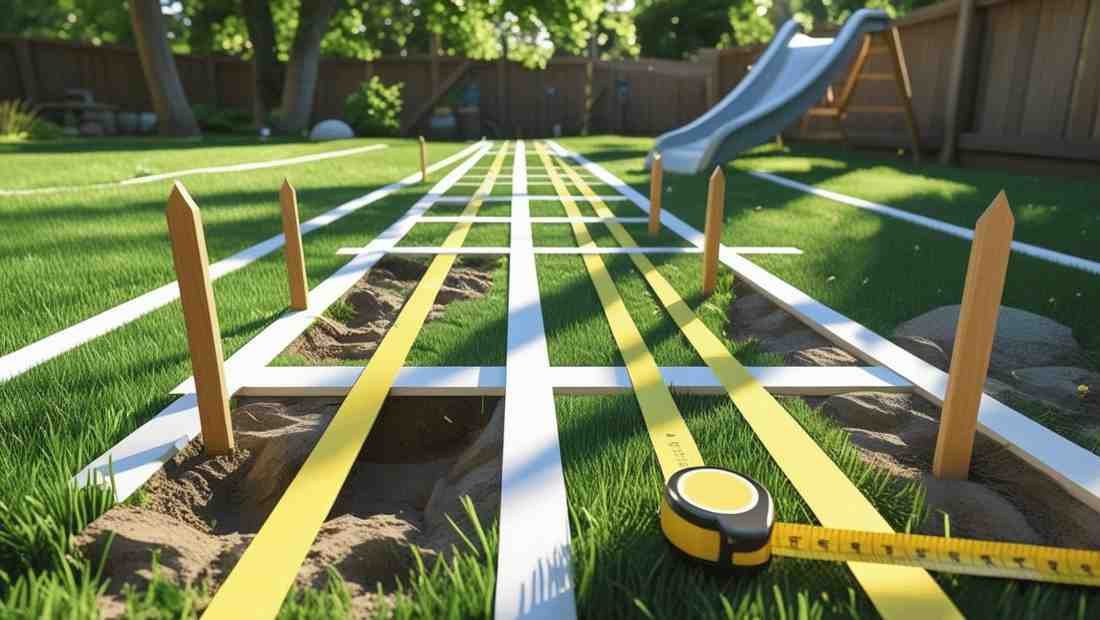
Step 4: Measurements — AKA, The Part Everyone Wants to Skip
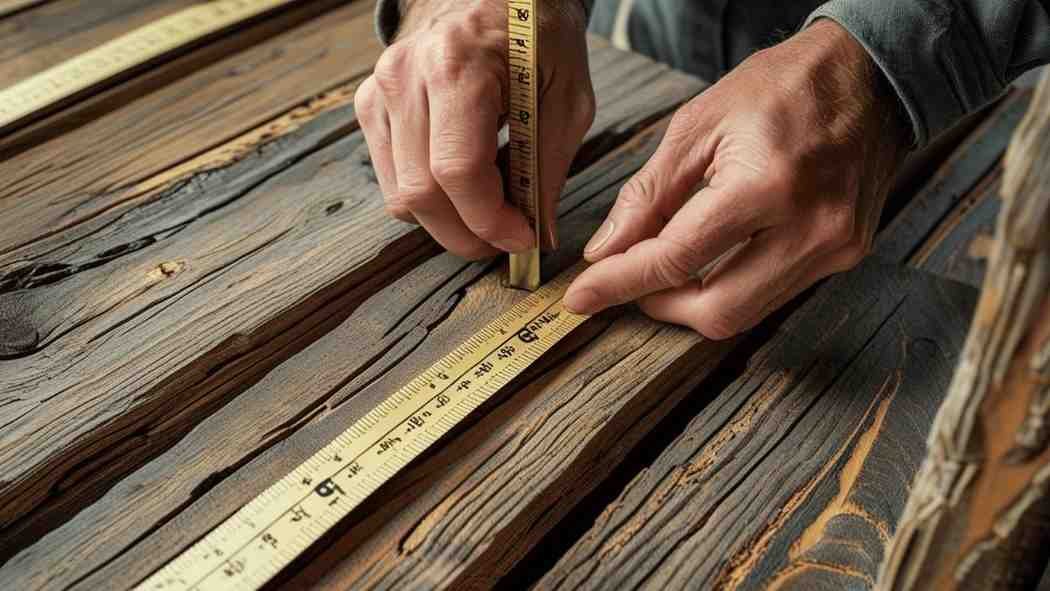
Look, I know. Measuring isn’t exciting. But if your diy slide is too steep, it’s going to be terrifying (and possibly dangerous). Too flat? Kids will push themselves halfway down before giving up.
Quick Slide Angle Rule:
- Aim for a 35–40 degree angle for a fun but safe ride.
You’ll also want to:
- Measure the height of your starting point.
- Decide how long the slide should be based on that height.
- Factor in supports for stability.
When I built my first diy slide, I sketched it out on scrap paper. Nothing fancy. But those numbers saved me from building something that looked more like a ramp for toy cars than an actual slide.
Step 5: Building the Frame — The Skeleton of Fun
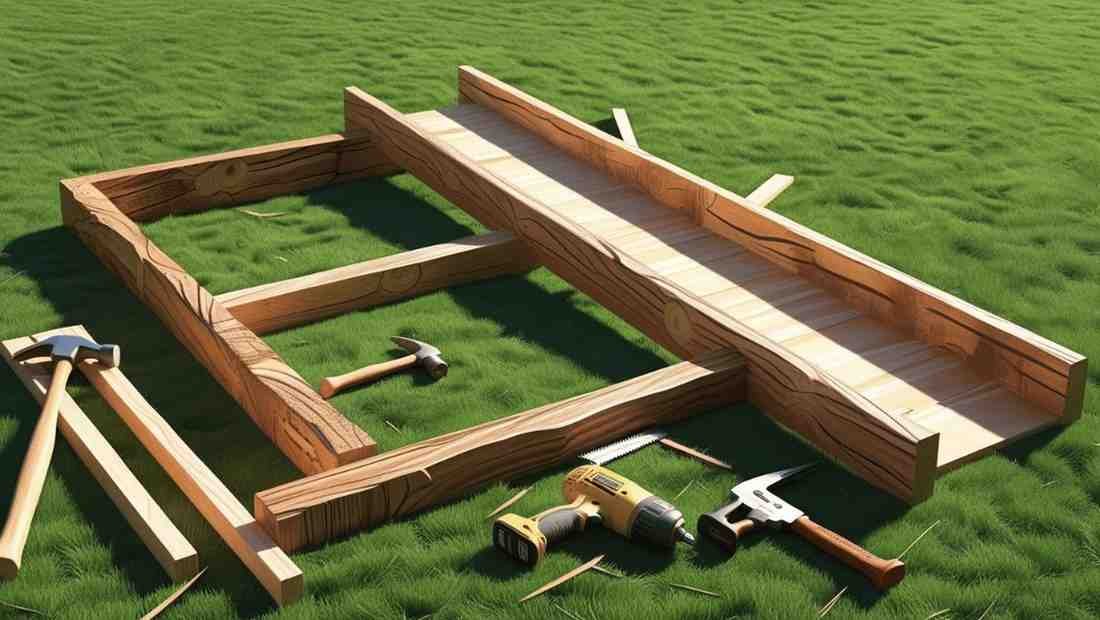
Think of the frame as the bones of your diy slide. Without a strong frame, you’ve just got a wobbly piece of material pretending to be a playground feature.
Basic Frame Tips:
- Use treated wood for outdoor slides so it lasts through the weather.
- Anchor it well to your starting platform.
- Add side rails (trust me, you’ll thank yourself later).
My slide’s first test run? Let’s just say it wobbled like a folding chair at a barbecue. I ended up adding cross braces, and suddenly it felt rock-solid.
Step 6: The Sliding Surface — The Real Star of the Show
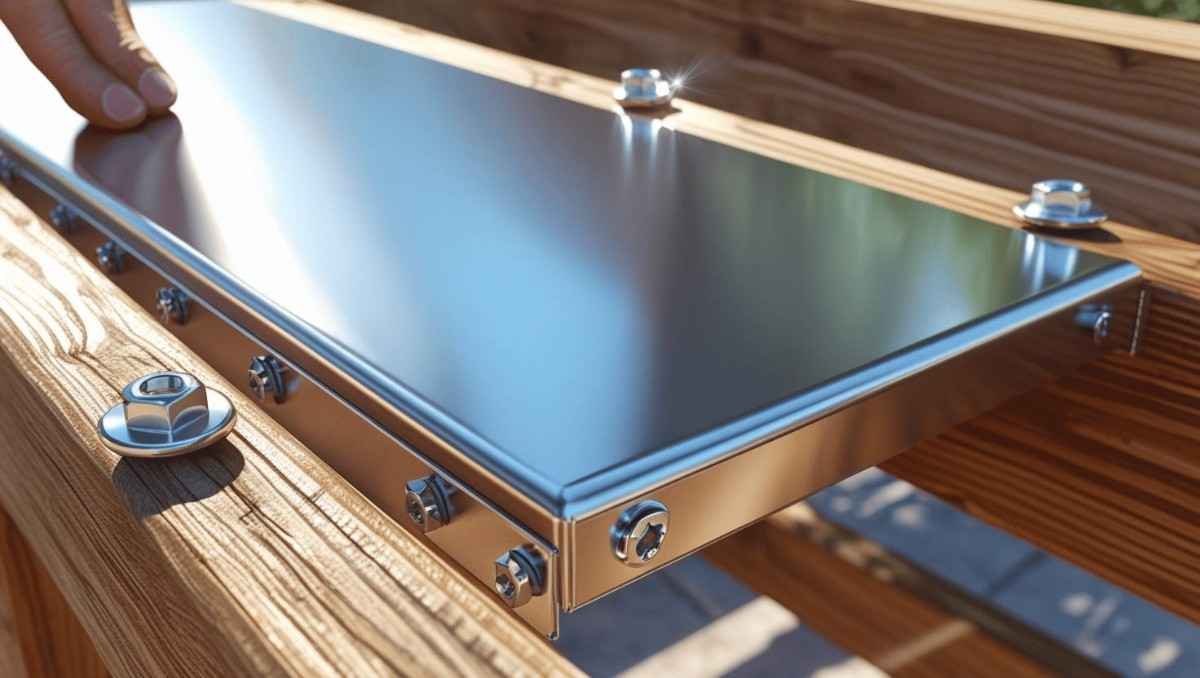
This is the part kids actually care about. The surface needs to be smooth, safe, and, ideally, fun.
Ideas for the Sliding Surface:
- Laminated plywood (fast and budget-friendly)
- Large PVC sheet (lightweight, good for smaller builds)
- Pre-made playground slide (attach to your frame)
If you want your diy slide to feel like the “real deal,” avoid rough wood finishes. Sand it smooth, coat it, or cover it with a slippery surface. And if you want to go extra, add a curve at the end so riders don’t just hit the ground— they glide into it.
Step 7: Testing, Adjusting, and Adding the Fun Factor

Moment of truth. You’ve built it. It’s standing tall. Now what? You test it.
Here’s my advice:
- Test it yourself before letting kids on.
- If it’s too slow, wax the surface.
- If it’s too fast, add a small bump or a softer landing area.
When I slid down my first diy slide, I was instantly transported back to being 7 years old. I also landed in the grass a little harder than I expected, but hey—adjustments were made.
Bonus Touches to Make Your DIY Slide Shine
Want to take it from “cool” to “legendary”? Try these:
- Add a canopy or shade above the top.
- Paint it bright colors.
- Put a little water hose at the top in summer for a mini water slide effect.
- Decorate the sides with fun cutouts or designs.
Your diy slide should match your personality. The best ones always do.
Lessons Learned from My DIY Slide Adventure
Building a diy slide isn’t just about the end product—it’s about the process. I learned:
- Double-check every measurement.
- Start with a solid frame.
- Expect to make tweaks even after it’s “done.”
It’s messy. It’s a little unpredictable. But when you see that first smile as someone zips down your creation? Worth every splinter, every “oops,” every trip back to the toolbox.
Do you know how DIY Slide helps in to propose? See Here
Final Thoughts — You Can Absolutely Do This
If you’ve been dreaming about building your own diy slide, this is your sign. You don’t need to be a master carpenter or a playground engineer. You just need some basic tools, a clear vision, and the willingness to laugh at yourself when things don’t go perfectly.
Because here’s the truth: a diy slide isn’t just a slide. It’s a memory-making machine. And those memories? They’ll outlast any screw, paint job, or sunny afternoon it sits in your backyard.
So, grab that wood, measure twice, cut once, and get sliding.
Want to see more DIY solutions?
Check these: