
Let me tell you something… benches are sneaky.
They seem harmless at first. You bring one home, stick it by the window, maybe at the foot of the bed, or in the hallway. And then one day, you sit down with your cup of tea and realize—ouch. That’s just a flat, hard surface under your poor behind. And you think, how on earth did I never notice this before?
That’s how my obsession with making a diy bench cushion began.
Not the fancy, over-complicated way. Not the “call an upholsterer” way. Nope. Just me, a bench, a stubborn afternoon, and a little pile of supplies I half-knew how to use.
And spoiler: it turned out better than I thought. Way better. So today, I’m walking you through exactly how to make your own diy bench cushion, step-by-step, without losing your patience (or your sanity).
Step 1: Decide What This Cushion Is Really For
Sounds obvious, right? But trust me, this is where half the mistakes happen.
Ask yourself: is your diy bench cushion for sitting every single day? Or is it more for looks and the occasional use?
Because here’s the thing—if it’s just for decoration, you can get away with softer foam, less padding, and maybe even skipping the zipper. But if it’s for daily use, you’re gonna want denser foam and durable fabric that can take a beating.
For me, mine was for the breakfast nook. Which means constant coffee spills, toast crumbs, and maybe a cat or two sitting on it when no one’s looking.
Step 2: Measure Like You Mean It
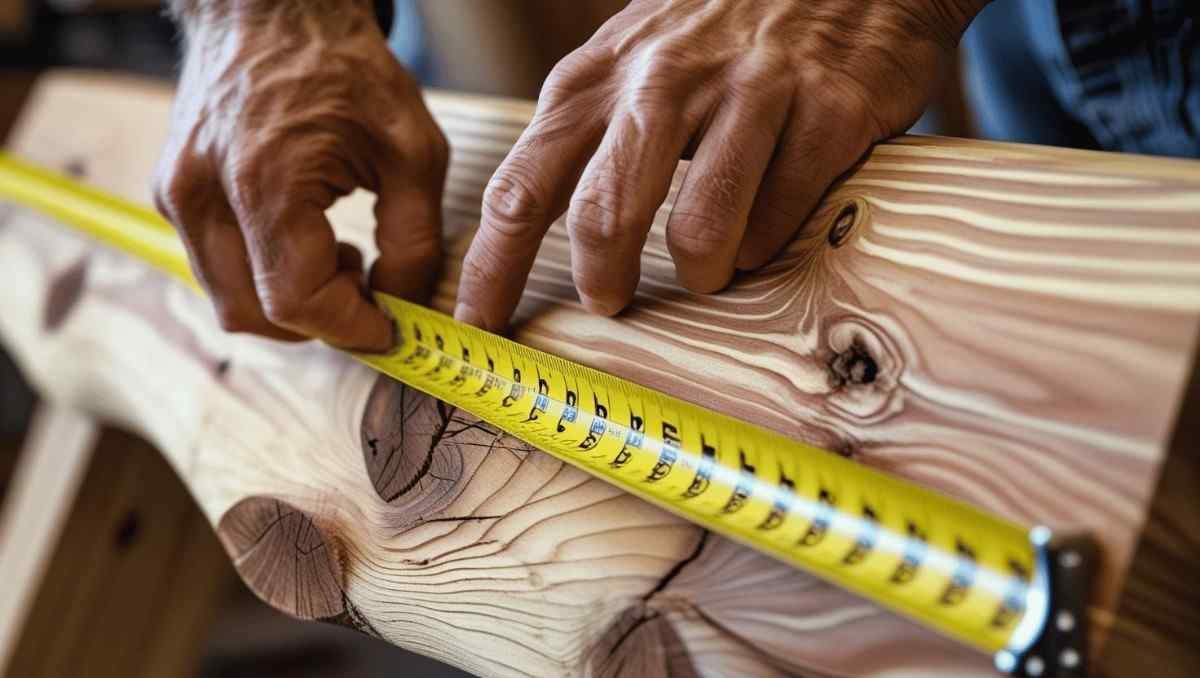
Here’s the deal. If you mess up measurements, nothing else matters. You’ll either end up with a cushion that’s sagging in the middle or one that’s trying to escape off the bench entirely.
Grab your measuring tape. Measure length, width, and thickness.
Then do it again. And again. Write it down.
Pro tip: if your bench is against a wall, don’t make the cushion so thick that it pushes you forward awkwardly. Learned that the hard way.
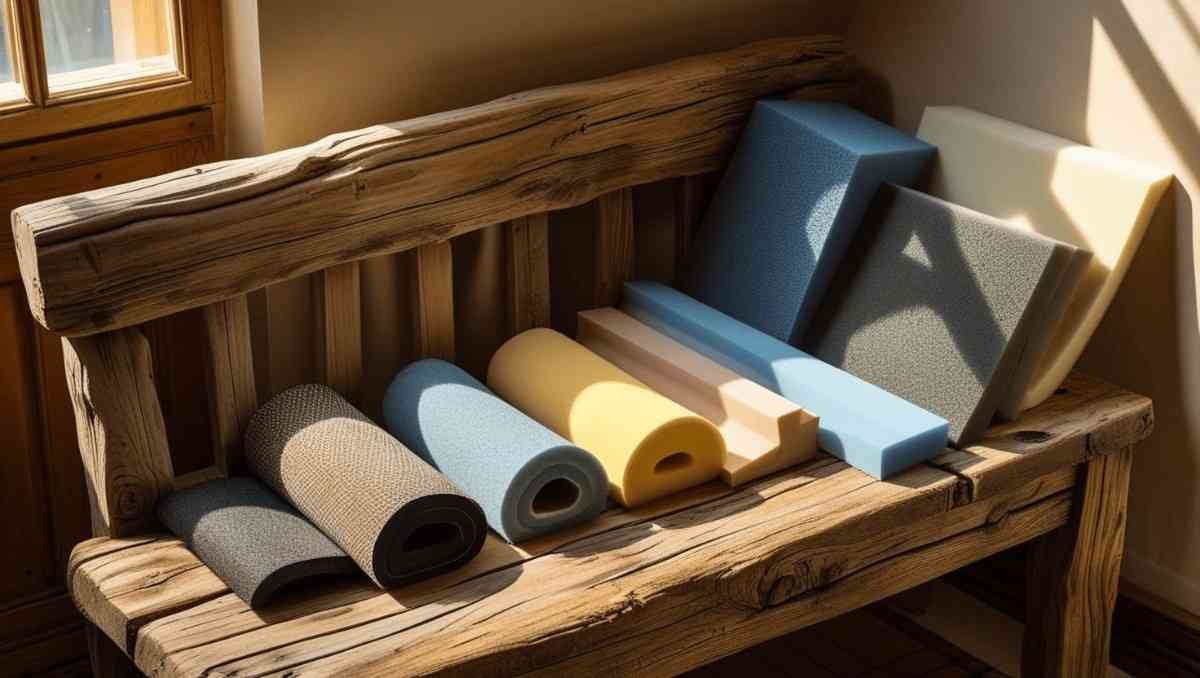
Step 3: Pick the Right Foam (Don’t Overthink It… But Also Kinda Do)

This is where a lot of people freeze. Foam sounds boring until you realize there are about 73 different kinds.
For most diy bench cushion projects, high-density foam is the way to go. It keeps its shape and doesn’t flatten into a sad pancake after a month.
Go for 2–3 inches thick if it’s for sitting. If it’s purely decorative, you can cheat with 1 inch.
If you want it extra plush, you can wrap the foam in batting—it makes everything feel softer and look more rounded.
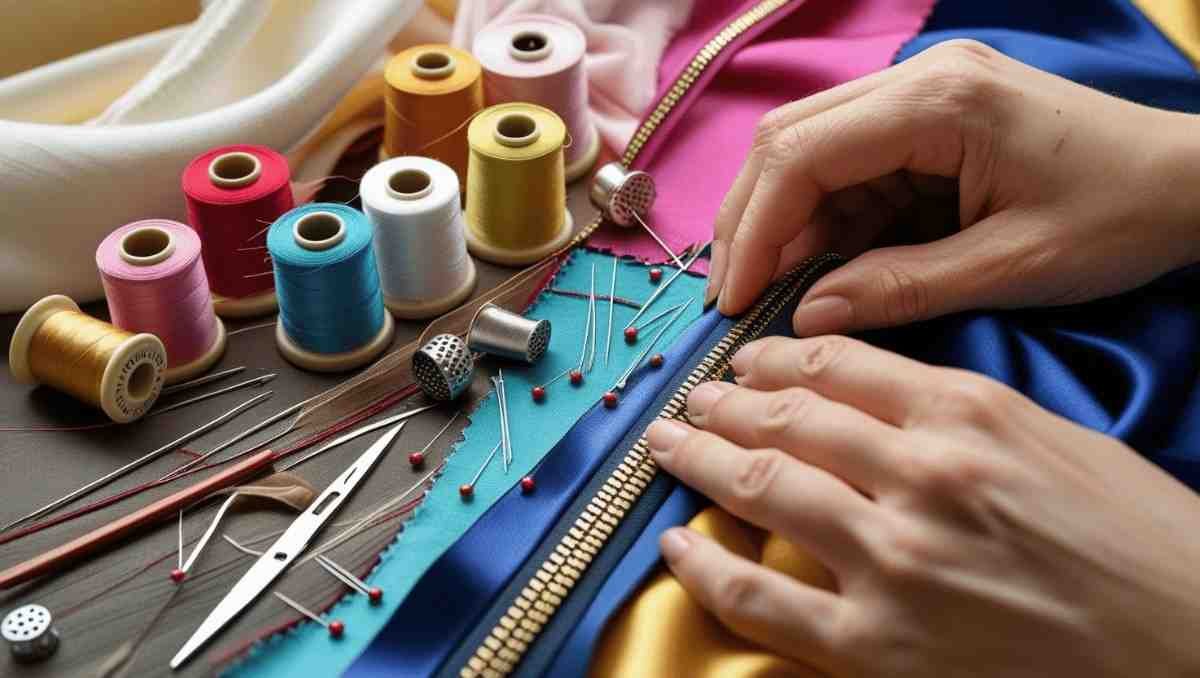
Step 4: Fabric — The Big Personality Choice

Ah, fabric. This is where you get to have some fun.
I went with a heavy-duty, textured cotton because my diy bench cushion needed to survive breakfast chaos. But honestly? You could go bold—florals, stripes, linen, faux leather, whatever matches your vibe.
A few thoughts before you fall in love with something impractical:
- Go for something washable if possible.
- Thicker fabric lasts longer but is harder to sew.
- If you have pets, avoid anything that will collect hair like Velcro.
Step 5: The Cutting Stage (AKA The Moment of No Return)

Now you’re going to cut both your foam and fabric.
Foam: Use a serrated bread knife or electric carving knife for a clean cut. Don’t just hack away with scissors unless you want jagged edges.
Fabric: Lay your foam on top of the fabric and cut around it, leaving an extra 2–3 inches on all sides for seam allowance.
This is where I got nervous my first time. Like… what if I mess it up? But hey, fabric can be forgiving if you’re off by a little.
Step 6: Decide on Closure (Zipper, Velcro, or the “No Way Out” Option)
A zipper makes it easy to remove and wash the cover. Velcro works too, but it can look a little casual. And then there’s the permanent sew—it’s neat and tidy, but you’re basically committing to never taking it off without a fight.
For my breakfast bench diy bench cushion, I went zipper. Yes, it’s slightly more work, but totally worth it.
Step 7: Sewing (Don’t Panic)

You don’t have to be a pro sewer to pull this off. Straight lines are your friend here.
Basically:
- Place the fabric pieces right sides together.
- Sew along the edges, leaving one side open for foam insertion.
- If you’re doing a zipper, attach it before sewing the final edges shut.
And don’t beat yourself up if the stitching isn’t perfect. This is a cushion, not a couture gown.
Step 8: Stuff It and Shape It
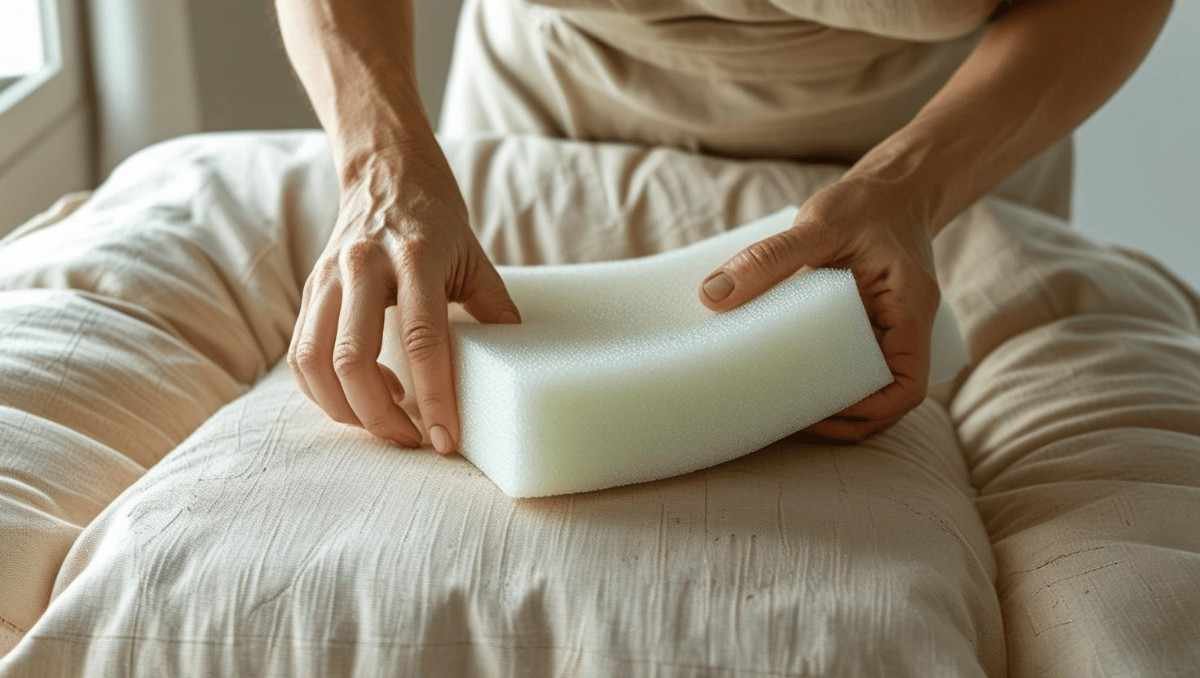
Here’s the most satisfying part. Slide the foam into the cover (easier said than done—sometimes it feels like trying to dress a cat).
Once it’s in, fluff it around, adjust the corners, and zip or seal it up.
Boom. That’s your diy bench cushion right there.
Step 9: Style It Like It Belongs in a Magazine

Don’t just plop it on the bench and walk away. Layer it with throw pillows. Add a cozy blanket nearby. Position it so the seams are straight.
It’s amazing how much a simple cushion can make a bench look intentional, inviting… like it’s been waiting for you to sit down with a good book.
Extra Little Tips (Because I Can’t Help Myself)
- If your bench is in direct sunlight, go for UV-resistant fabric.
- For outdoor benches, use weatherproof foam and fabric.
- If sewing feels like too much, you can use iron-on hem tape to make a slipcover instead.
Do you know how DIY Bench Cushion helps in to propose? See Here
Why DIY Feels So Good
Honestly, making my own diy bench cushion wasn’t just about comfort. It was about looking at something in my home and thinking, I made that.
There’s something deeply satisfying about taking a hard, bare bench and transforming it into a soft, inviting space. And when people compliment it? Oh, you better believe I tell them the whole story.
Final thought? If you’ve been staring at your bench and wishing it was a little less “meh” and a little more “wow,” give this a try. You might just surprise yourself.
Want to see more DIY solutions?
Check these: