
Okay, let’s get one thing straight.
If you’ve ever watched your cat try to nap under a bush, or curl up next to your A/C unit (why??), you’ve probably thought—”Maybe I should build them something. Like… a real thing.”
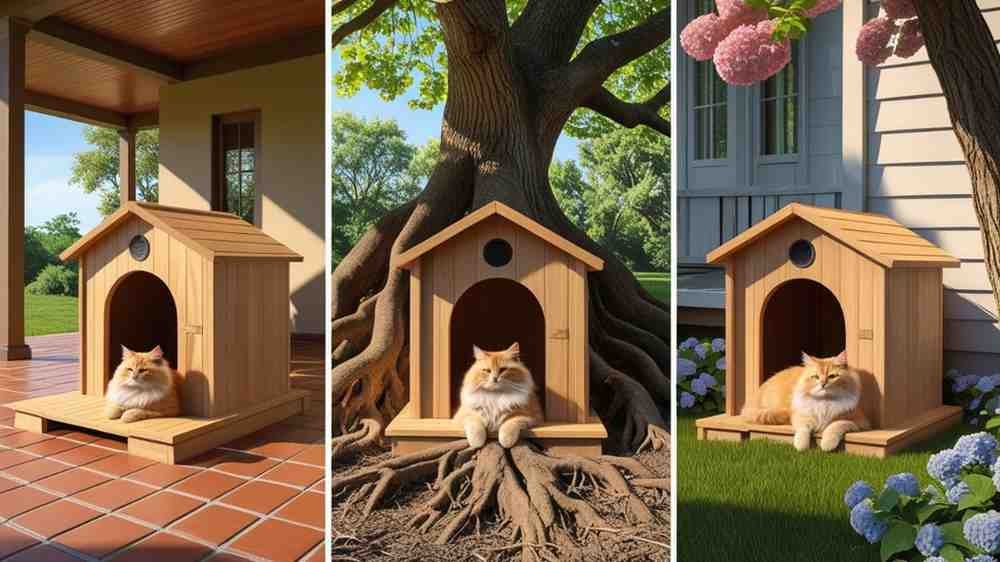
Welcome to the wild world of cat houses for outside DIY.
You’re not alone, friend.
I was right there with you. Cold coffee in one hand, YouTube tutorial in the other, looking at my tabby Mr. Wiggles shiver on the porch like some sad Victorian orphan. That’s when I said it. Out loud.
“I’m making you a house, buddy.”
He blinked. Probably unimpressed. But my mission was clear.
Why Even Bother With Cat Houses for Outside DIY?
Let’s talk motivation real quick.
Sure, you can buy one. But the good ones cost an arm, leg, and possibly a kidney. And the cheap ones? Fall apart faster than you can say “meow.”
Building cat houses for outside DIY gives you control.
- You choose the size.
- You decide how weatherproof it is.
- You make it cute. Or rugged. Or modern. (Minimalist cat mansion? Yes please.)
And hey, bonus? It’s kinda fun. Therapeutic even.
Also… they need it.
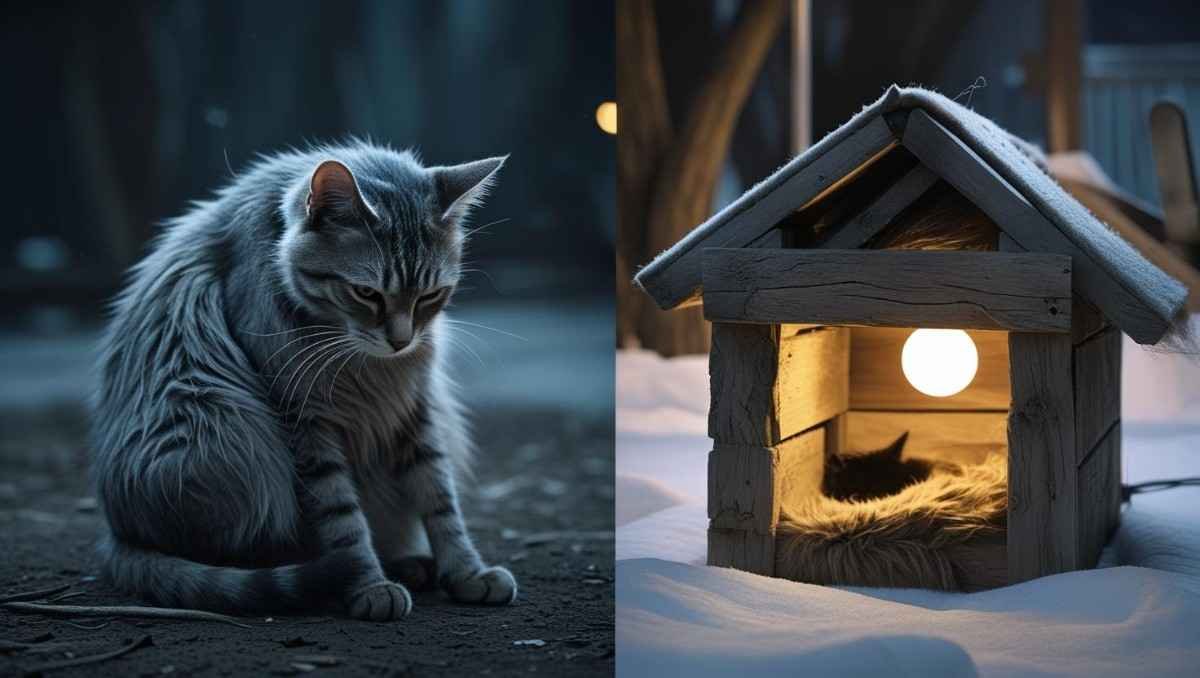
Outdoor cats deal with cold, rain, heat, predators, you name it. Whether they’re your pets, strays, or just the neighborhood freeloaders, giving them shelter is just… the right thing.
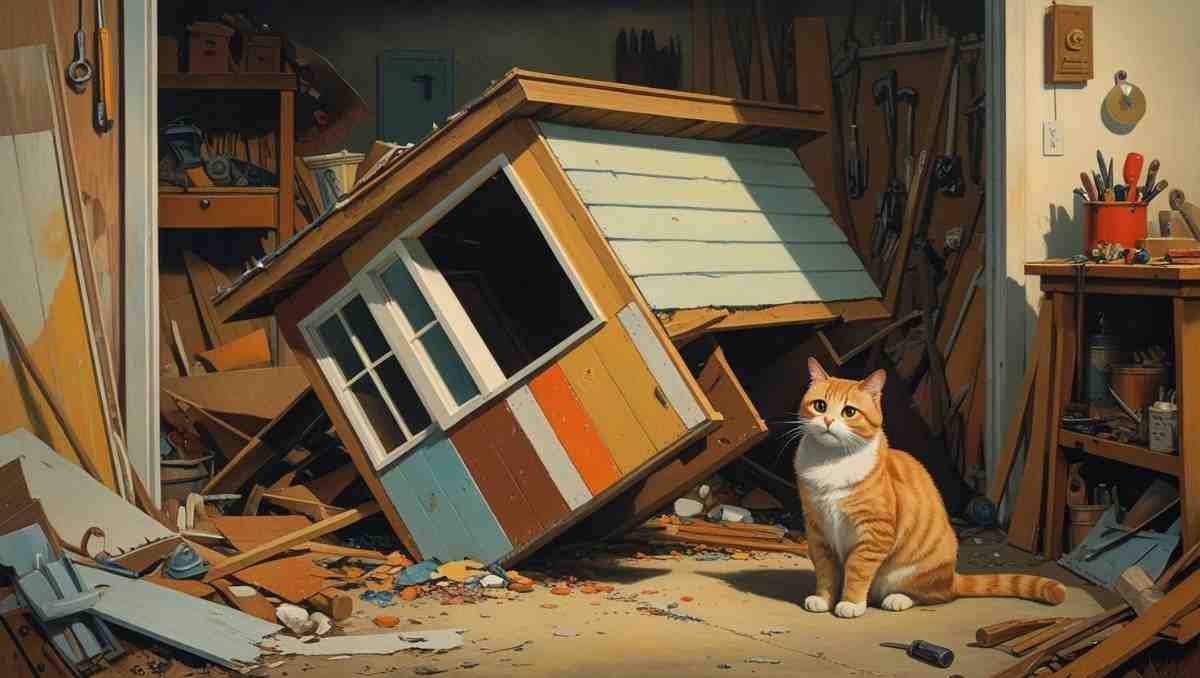
My First Cat House Attempt (Spoiler: It Was a Disaster)
Okay, confession time.
I started with a plastic bin and some straw. Seemed easy enough. Until the wind picked up. The whole thing flew across my backyard like a makeshift tumbleweed.
Mr. Wiggles? He looked at me like, “You done?”
Back to the drawing board.
I went deeper. Forums. Tutorials. Reddit rabbit holes. Eventually, I pieced together the golden rule of cat houses for outside DIY:
Sturdy. Insulated. Slightly raised. And dry. Always dry.
Once I understood that, things got better. Like… actually useful better.
What You’ll Need (Not as Much as You’d Think)
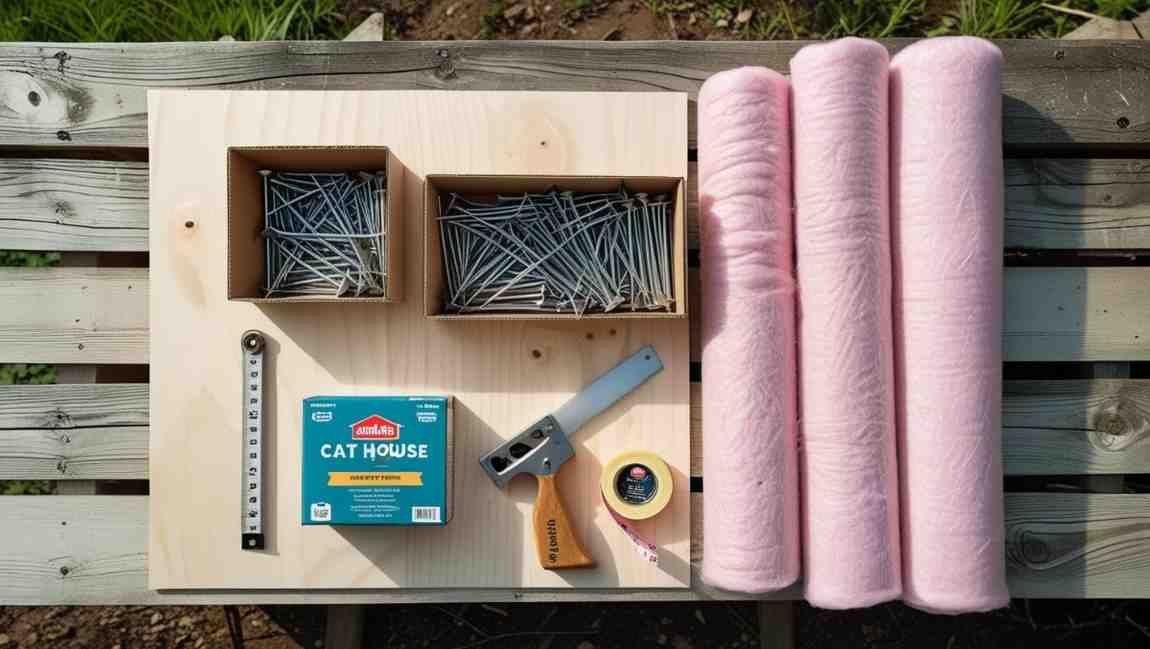
Here’s the thing. You don’t need fancy stuff.
Sure, you can go wild with tools and materials. But if you’re a normal human with no workshop, here’s the basics for solid cat houses for outside DIY:
- Plastic storage bin (with a lid)
- Styrofoam or insulation board
- Straw (not hay—hay molds!)
- Box cutter
- Duct tape
- Blankets (optional, only for dry climates)
- Rubber feet or wood pieces (to raise the house off the ground)
Optional, but fun:
- Outdoor-safe paint
- Shingles
- Small pet door flap
- Heating pad (only if you’ve got an outlet and it’s made for outdoor animals)
If you’re going full woodshop, then of course:
- Plywood
- Nails/screws
- Saw
- Drill
- Weatherproof sealant
But hey. Even the bin version works like a charm if you do it right.
Step-By-Step: Make It Cozy, Make It Last
1. Cut the Door Hole
Start simple. Grab your box cutter and cut a hole about 6 inches off the ground. Big enough for a cat to slide through, but not raccoon-sized. Around 6″ x 6″ is solid.
Why raised? Because rain.
Also? Keeps it warmer inside.
2. Line the Walls
Take your insulation board or styrofoam and line all sides of the bin. Walls. Floor. Lid.
Don’t glue it in—tape it. You might wanna remove or replace stuff later.
3. Add Straw
Not blankets. Not towels. They absorb moisture. Straw repels it.
Pile it in like a fluffy golden nest. Make it deep, cozy. Give it those winter cabin vibes.
4. Elevate It
Cats don’t like sleeping in puddles. So grab some bricks or wood and get that sucker off the ground. 2-4 inches is usually enough.
Also? Helps keep bugs out. Double win.
5. Secure the Lid
Tape it, bungee it, whatever works. Just make sure wind won’t rip it off mid-storm.
Optional: Add a little overhang or mini roof if you wanna get fancy.
Boom. You just built a weatherproof, comfy, stylish little kitty condo.
That’s the core of cat houses for outside DIY, right there.
Wanna Go Fancy? Here’s How to Upgrade
Feeling bold?
Let’s talk deluxe features.
✦ Add a Second Room
Yep. Just like a human house. One space for sleeping, another for eating or lounging. Some people even add “sunrooms” with plexiglass panels.
Why not. They’re worth it.
✦ Install a Flap Door
You can buy them online. Makes the space warmer, safer, and cozier. Plus, it looks legit.
✦ Heating Options
Only if it’s made for outdoor pets. Heated pads can be amazing, but never use indoor heating devices.
That’s a no-no. Fire risk.
Go for stuff rated for barn cats or ferals.
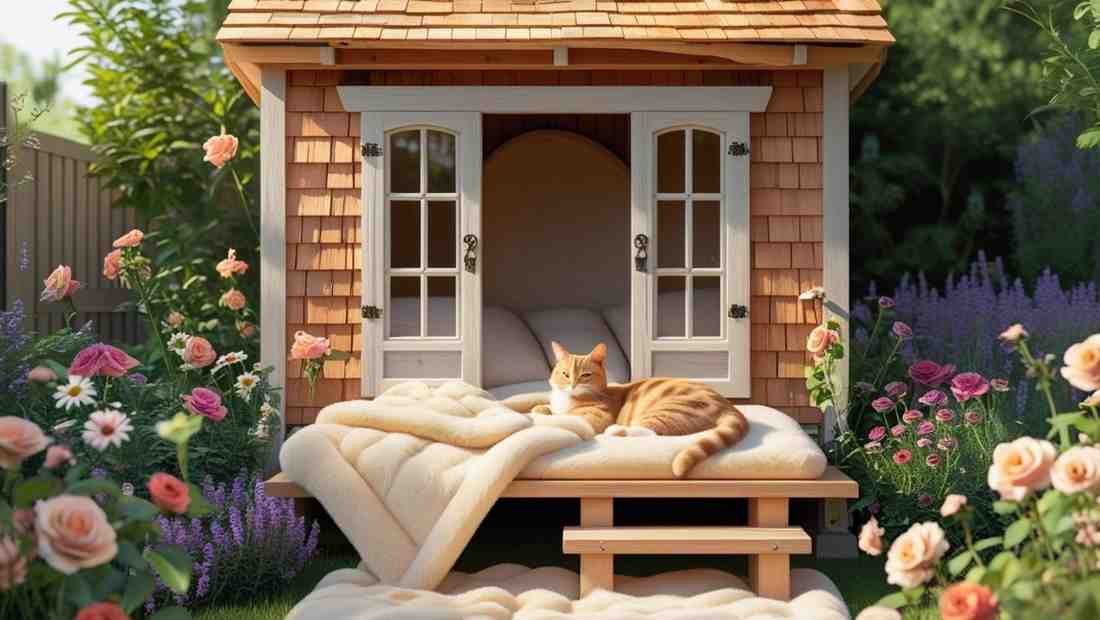
✦ Paint It Pretty
Weather-resistant outdoor paint turns your project from “meh” to “whoa.” Match your house? Go wild with color? Add their name in cursive? Do you.
Mistakes I Made So You Don’t Have To

Learn from my shame.
Seriously.
✗ Used Hay
Huge mistake. Molded fast. Smelled awful. Cats bailed.
Always straw. Always.
✗ Skipped Elevating
The rain came. The house… flooded. Mr. Wiggles moved back under the BBQ grill.
Lesson learned.
✗ Put It in a Wind Tunnel
I thought the backyard corner was “cute.” Turns out, it was a wind trap. Bin flew 20 feet during a storm. Now I anchor everything.
✗ No Drainage
If you’re using wood, you need drainage holes. Water gets in, even if you don’t see how. A few small holes in the bottom save lives.
Okay, maybe not lives. But definitely blankets.
Where to Place It (This Part Matters)
You’d think just anywhere works. Nope.
Here’s how to choose the perfect spot for your cat houses for outside DIY setup:
- Somewhere quiet but close to home
- Protected from wind and direct rain
- Partial shade in summer, sun in winter
- Near food/water if you provide it
- Camouflaged a bit (for safety)
Also? If you’ve got neighborhood strays, give them some space. Don’t plop it right in the middle of a loud walkway.
Let them find it naturally.
What About Feral Cats?
Great question.
Feral cats love a good hideout. But they’re not going to just walk into anything you build. You gotta be smart about it.
Some tips for cat houses for outside DIY specifically for ferals:
- Make the entrance small
- Avoid windows or big openings
- Skip bright colors—go natural, earthy
- Put it somewhere discreet
And never ever trap them in it. That breaks trust. Let them come and go.
Sometimes they take a week or two to even check it out. But once they do? They’ll be back.
Want to Make Multiple?
You’re ambitious. I like that.
If you’ve got more than one cat—or a whole street’s worth—you can build a few and scatter them.
Or connect them. Like tiny apartments.
Pro tip: Stackable bins = vertical condos. Save space, add cozy.
Just make sure there’s enough airflow and exits. Cats don’t love being trapped.
The Unexpected Joy of Building These
I didn’t expect to feel so good about this.
But honestly? Watching Mr. Wiggles tuck into his little heated straw palace, safe from the cold? Melted my heart.
Even the strays I didn’t know started showing up. One-eyed tabby. Old gray boy. That kitten with the busted ear.
They didn’t ask for much. Just warmth. And a little kindness.
It’s wild how simple cat houses for outside DIY can change things.
Not just for them. For you too.
Do you know how Cat Houses for Outside DIY helps in to propose? See Here
Final Thoughts (aka Just Go Build It)
If you’re even thinking about doing this… do it.
It’s not that hard. It doesn’t cost much. And the payoff? Huge.
Your cats will thank you. Maybe silently. Maybe by not clawing your screen door this week.
Either way… worth it.
Whether you go full architect or slap together a storage bin with straw, you’re doing something that matters.
And that’s the heart of this whole cat houses for outside DIY thing.
It’s love. With duct tape and a box cutter.
Quick Checklist for Your Build
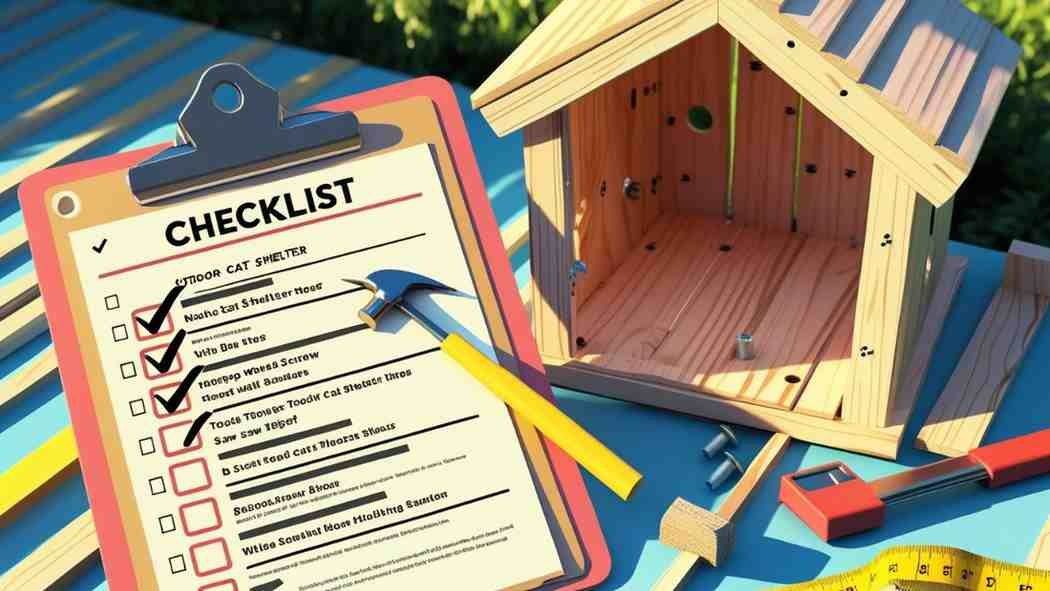
Let’s wrap with a rapid-fire list to keep you sane:
✔ Plastic bin or plywood
✔ Straw (not hay)
✔ Small entrance hole
✔ Insulation
✔ Raised base
✔ Water-resistant design
✔ Placed in a good location
✔ Optional: heat pad, flap, paint job
And most importantly… patience. If they don’t use it right away? Don’t worry.
They will. Trust me.
Now go. Make something awesome.
Build it. Paint it. Toss in a nameplate if you feel fancy.
Whatever you do—just build it with heart. Because every little cat out there deserves a cozy corner.
And you? You’ve got what it takes.
Even if it’s just a box, some tape, and a dream.
Want to see more DIY solutions?
Check these: