Okay, let’s be honest for a sec.
You’re done with the backaches. Tired of sitting for 9 straight hours on that old squeaky chair. And maybe you’ve thought about standing desks before. Then you checked the price… and yep, yikes. Those high-end standing desks? Kinda ridiculous.
That’s where this little DIY journey kicks in.
You’re gonna build your very own diy standing desk. With drawers. Yes—real drawers, not those flimsy plastic bins. Something sturdy. Something sleek. And guess what? It’s way easier than you think.
Let me walk you through how I turned a cluttered corner of my room into the most productive space ever. All thanks to one project: a diy standing desk with built-in storage.
Why a DIY Standing Desk?

Let’s start with why you even need this.
1. Your back will thank you.
Standing desks reduce pressure on your spine and help you stretch more during the day.
2. It boosts energy.
Sounds fake, but I swear it works. I feel more awake just standing while typing.
3. Custom height.
No more leaning down or stacking books under your laptop.
4. Built-in drawers = clutter-free.
All those pens, notepads, sticky notes? Hide them in drawers. No mess.
And lastly… because building your own diy standing desk just feels kinda cool.
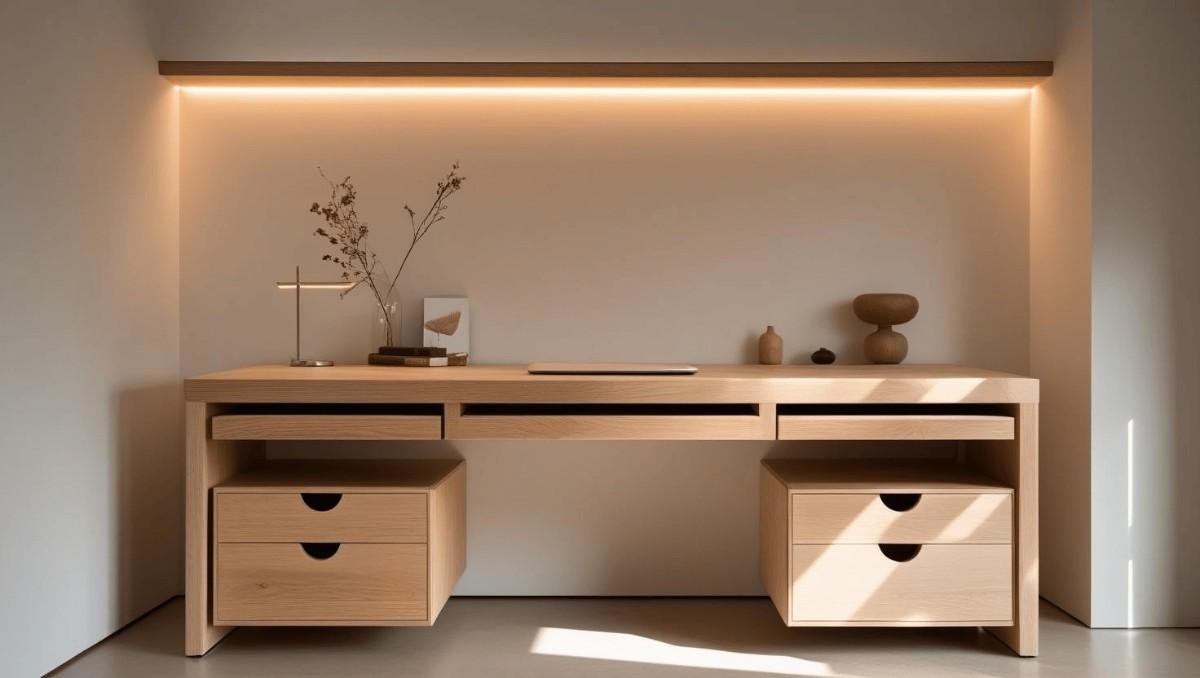
My Desk Dreams (Before It Was Real)
So, I had this vision.
A warm wooden top, two deep drawers on one side, maybe a shelf under the desk, and legs that didn’t wobble like spaghetti. I didn’t want anything too “crafty” looking. I wanted it to look like I bought it at a fancy place. But nope. This baby was gonna be handmade.
Also, I was on a budget. Like, tight-tight. Max budget: $120. Preferably less.
Spoiler alert: I nailed it for under $100.
What You’ll Need
Here’s the fun part—gathering stuff. I got most from the local hardware store and reused a couple things from my garage. You can tweak materials depending on your style.
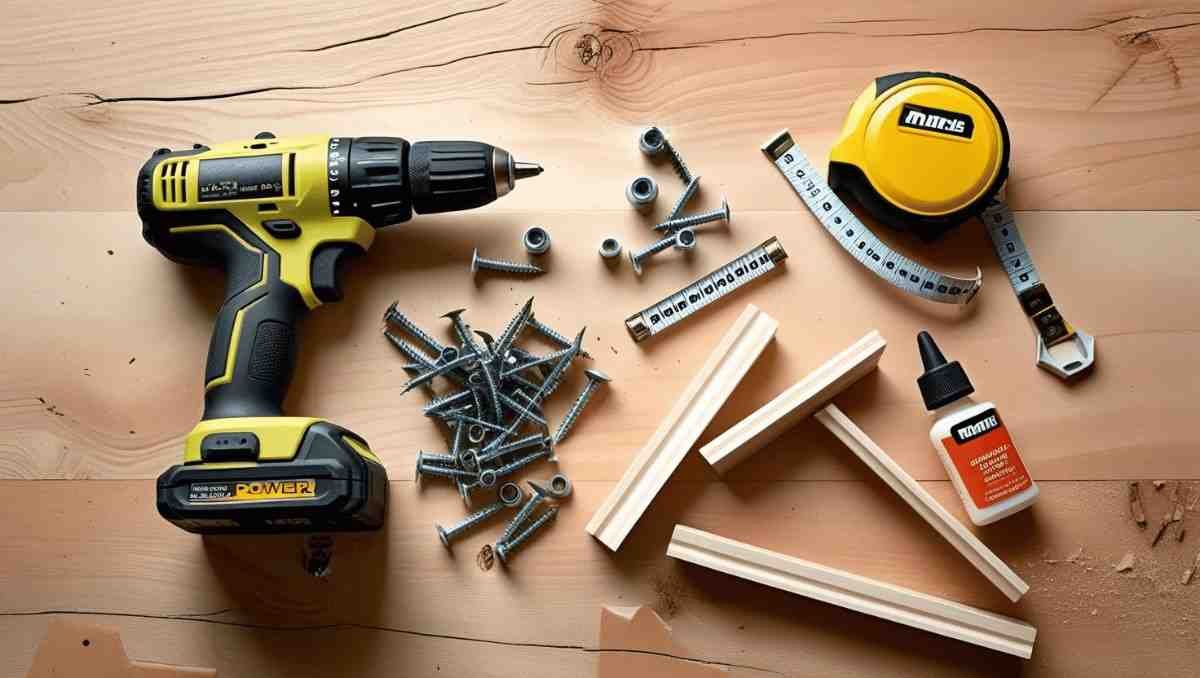
Tools:
- Power drill
- Circular saw (or jigsaw)
- Measuring tape
- Wood glue
- Sandpaper
- Screwdriver
- Clamps (not 100% needed but helpful)
Materials:
- 1 large plywood board for the desktop (I used 48” x 24”)
- 4 table legs (metal or wood, your pick)
- Drawer slides (2 sets)
- Wood for drawer boxes (½” plywood works)
- Drawer handles
- Screws
- Wood filler
- Paint or wood stain (optional)
- Varnish or sealant
- Brackets (for stability)
Got everything? Sweet. Let’s build.
Step-by-Step: Build Your DIY Standing Desk
This isn’t some robotic instruction manual. It’s how I did it. There’s room for mistakes—and trust me, I made a few. But it turned out amazing.
Step 1: Measure Your Standing Height

This is everything.
Stand tall. Now bend your arms like you’re typing. Your forearms should be parallel to the ground. That’s your perfect desk height. Mine was 41 inches, so I cut the legs to match.
Write it down. It’s gold.
Step 2: Build the Desktop
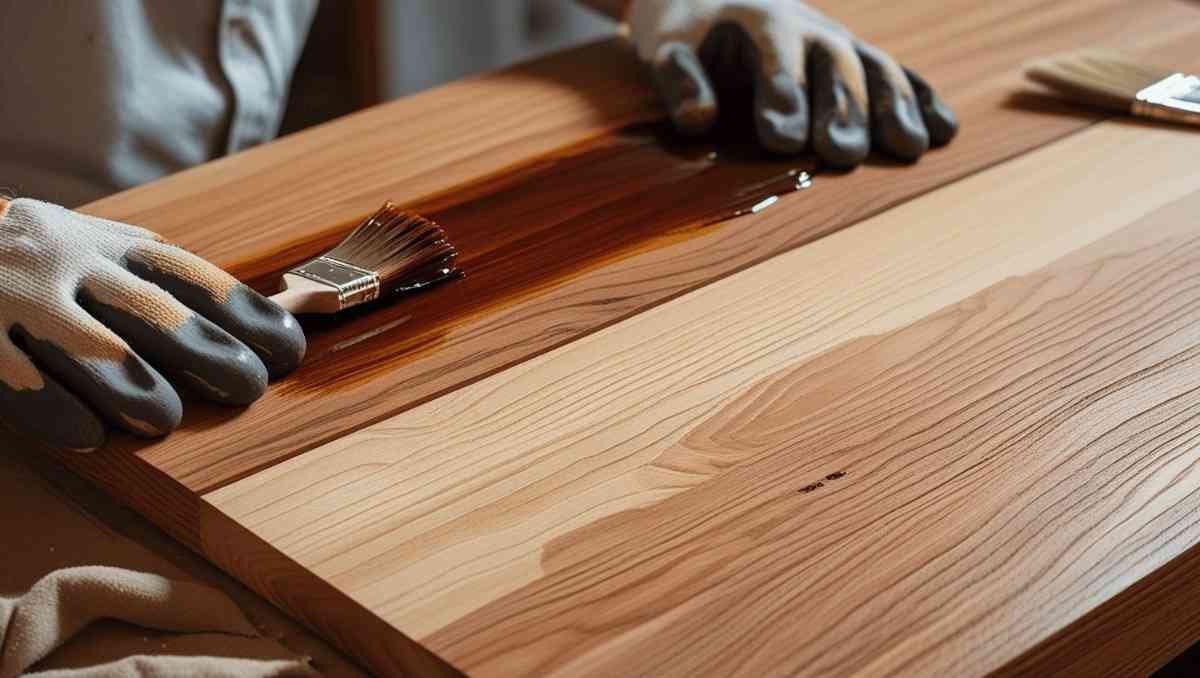
Use that big plywood board as your desktop. I sanded it first (I’m not trying to get splinters typing an email).
Then I stained it dark walnut. Let it dry. Sealed it with a satin finish. It looked way more expensive than it was.
Tip: Go with a finish you can wipe clean. Coffee spills are inevitable.
Step 3: Add the Legs
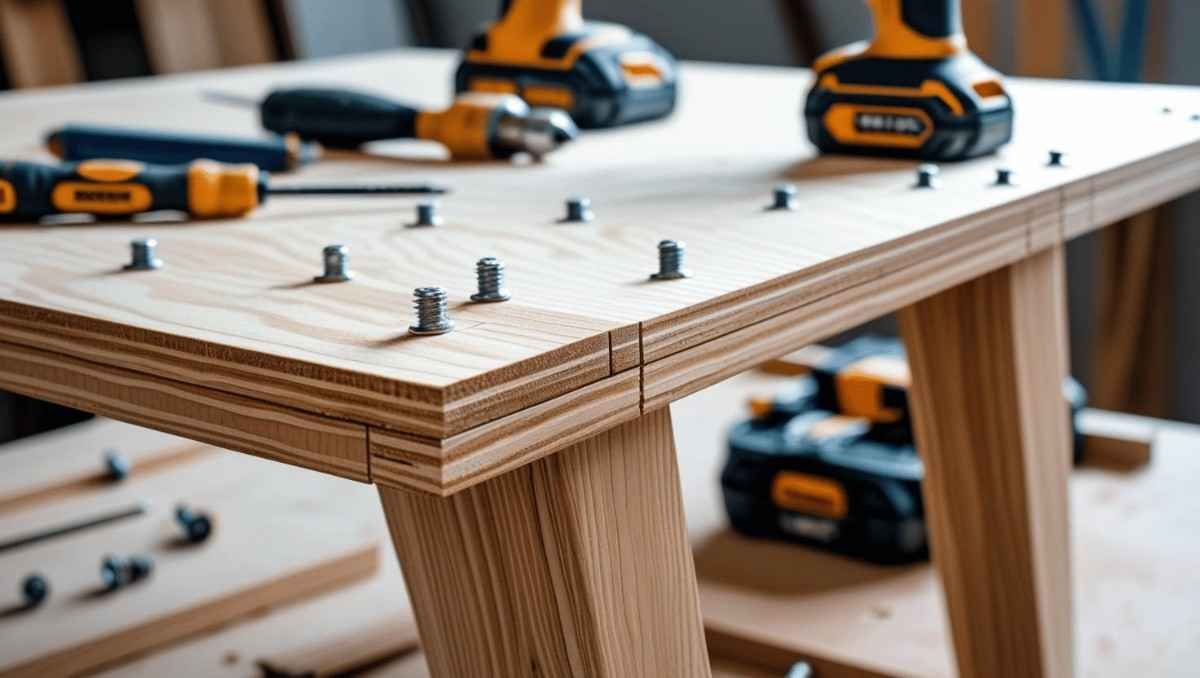
You can buy pre-made metal legs on Amazon. I got wooden ones and stained them to match the top.
Screw them into the corners from underneath. Add brackets if you want extra support.
Stand it up. Admire it. Maybe do a little dance.
Step 4: Build the Drawer Box
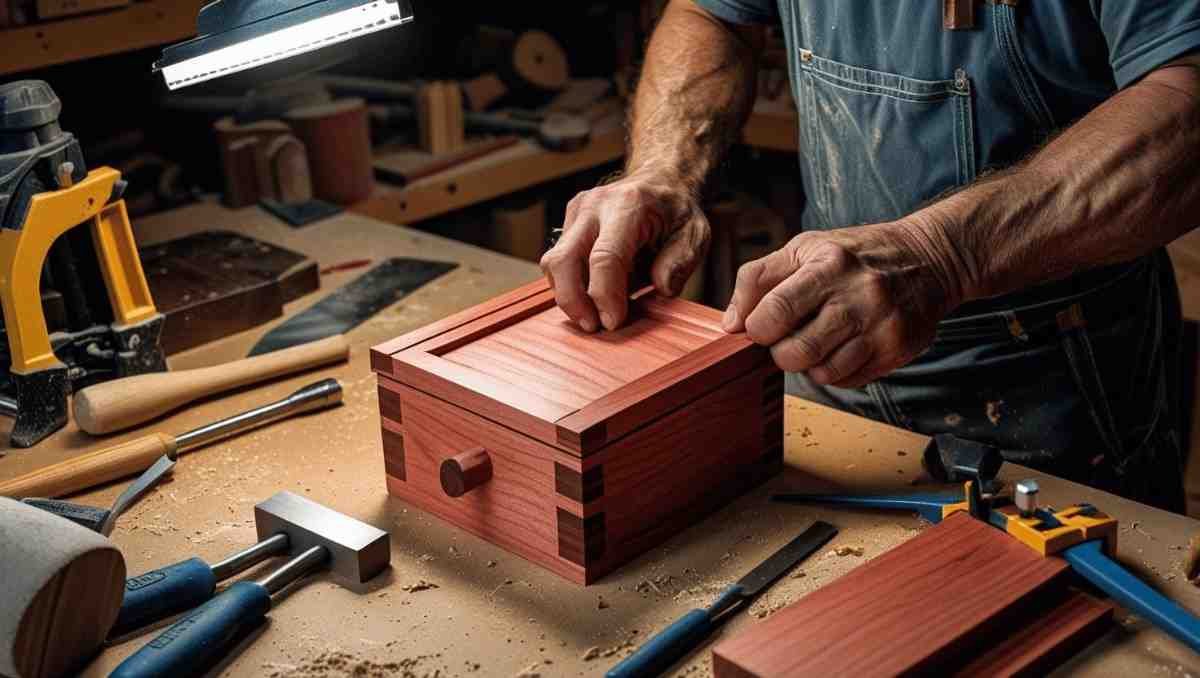
Okay, here’s where it gets serious.
I built a small box from ½” plywood, about 18” wide, 10” tall, and 24” deep. That box is gonna live under the right side of your diy standing desk and hold your drawers.
Glue and screw the panels together. Let them dry overnight if possible. You want this part solid.
Step 5: Install the Drawer Slides
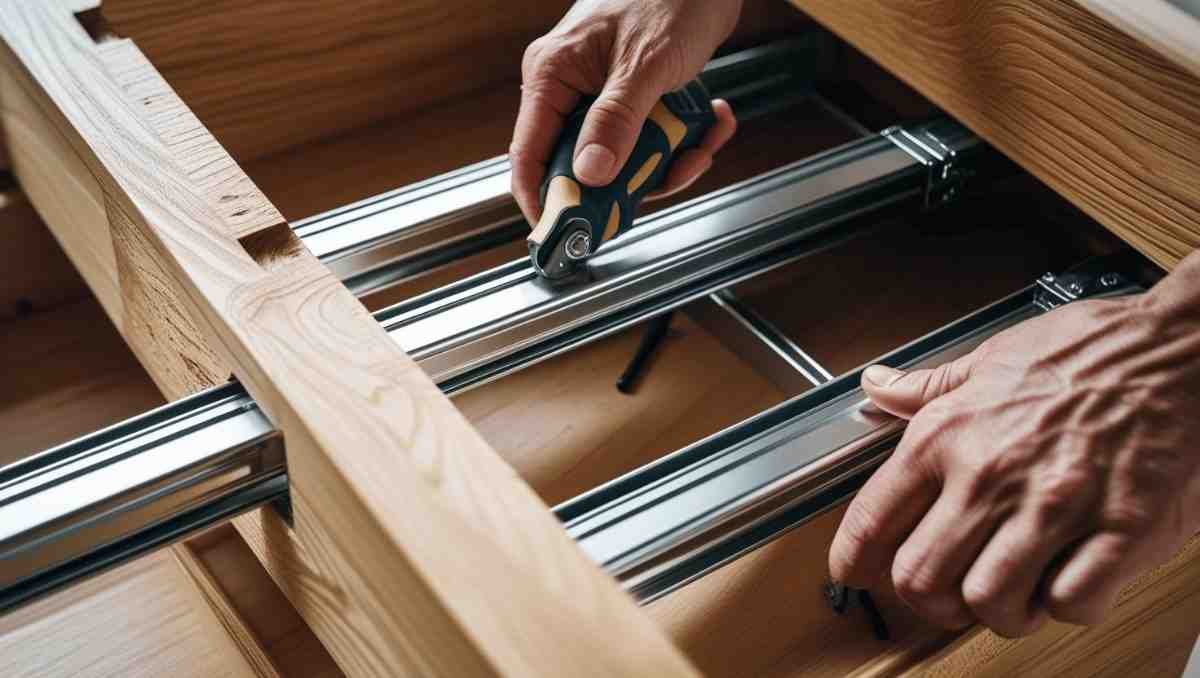
Buy the smooth ones, not the cheap kind that stick.
Mark where you want the drawers to go. I installed mine one above the other, with about 5” height each.
Screw the slides into the drawer box sides, then attach the matching slides to the drawer sides.
Take your time. Misaligned slides = angry drawer moments later.
Step 6: Make the Drawers

Measure your openings and build boxes to slide in. They should be about 1” narrower than the opening to allow for the slides.
Glue, screw, sand.
Pop them into the box. Test the sliding action. So satisfying.
Then attach drawer fronts and handles. I used old brass pulls from a thrift store—$2. Looked designer.
Step 7: Secure the Box Under the Desk
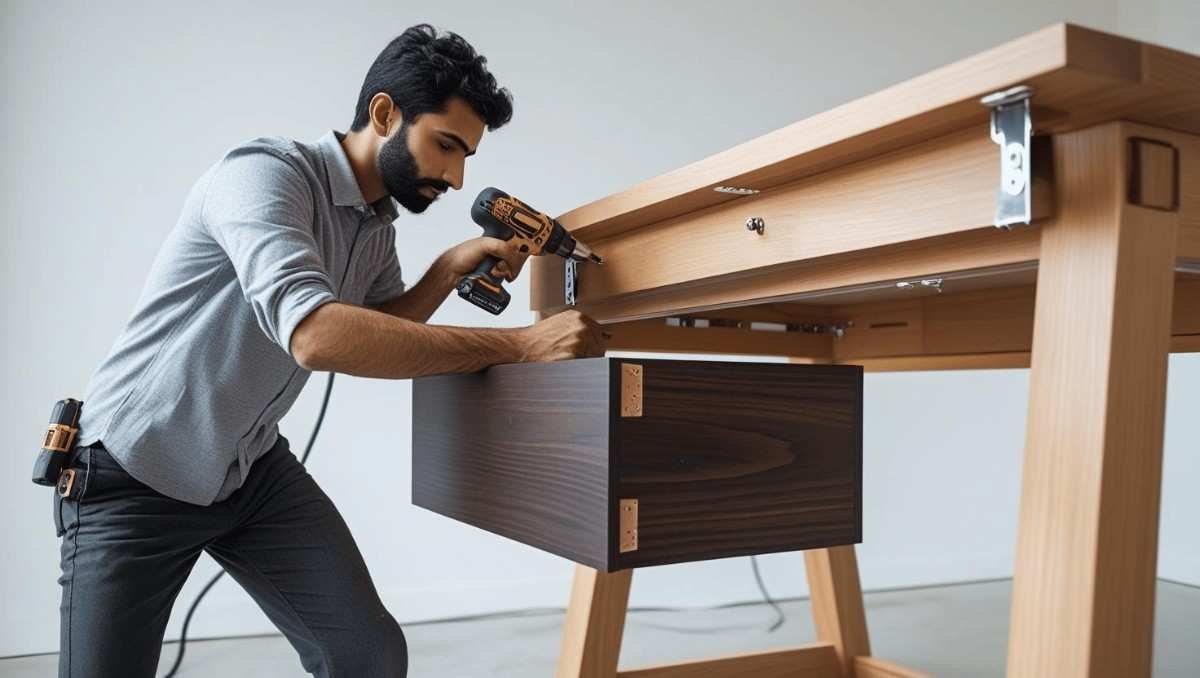
Now that your drawer box is ready, attach it under the desktop—flush to one side.
I used corner brackets and screws. Super sturdy. Also adds weight to the bottom, which helps prevent wobble.
Now back up and look at what you made.
That’s YOUR diy standing desk, friend.
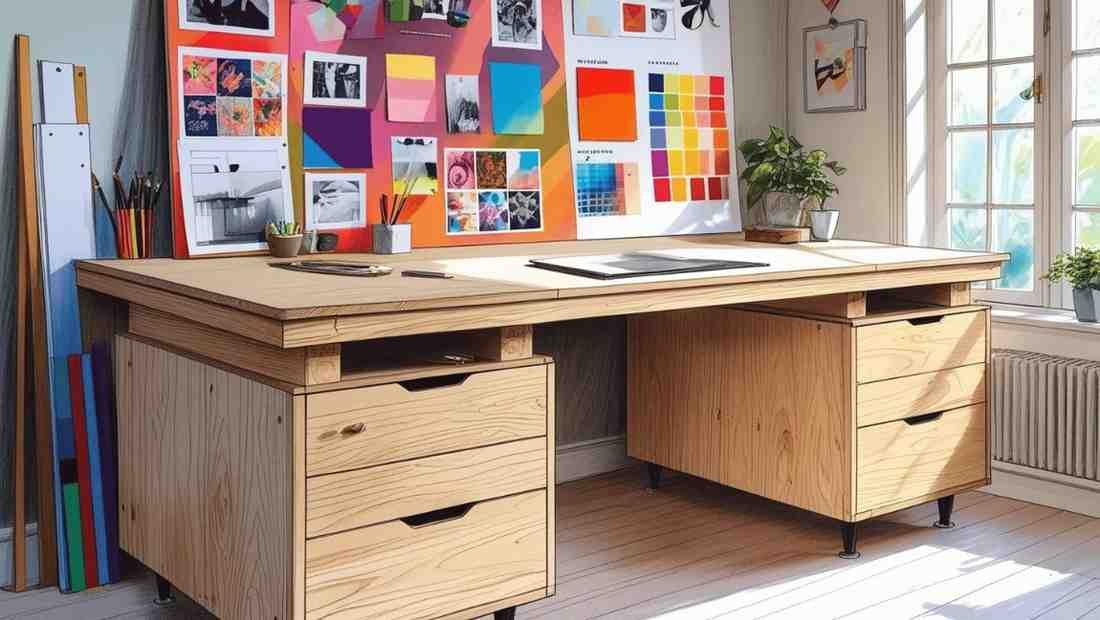
Finishing Touches

Decorate it however you want.
Mine has a little lamp, a fake plant (because I can’t keep anything alive), and a corkboard on the wall above. Add some cable clips to the back so wires stay tidy.
You can even throw in a keyboard tray if you’re fancy like that.
And please—get an anti-fatigue mat. Standing all day is great, but your feet will scream without one.
Mistakes I Made (So You Don’t)

I won’t pretend it was perfect.
- Cut my drawer fronts too small. Had to redo ’em.
- Didn’t pre-drill. Split the wood once. Rookie move.
- Forgot to check desk height until after installing drawers. Don’t be me.
But hey, those screw-ups made the end result even more satisfying.
Use It, Love It, Brag a Little

This diy standing desk changed my workspace. No joke.
I stand more. I feel more productive. I actually want to work now. And the drawers keep everything neat, so I’m not searching for pens like a gremlin.
Plus, people always ask where I got it.
“Oh, that? I built it.”
(That never gets old.)
Do you know how Diy Standing Desk helps in to propose? See Here
Want to Customize Yours?

Totally do it. Here’s some inspiration:
- Floating drawers – for a more modern look
- Add a monitor shelf – raise your screen up a bit
- Paint the legs bold color – contrast is cool
- Add wheels – make it mobile
- Use butcher block top – fancier vibes
You don’t have to follow my blueprint. That’s the beauty of a diy standing desk. It’s all you, baby.
Cost Breakdown (Roughly)
| Item | Cost |
|---|---|
| Plywood sheet | $30 |
| Drawer materials | $20 |
| Legs | $25 |
| Drawer slides | $10 |
| Handles | $5 |
| Screws & glue | $5 |
| Stain & varnish | $8 |
Total: ~$103 (I already had a drill + saw)
Could be cheaper if you have scrap wood lying around.
Final Thoughts
Listen, your workspace matters.
It’s where you create stuff, solve problems, write ideas, build dreams—or just answer emails, whatever. But it deserves love.
Building a diy standing desk with drawers isn’t just a weekend project. It’s a productivity upgrade. It’s a statement. It’s a little reminder that you can make awesome things with your own hands.
So go for it.
Pick up that drill. Sketch your plan. Make the sawdust fly. And at the end of it all?
You won’t just have a desk. You’ll have a story.
Want to see more DIY solutions?
Check these: