
Okay, real talk.
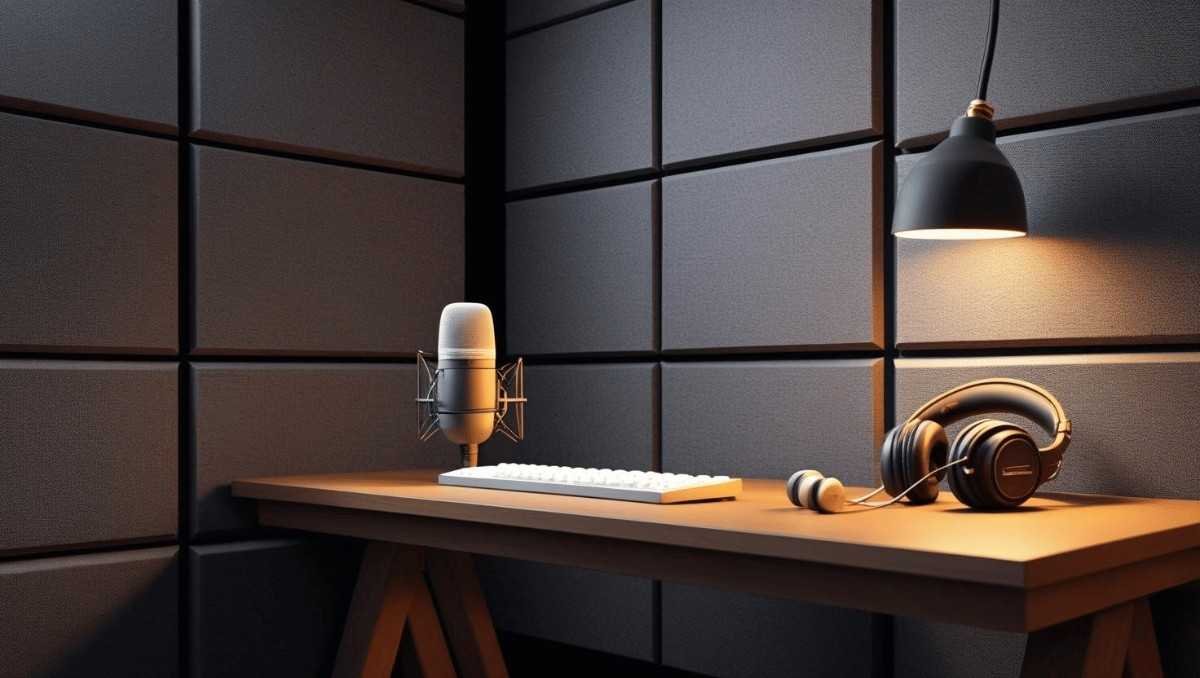
You ever been in a room where it just sounds… off? Echoes bouncing around like they’re lost. Your voice sounds weird. Maybe you’re recording a podcast, jamming on your guitar, or just tryna watch Netflix without feeling like you’re in a tin can.
Yeah. Been there.
That’s where DIY acoustic panels come in clutch.
And let me tell you, making your own panels isn’t just about saving money. It’s a whole experience. You get to build something that works, looks kinda cool, and makes a serious difference in your space.
But before we dive deep, a little disclaimer—this ain’t some dry, engineering-style how-to. We’re doing this the real way. The messy, budget-conscious, trial-and-error kinda way. Let’s get it.
So… What Even Are Acoustic Panels?
Alright, let’s clear this up first.
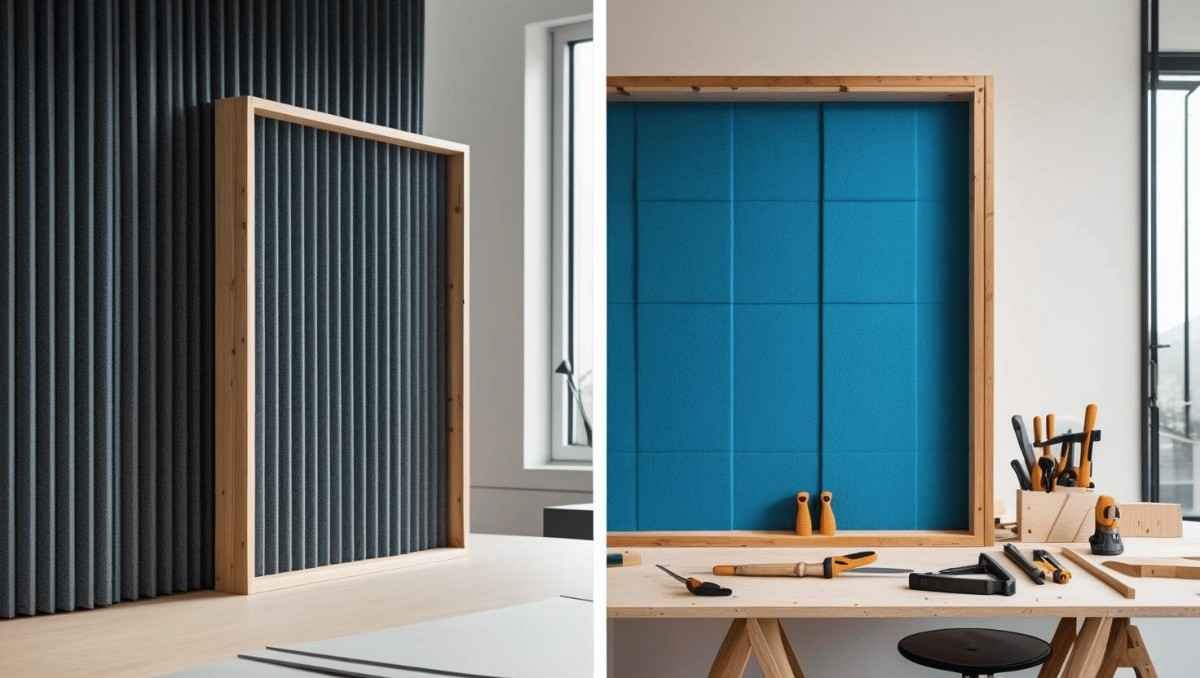
DIY acoustic panels are sound-absorbing panels made from materials like rockwool, foam, or insulation board. You hang them on your walls (sometimes ceiling too) to reduce echo, reverb, and all that audio chaos.
They don’t block sound. That’s soundproofing. Different thing.
These panels tame your room. They make your audio cleaner. Smoother. They’re a must-have if you do music, video, voiceover, gaming, or just wanna improve your vibes.
Why Go DIY Instead of Buying?
Three words: money, style, and pride.
Store-bought panels? Crazy expensive.
You’re looking at like $100–$300 per panel sometimes. That’s wild.
DIY acoustic panels? You can make one for around $20–$30. Cheaper if you’re crafty or recycle stuff. Plus, you can pick your own fabric, frame, colors. Match your room, make it aesthetic. Or make it rugged. Your vibe, your rules.
And let’s not ignore the flex:
“I made these.”
It hits different.
What You’ll Need (A Quick List)
Let’s not overcomplicate it.
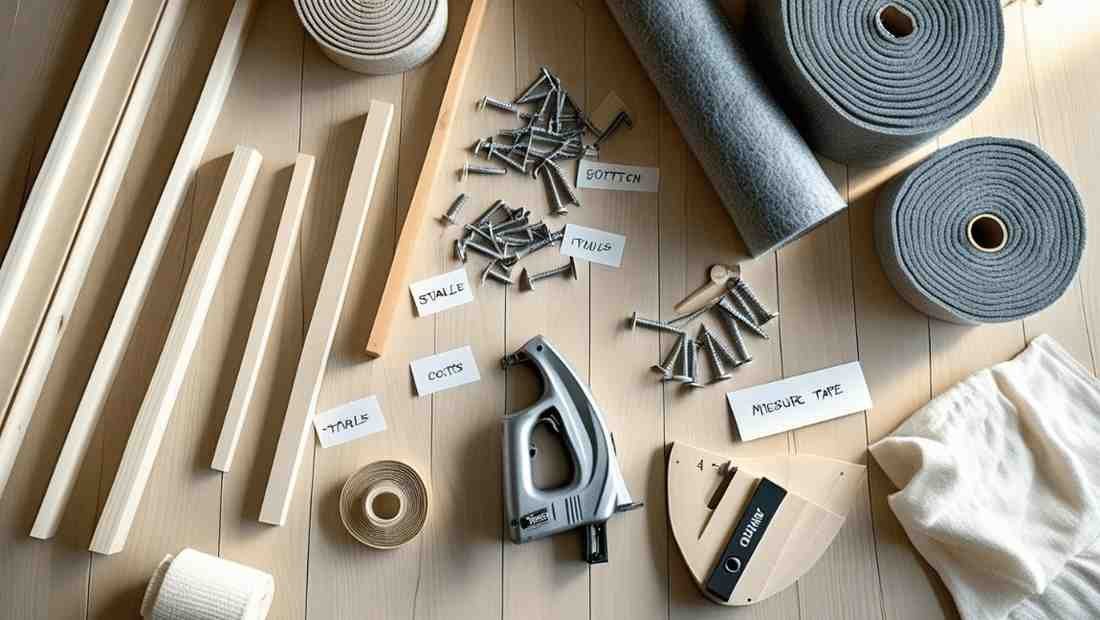
Here’s what you need to build your own DIY acoustic panels:
- Insulation material – Rockwool (like Roxul Safe’n’Sound) or Owens Corning 703.
- Wood – 1x4s for framing (pine or cheap softwood is fine).
- Fabric – Breathable stuff like burlap, cotton, or speaker cloth.
- Staple gun – For the fabric.
- Wood screws – To assemble the frame.
- Saw – Hand saw or power saw.
- Measuring tape – Accuracy saves lives (and materials).
- Glue or wood glue (optional) – For extra frame strength.
- Hanging hardware – Picture hangers, D-rings, or Z-clips.
You don’t need to be a carpenter. Just know how to measure stuff and not drill into your hand.
Step 1: Plan Your Space (A Bit of Strategy)

Don’t just build panels blindly.
Every room is different. Some need 4 panels. Some need 10. Depends on what you’re doing.
Here’s how to eyeball it:
- Small bedroom studio? 4–6 panels minimum.
- Living room movie setup? 6–8 panels.
- Pro-level recording room? 10+ and maybe ceiling clouds.
Think about:
- Walls that reflect sound (flat hard surfaces).
- Corners that create bass traps.
- Where your desk, speakers, or instruments are.
Mark your walls. Visualize it. Imagine hanging them like artwork—because honestly, that’s what it becomes.
Step 2: Build the Frame (Time to Saw Some Wood)
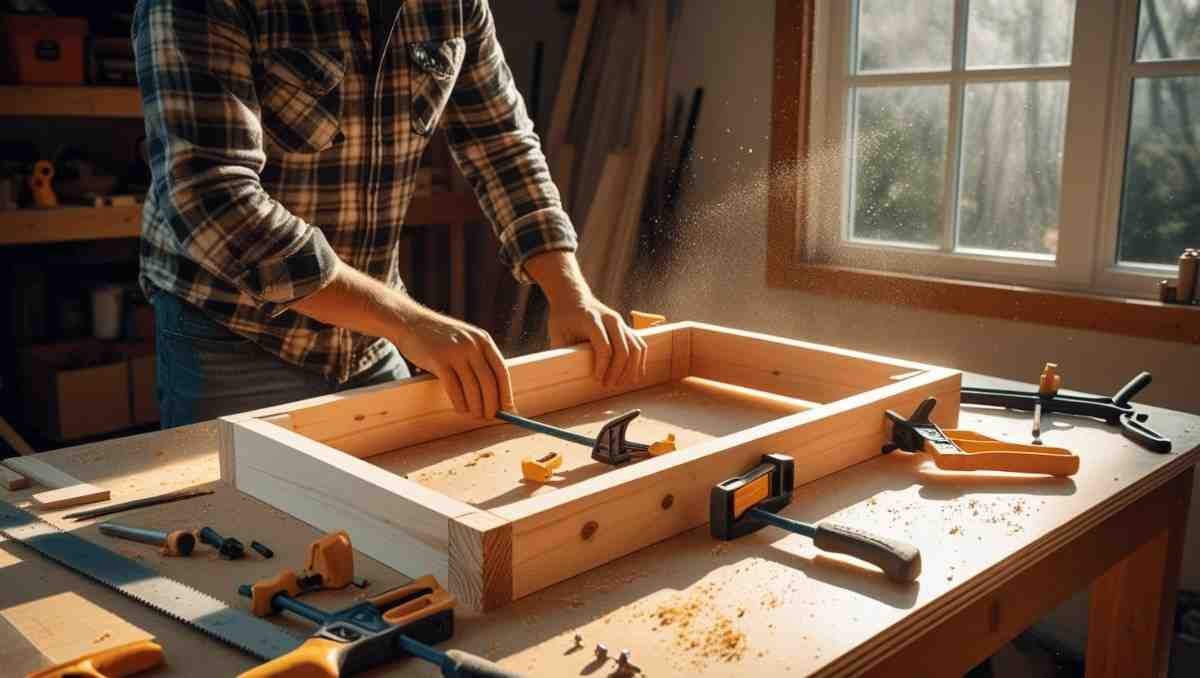
Alright. Get your wood ready.
Standard size for DIY acoustic panels is 2ft x 4ft. But you can make ’em square or skinny if your room’s weirdly shaped.
Cut your wood:
- Two pieces 48” long (for sides)
- Two pieces 24” long (top & bottom)
Make a rectangle. Screw the corners together.
Now check if it’s square. If it’s a little crooked? It’s fine. Don’t stress. These are DIY acoustic panels, not IKEA shelves.
If you wanna reinforce it, dab some wood glue before screwing. Or don’t. Up to you.
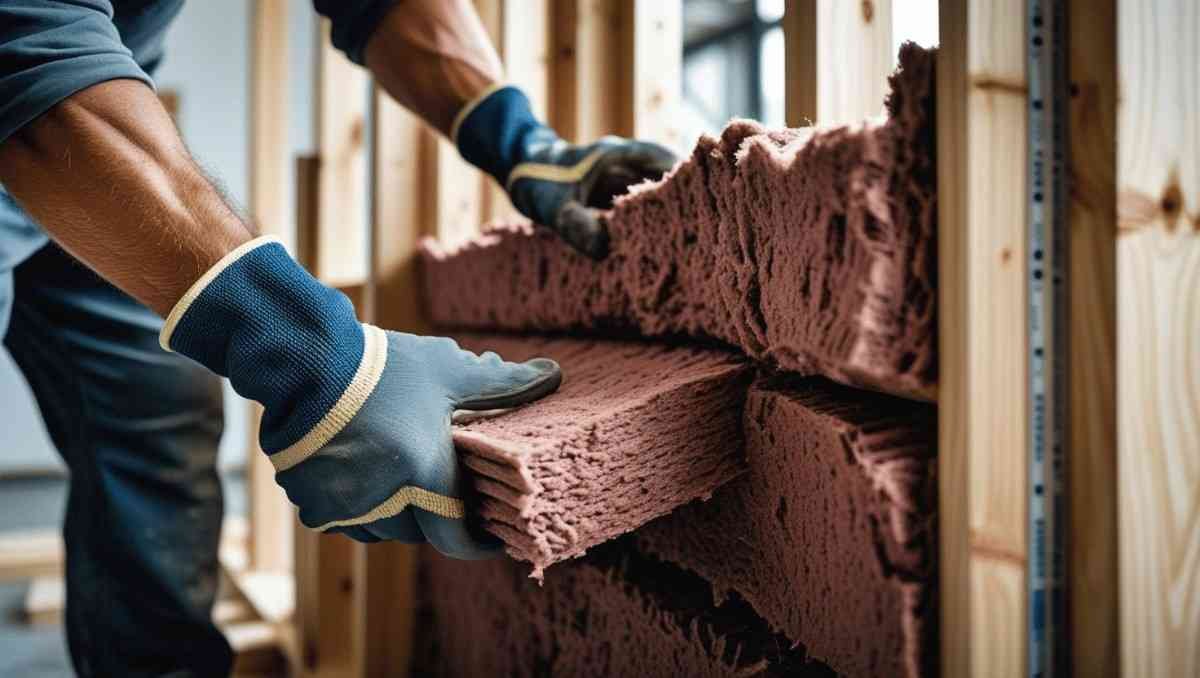
Step 3: Add the Insulation (The Secret Sauce)
Now here’s where the magic happens.
Take your insulation board (rockwool or fiberglass). Cut it to size so it fits snug inside the wooden frame. It should sit flush with the edges.
Wear gloves. Seriously. That stuff itches like mad.
You can glue it in, or just wedge it in there tight. As long as it doesn’t fall out when you tilt it, you’re good.
Pro tip? Don’t squish it. Compression kills its sound-absorbing powers. Let it breathe.
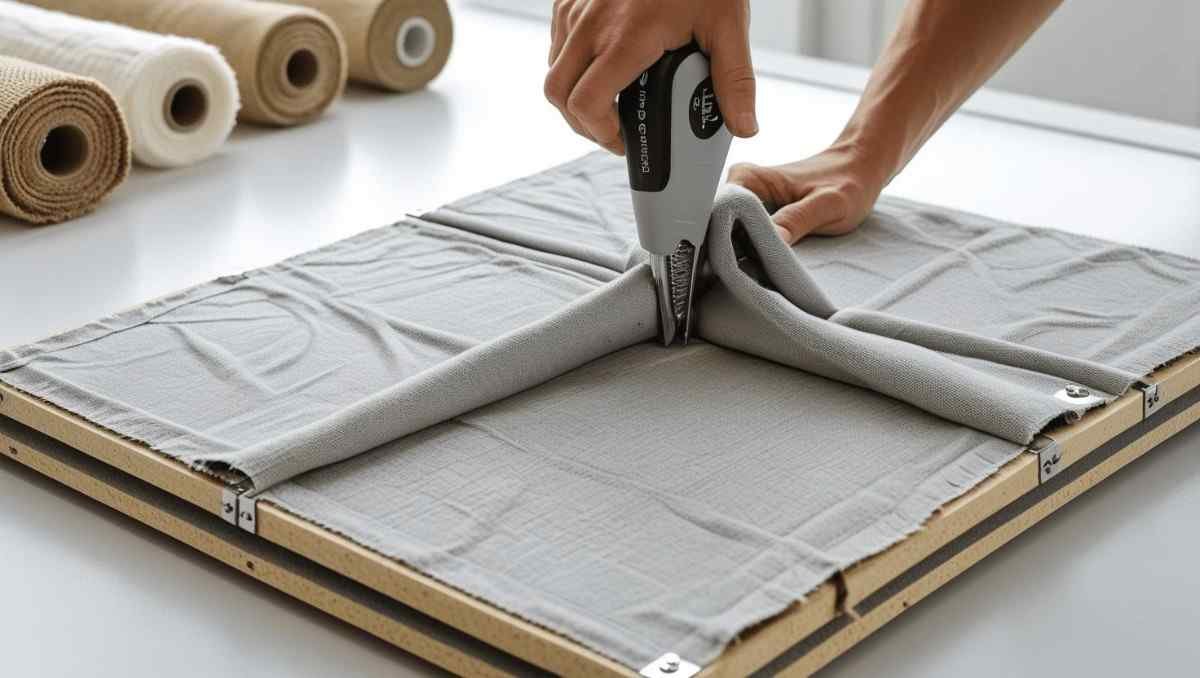
Step 4: Wrap It Up (Make It Pretty)
Now for the fashion part.
Lay your fabric flat on the floor. Place your panel face-down on top. Pull the fabric tight and staple it to the back of the frame.
Start in the middle of each side. Work your way to the corners.
Wrinkles? Tug ’em out. You’re looking for a smooth front, tight edges.
Don’t use plastic fabric. Sound won’t go through. You want breathable fabric. A good test? Blow through it. If air passes, sound will too.
Step 5: Hang It Like a Boss
Final step, my friend.
You can hang them like picture frames—just screw in some D-rings and mount them on nails.
Or go fancy with Z-clips for a flush wall mount.
Spacing from the wall helps absorb more sound. So if you can hang it 1–2 inches away from the wall, do it. More air behind = better performance.
Corner mounting? Also smart. Bass likes corners. Kill it with a diagonal mount.
Tips from Experience (A Few Hard-Learned Truths)
Now let me be real for a sec.
The first time I made diy acoustic panels, I thought I’d do it all in a day.
Nope.
Took me two days. Ran outta staples. Fabric was too thin. My first panel looked like a lumpy mattress. But by the third one? Chef’s kiss.
So here’s some advice:
- Don’t rush. Measure twice, cut once.
- Use thick insulation. At least 2″ or 4″ deep for better sound absorption.
- Get good staples. Cheap ones jam. Trust me.
- Test before hanging. Clap in the room. Hear the echo? Hang a panel. Clap again. Hear the difference? Boom.
The Science-y Bit (Without the Boring Part)
Why does this even work?
When sound hits a hard surface, it bounces. That bounce = echo, reverb, mud. Your voice sounds off. Music gets all mashed up.
DIY acoustic panels absorb that energy. Especially mids and highs. The insulation traps sound waves and turns them into tiny heat. Gone.
The result? Cleaner sound. Tighter audio. Better vibes.
What About Bass? (Extra Credit Stuff)
Okay, advanced class.
Regular diy acoustic panels mostly tame mids and highs. Bass? That’s a different beast.
If your room is boomy, consider bass traps. They’re basically thicker versions of the same panels, stuffed in corners. Or make square panels with thicker rockwool.
Or stack two panels together and stuff ’em into a corner.
Bass loves hiding in corners. Hunt it down.
Can I Use Foam Instead?
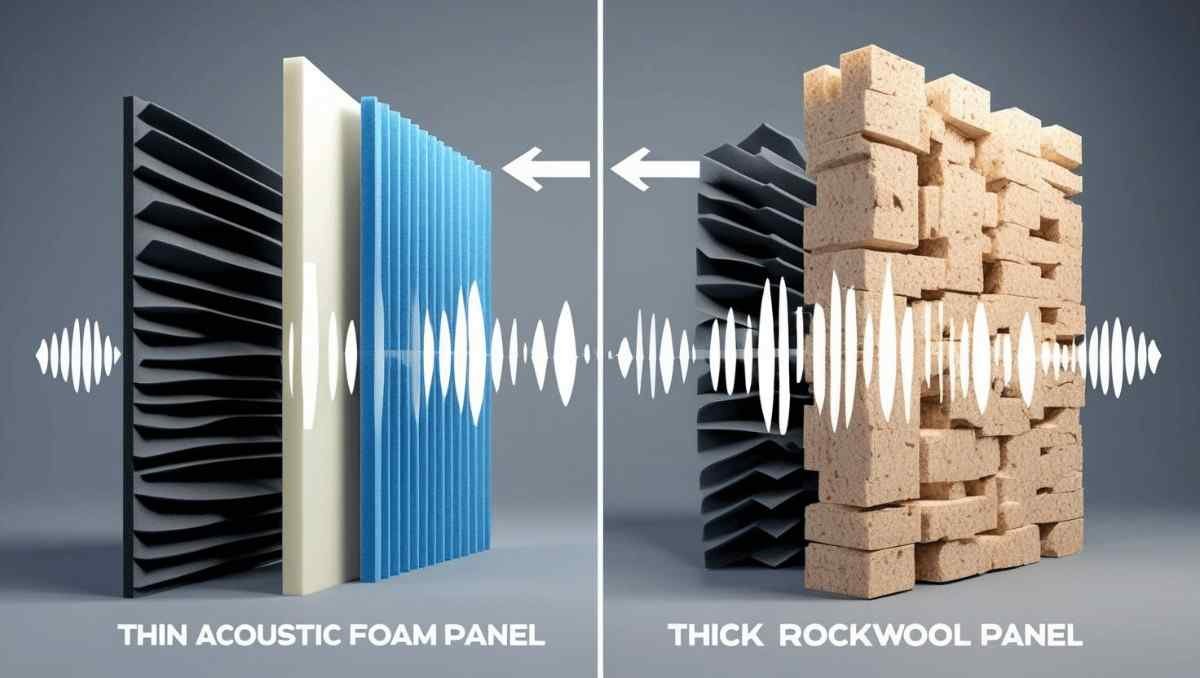
Mmm… kinda.
Acoustic foam looks cool but doesn’t do much unless it’s thick. Cheap foam panels barely work. Especially not for bass.
If budget is tight, go DIY with rockwool or fiberglass. Better performance. Same cost. More satisfying.
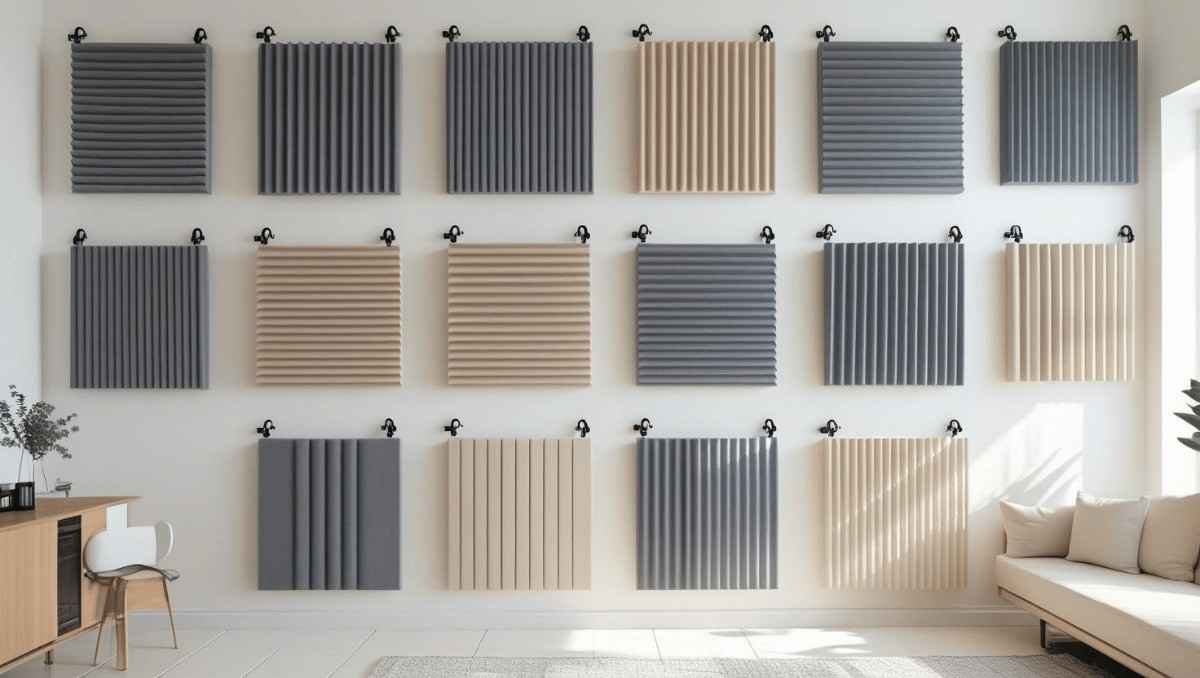
Style It Up – Design Ideas
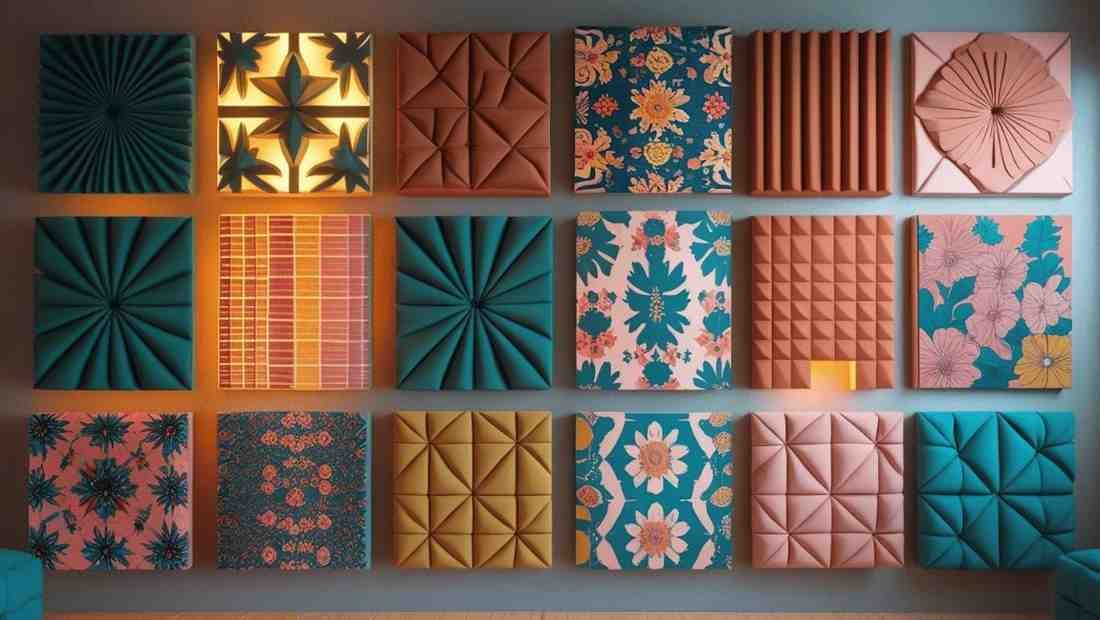
Wanna level it up?
Try these:
- Paint your frame. Black or walnut stain looks slick.
- Patterned fabric. Match your vibe—boho, modern, grunge, whatever.
- Make a grid of panels. Looks like art.
- Backlight them. LED strips behind the panels = chef’s kiss.
Final Thoughts – You Got This
Look, building DIY acoustic panels ain’t rocket science.
It’s fun, hands-on, and makes a real difference. Your room will sound better. You’ll hear details you never noticed before. Your recordings, music, or even just chill time? All upgraded.
Plus, you’ll feel proud. You didn’t drop $500 on foam. You made something. And it works.
So yeah. Grab some tools. Get messy. Build some diy acoustic panels. Then sit back and enjoy the silence. Or the sound. The good kind.
Do you know how DIY acoustic panels improvements helps in to propose in home? See Here
TL;DR Recap
- DIY acoustic panels absorb sound, reduce echo, and clean up your audio.
- They’re cheap, customizable, and easy to make.
- You need wood, insulation, fabric, and basic tools.
- Hang them on walls where sound reflects most.
- More panels = better sound.
- Rockwool > foam.
- Clap test is your friend.
Now stop thinking about it and go build ‘em.
Want to see more DIY solutions?
Check these: