Okay. So you’re staring at that awkward empty wall. Or maybe there’s a weird nook beside your fireplace. And your brain’s whispering: “That would be a great spot for some built-ins.”
But here’s the thing—we all know custom cabinets? Crazy expensive. Like, “should I take out a second mortgage?” kind of expensive.
So what do you do?
You roll up your sleeves. You start planning. You say, “You know what? I’m gonna learn how to DIY built in cabinets. Yep. Me. I’m doing this.”
And guess what? You actually can.
Let me walk you through the messy, slightly chaotic, yet totally doable world of DIY built in cabinets. Spoiler alert: if I can do it, you totally can too.
Why Even Bother with DIY Built In Cabinets?
First off, why not just buy something pre-made?
Good question.
Here’s why I didn’t:
- I wanted something that actually fit my space.
- I had a weird little wall that nothing off-the-shelf would work for.
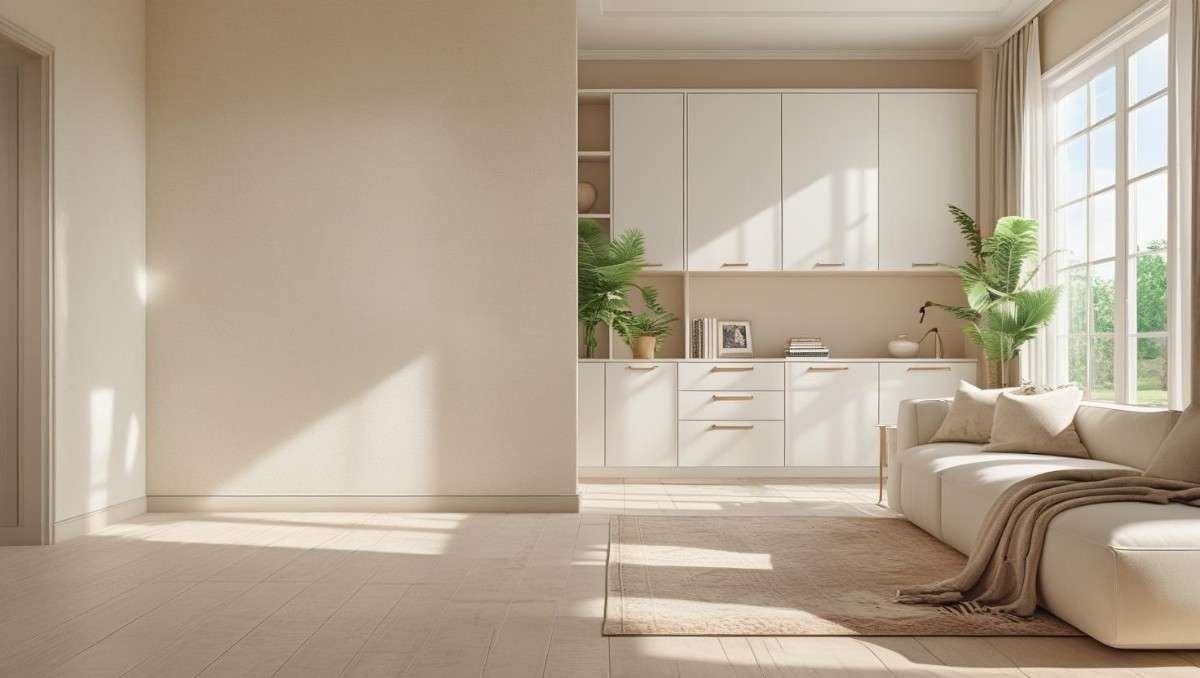
- I love the “built-in” look—like it was meant to be there.
- Also… I’m stubborn. And slightly broke. So there’s that.
If you’re nodding your head right now, welcome to the DIY crew. We’re all figuring it out as we go.
Don’t Overthink It (But Also, Do a Bit of Planning)
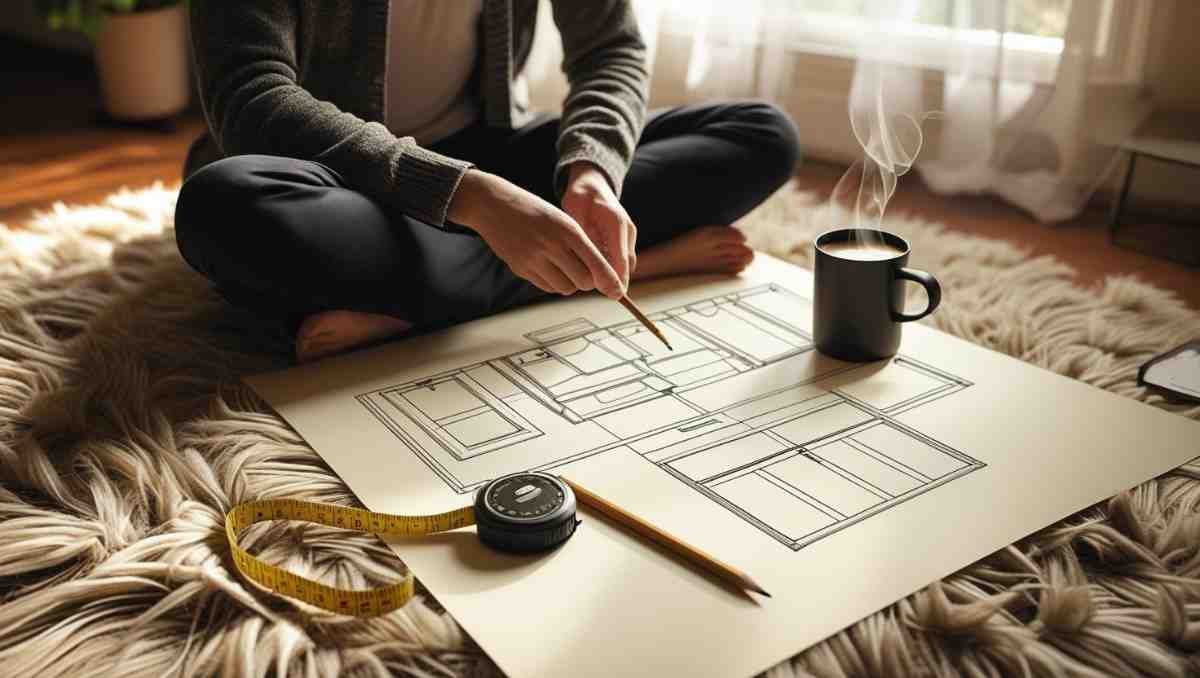
Before you start sawing things into pieces, just pause.
Measure the space. Then measure again. Like, no joke. Triple check it.
Now sketch something. Doesn’t have to be fancy. Just a quick drawing on a scrap paper or a napkin. Or use a free app, if you’re techy.
Think about:
- How tall do you want your cabinets?
- Do you want open shelving on top?
- Do you want doors or drawers at the bottom?
- Will it sit on the floor or hang off the wall?
It doesn’t have to be perfect. But having a rough plan? That helps a lot.
Materials You’ll Need (Not That Many, Promise)
Here’s the fun part: shopping.
(Okay maybe not fun if you’re on a budget, but still.)
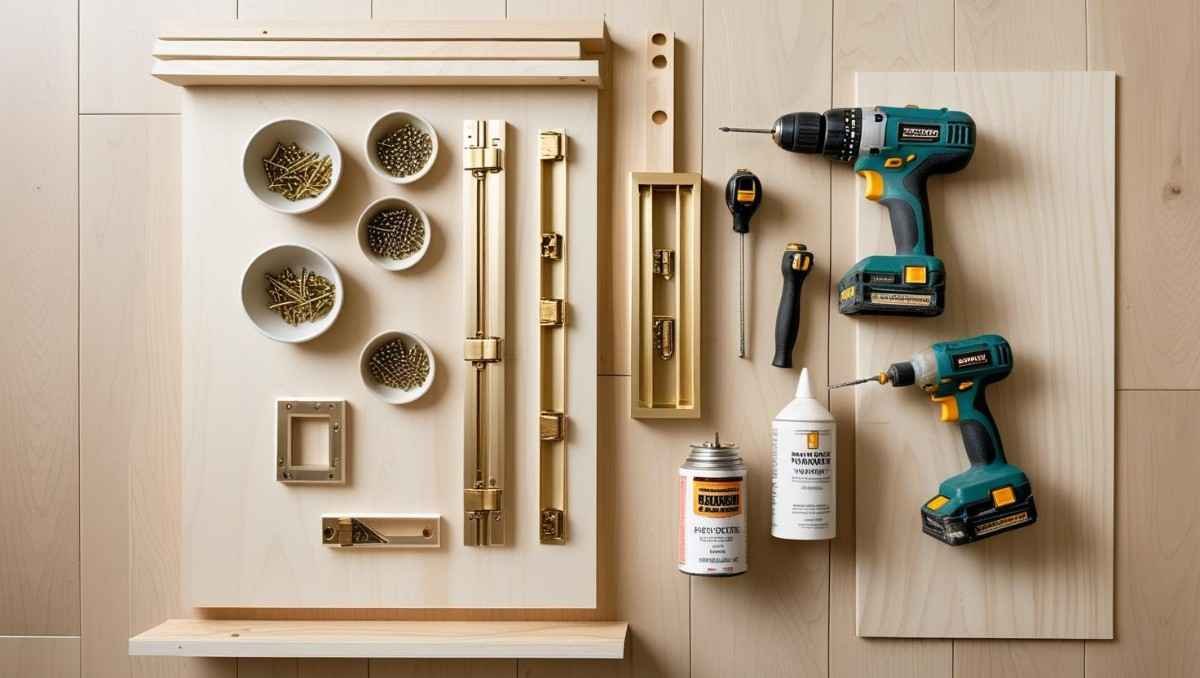
Basic materials for your diy built in cabinets:
- ¾” plywood or MDF (for the cabinet box)
- 1×2 or 1×3 boards (for face frame)
- Wood glue
- Brad nails or screws
- Wood filler + sandpaper
- Hinges (if you’re adding doors)
- Paint or stain
- Caulk
- Crown molding or trim (optional but makes it fancy)
Tools? Not crazy stuff. A circular saw, drill, nail gun, tape measure, level, sander. That’s it. No spaceship equipment required.
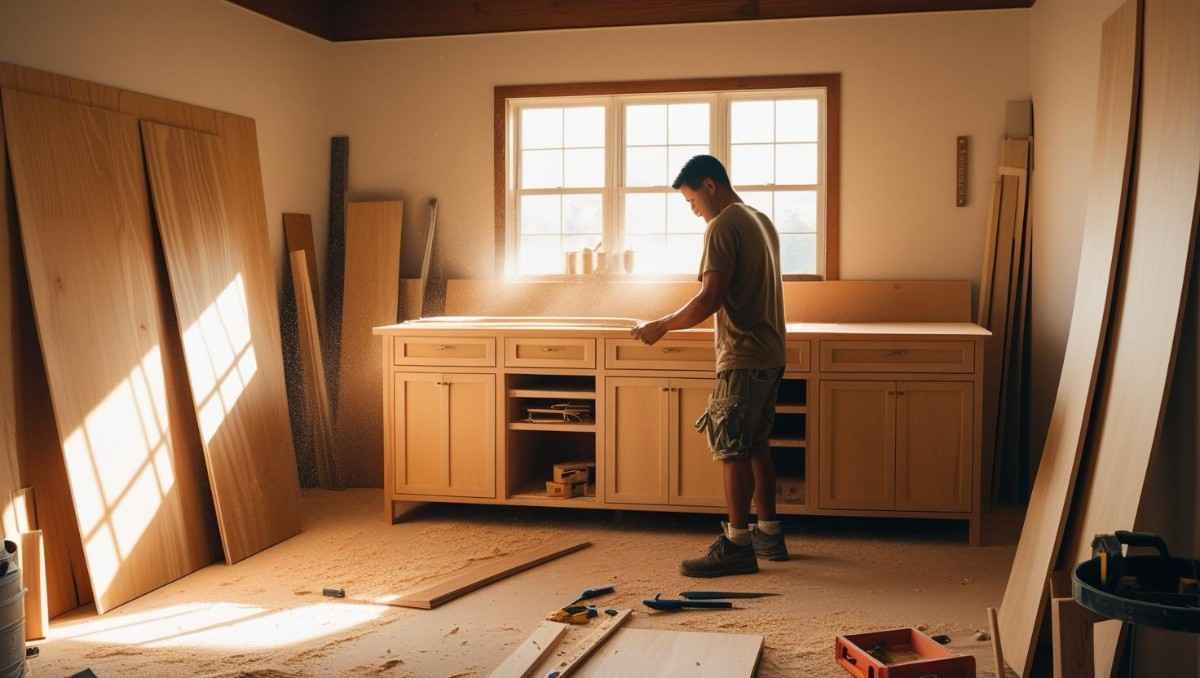
Step 1: Build the Base Cabinet Boxes
Alright. Deep breath. This is the guts of the whole project.
Cut your plywood to size for the box panels—two sides, a top and bottom. I didn’t bother with backs. Just used the wall behind. But if your wall’s ugly, throw a back panel in there.
Glue and screw the pieces together. Or use a nail gun if you like the drama. Make sure everything’s square.
And yeah, sometimes it’s not. That’s okay. Wood filler is your best friend.
Once your cabinet box is solid, it’s time to move on.
Step 2: Install Your Cabinet Base (aka Muscle Time)
Mark your wall studs. You want to hit these when securing your cabinets.
Now… shove that box into place. If your floor’s uneven (and let’s be real, it probably is), shim it up until it’s level.
Secure the box to the wall using screws into studs. Boom. It’s not going anywhere now.
Also? You’ll feel like a boss at this point.
Step 3: Face Frame It (Let’s Make It Pretty)
So right now your diy built in cabinets probably look like a plywood box. Not bad. But we want them to look finished.
That’s where the face frame comes in.
Cut your 1×2 or 1×3 boards to fit the front of the cabinet. Use wood glue and nails to attach them. Don’t overthink this. Just line it up and go for it.
Now it’s starting to look fancy, huh?
Step 4: Shelves, Doors, and Drawers (Optional Chaos)
Shelves: Add fixed or adjustable shelves inside your box if you need storage. I just glued some supports and dropped the shelves on top. Easy.
Doors: These can be store-bought or homemade. I made shaker doors with plywood panels and 1×2 frames. They weren’t perfect, but once painted? Chef’s kiss.
Drawers: Skip if you’re scared. I did. Next time though…
Honestly, you can keep it simple with open shelving too. Depends on your vibe.
Step 5: Add Trim Like a Pro (Or Fake It ‘Til You Make It)
This part right here? Magic.
Trim hides the gaps. Trim makes it look like your diy built in cabinets have always been part of your house.
Use baseboard, crown molding, or even plain 1×2 boards to cover the seams between your cabinet and the wall/ceiling/floor.
Caulk everything. Fill gaps. Sand it down.
Then step back and say, “Whoa. I did that.”
Step 6: Prime, Paint, and Love Your Life
Time to paint.
Prime it first, especially if you’re using MDF. Then go in with your favorite cabinet paint. I went with satin white.
Don’t forget the insides. And the doors. And maybe your fingers. Because painting gets everywhere.
Once dry… add your hardware. Handles, knobs, soft-close hinges if you’re feeling bougie.
And just like that… you’ve got diy built in cabinets that look like a thousand bucks.
(But cost way, way less.)
Real Talk: Mistakes I Made So You Don’t Have To
Let me keep it real for a sec.
I messed up. A lot. Here’s the tea:
- I forgot to level the base. It was wobbly. Had to redo it.
- I didn’t check my nail gun pressure. Shot straight through the board. Twice.
- I cut one of the face frame pieces too short… like three times.
- I painted too early and then scratched it during install. Ugh.
So if you mess up? Laugh it off. Wood filler and paint are magical.
What I Learned From Building My Own Cabinets

Honestly? I learned way more than I expected.
Not just about wood and screws and all that. But about me.
I learned patience. (Okay fine, some patience.)
I learned to slow down. To step back and breathe when something went wrong.
I also learned that I actually like doing stuff with my hands. Like building something real. Something that stays.
My diy built in cabinets aren’t perfect. But every time I walk past them? I smile. Because I did that.
Do you know how DIY Built In Cabinets helps in to propose? See Here
FAQ Time (Because You’re Probably Wondering)
Q: Do I need fancy tools?
Nope. Just the basics: saw, drill, sander. Borrow from a friend if you have to.
Q: How much does it cost to DIY built in cabinets?
Mine cost about $200 in materials. But it depends on size, hardware, and paint.
Q: Can beginners really do this?
YES. If you can measure and cut and screw, you can do it. You’ll learn as you go.
Q: How long did it take?
About 3 weekends. I could’ve rushed it, but I liked taking my time.
Final Thoughts (aka Go Do the Thing)
If you’re sitting there thinking, “There’s no way I can build cabinets,” — stop it.
You totally can.
DIY built in cabinets are just a bunch of boxes, boards, and bravery. And okay, a little bit of caulk and caffeine.
Don’t wait for the perfect moment. Don’t wait to have all the answers.
Just start.
One cut. One cabinet. One weekend.
You got this.
Want to see more DIY solutions?
Check these: