Okay, real talk.
You ever open your pantry and get hit with an avalanche of cereal boxes, mystery Tupperware, and that one rogue can of beans from 2014?
Yeah. Same.
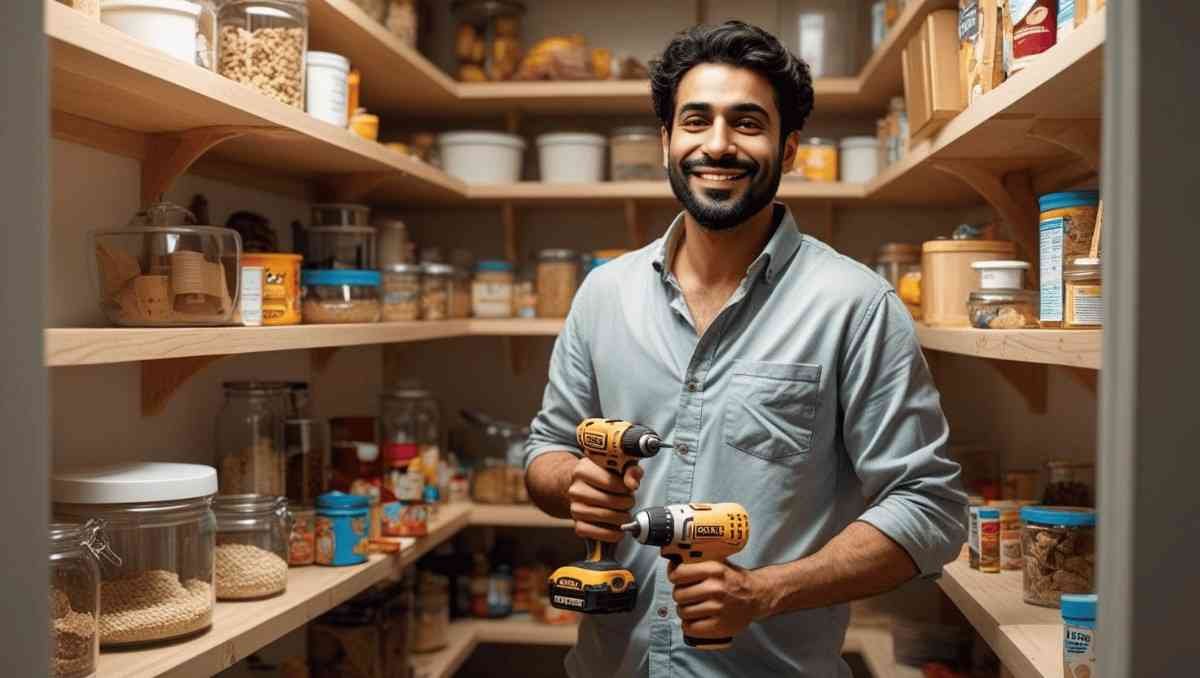
That’s exactly why I finally caved and decided to build my own diy pantry shelves. Not those flimsy metal ones that wobble every time you breathe on them. I’m talkin’ real, sturdy, make-your-life-easier kind of diy pantry shelves.
So if you’re tired of chaos behind that pantry door, this guide is for you. Let’s roll.
Why Bother With DIY Pantry Shelves Anyway?
Good question. Here’s the thing…
Store-bought shelving might look good in the catalog, but once it’s in your space? Suddenly everything’s too shallow, too wide, too annoying.
With diy pantry shelves, you build for your space. Not some random kitchen layout that doesn’t even match your house.
Plus, you save a ton of cash. Seriously.
Even if you mess up (which hey, we all do), you’ll still end up spending way less than custom-built shelves.
First Step: Get Inspired, Not Overwhelmed

Pinterest is your friend. But also your enemy.
You’ll see perfect pantry makeovers with color-coded jars and floating shelves made of clouds and dreams. Ignore all that. Start with simple diy pantry shelves that actually function.
Here’s what helped me:
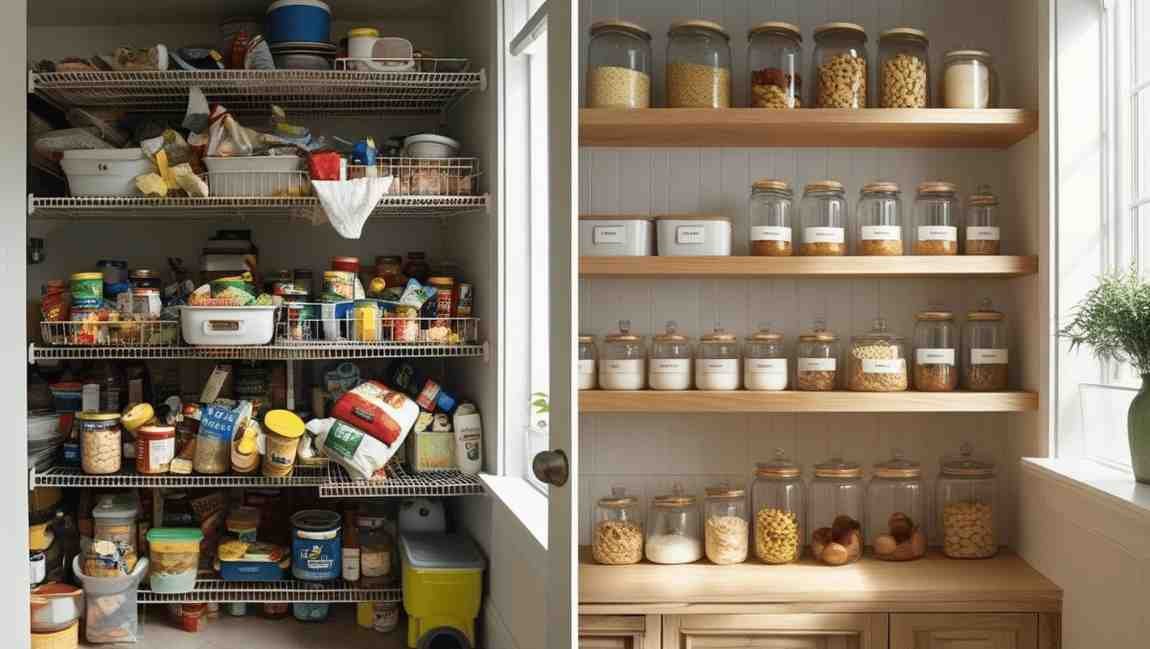
- Look at real homes, not showroom pantries.
- Focus on function first. Pretty comes later.
- Think: What do I actually store here?
Your diy pantry shelves should serve you, not stress you out.
Tools & Supplies You’ll Need
Alright. Let’s get into the nitty gritty.
You don’t need a full-blown workshop, I promise. Just a few essentials:
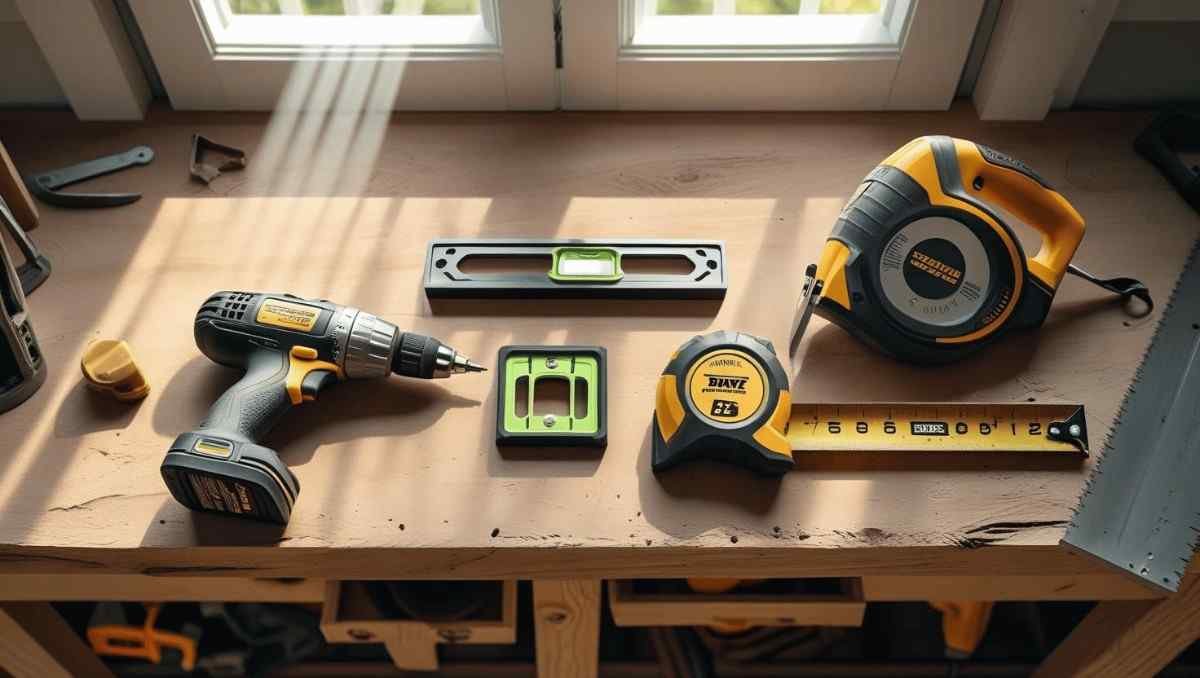
Tools:
- Drill + drill bits
- Circular saw or hand saw
- Level (a long one)
- Stud finder
- Measuring tape
- Pencil (lots of marking ahead)
- Safety glasses (seriously, wear ’em)
Materials:
- Plywood or pine boards (depends on your budget)
- 2×2 or 1×2 lumber for brackets or cleats
- Screws
- Wood glue (optional but helpful)
- Sandpaper
- Paint or stain (if you’re feeling fancy)
Keep it simple. Your diy pantry shelves don’t need gold trim. Just straight boards and steady hands.
Step-by-Step: How to DIY Pantry Shelves Like a Pro (Kinda)
Alright, now we build. Here’s how it went down for me:
1. Measure the Heck Out of Your Pantry
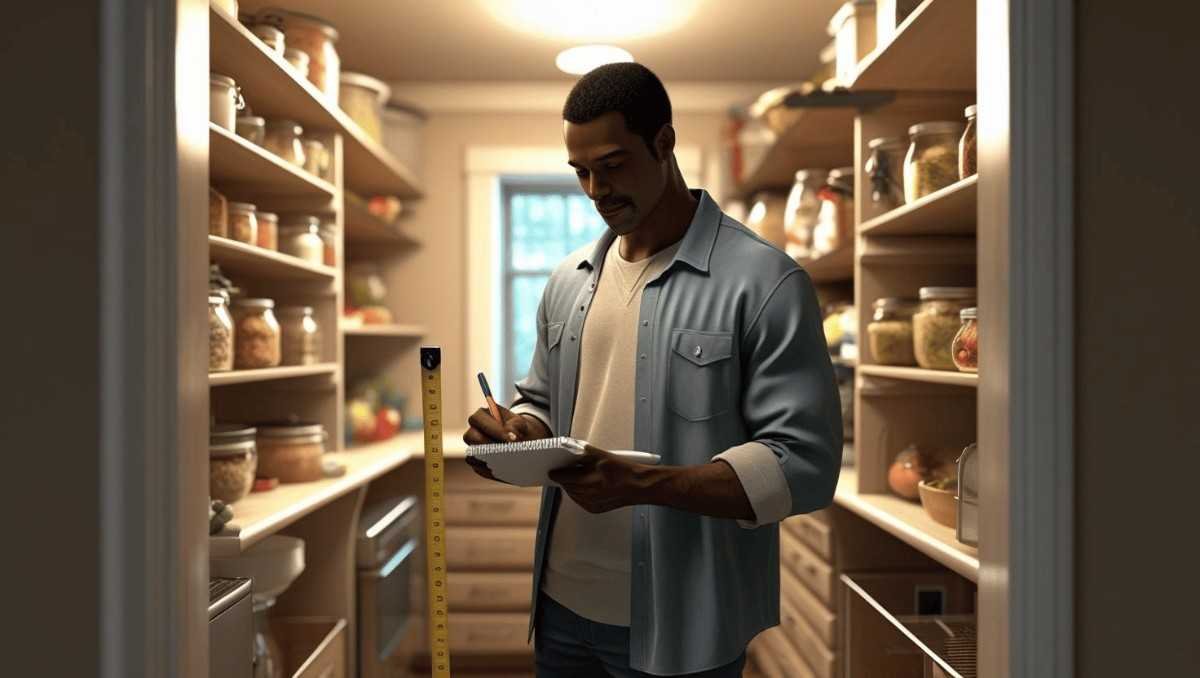
Sounds boring. Is boring. But vital.
Measure:
- Height
- Width
- Depth
Then do it again. And once more.
Write it all down. Trust me, once you start cutting, it’s game over if the numbers are wrong.
Pro tip? Leave a little space between the shelf edge and the pantry door. I learned that the hard way when my jars kept bonking into the frame.
2. Mark Your Studs
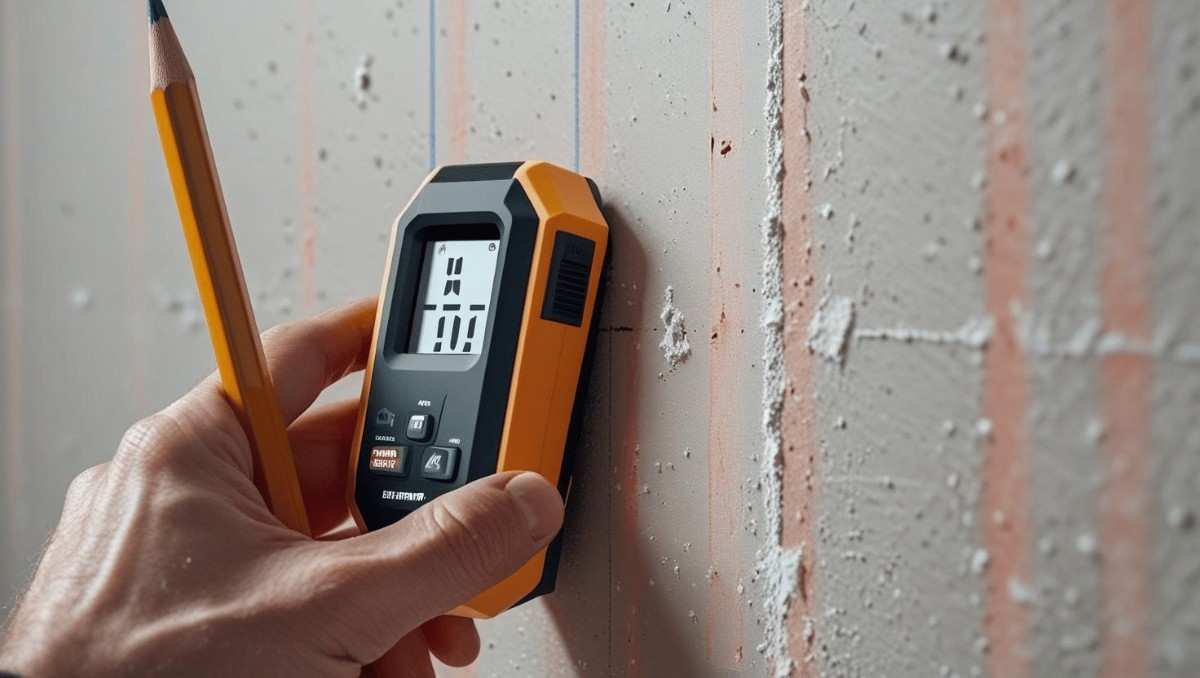
Use that stud finder and mark your walls where the studs are.
Why? ‘Cause your diy pantry shelves need solid backing to hold real weight. You don’t want them ripping out when you stack canned soup for the apocalypse.
I used a pencil to draw vertical lines over each stud location. Ugly? Yep. Helpful? Absolutely.
3. Cut Your Boards
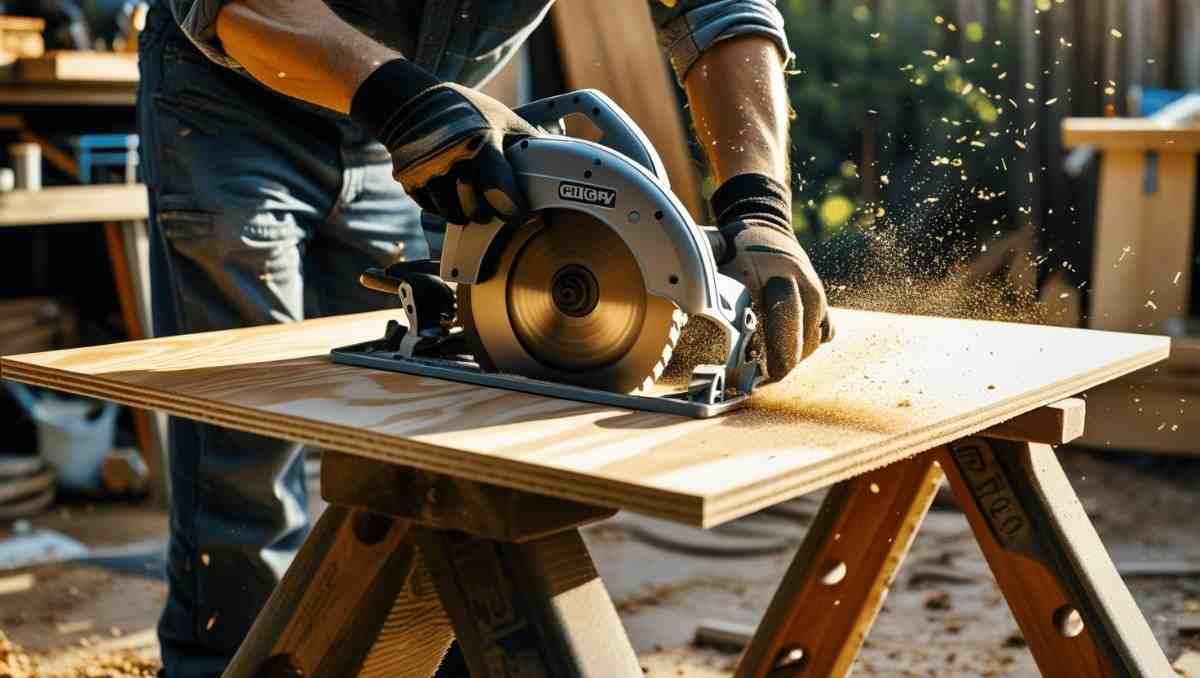
I used 3/4-inch plywood for the shelves and 1×2 pine for the cleats (that’s the support brackets under each shelf).
Don’t overthink the cutting.
Just:
- Mark your board with the shelf length
- Use your saw to cut straight (ish) lines
- Sand the edges so you don’t get splinters when grabbing rice at midnight
4. Paint or Stain (If You Want)
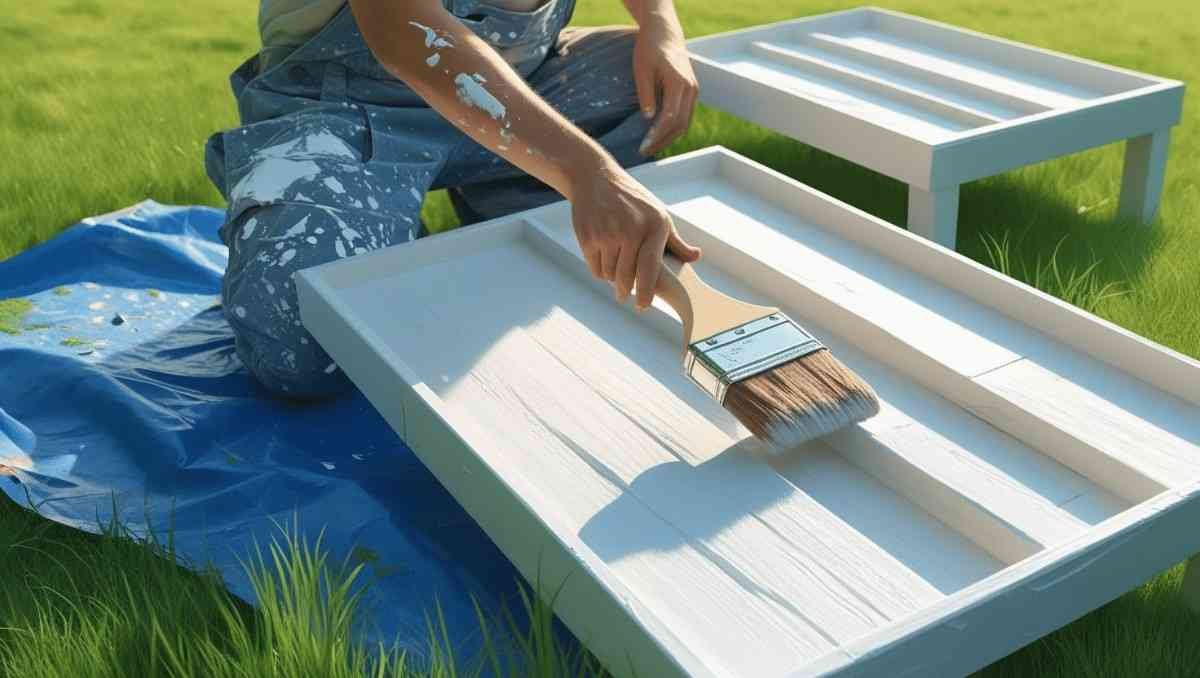
Honestly, I didn’t at first. I was too impatient.
But then after a week I regretted it. Painted shelves are easier to wipe down. And look nicer, obviously.
So I gave mine a quick coat of white paint. Let ’em dry overnight.
Boom. Looks 10x better already.
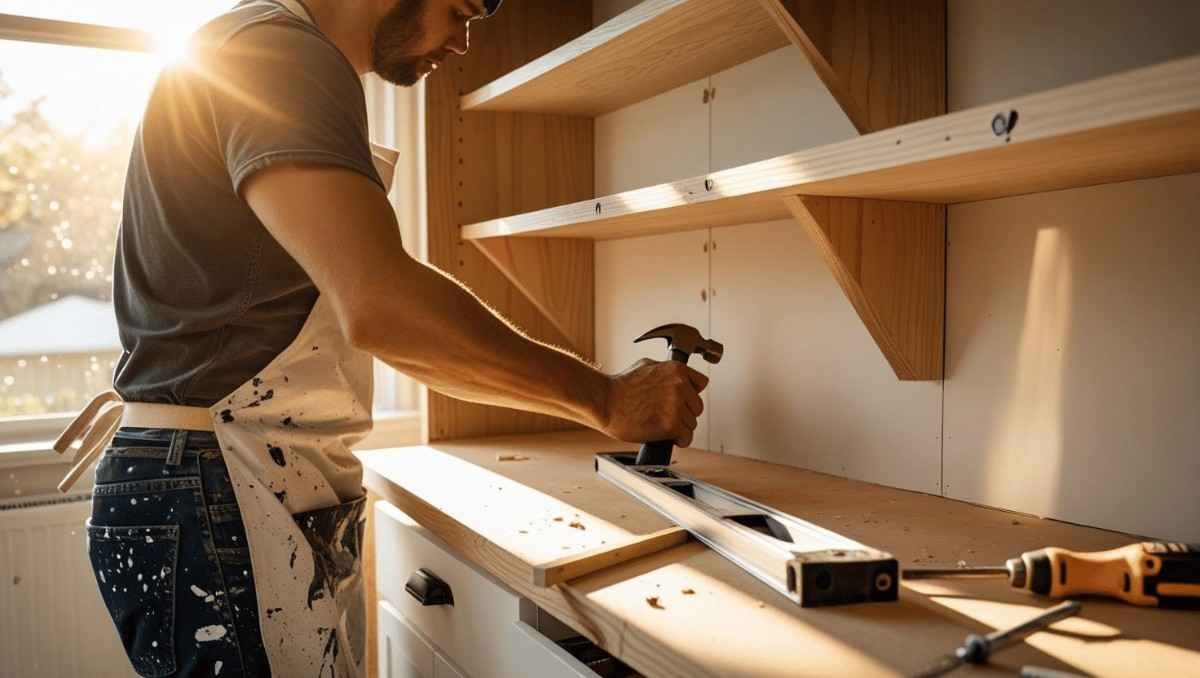
5. Install Cleats
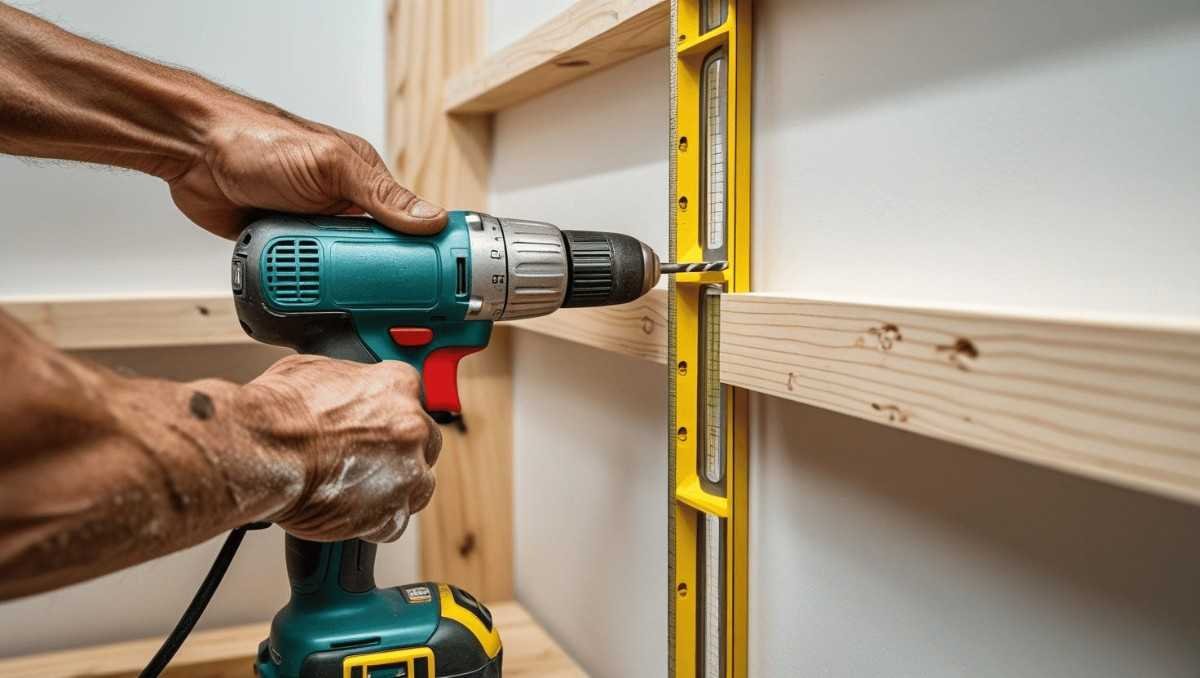
Now the fun begins.
Use your level to mark where you want each shelf. Usually 12-16 inches apart is good for most pantry stuff.
Drill the cleats directly into the wall studs. Use at least two screws per cleat. Make ’em snug.
If you wanna be extra secure, add corner brackets too. I didn’t, but some folks do.
6. Lay Down the Shelves
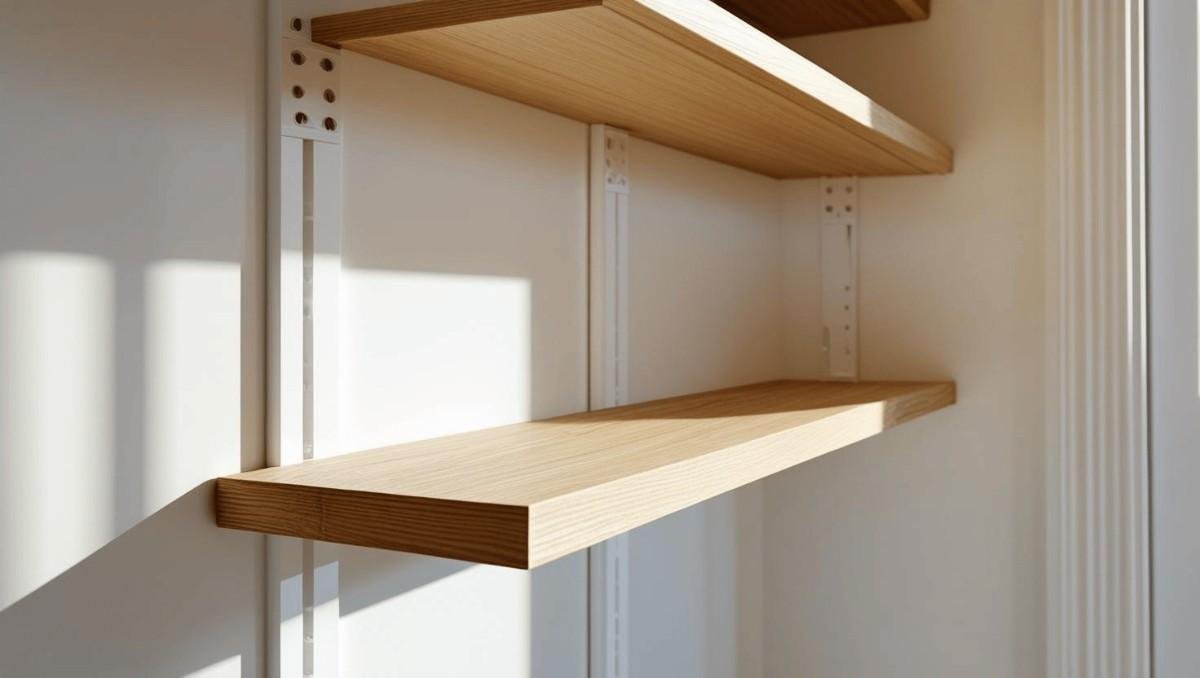
Slide your cut boards right on top of the cleats.
Simple as that.
If you want, you can screw the shelves into the cleats from the top. I didn’t bother. The weight of the pantry goods keeps them down just fine.
Custom Touches (Because Why Not?)
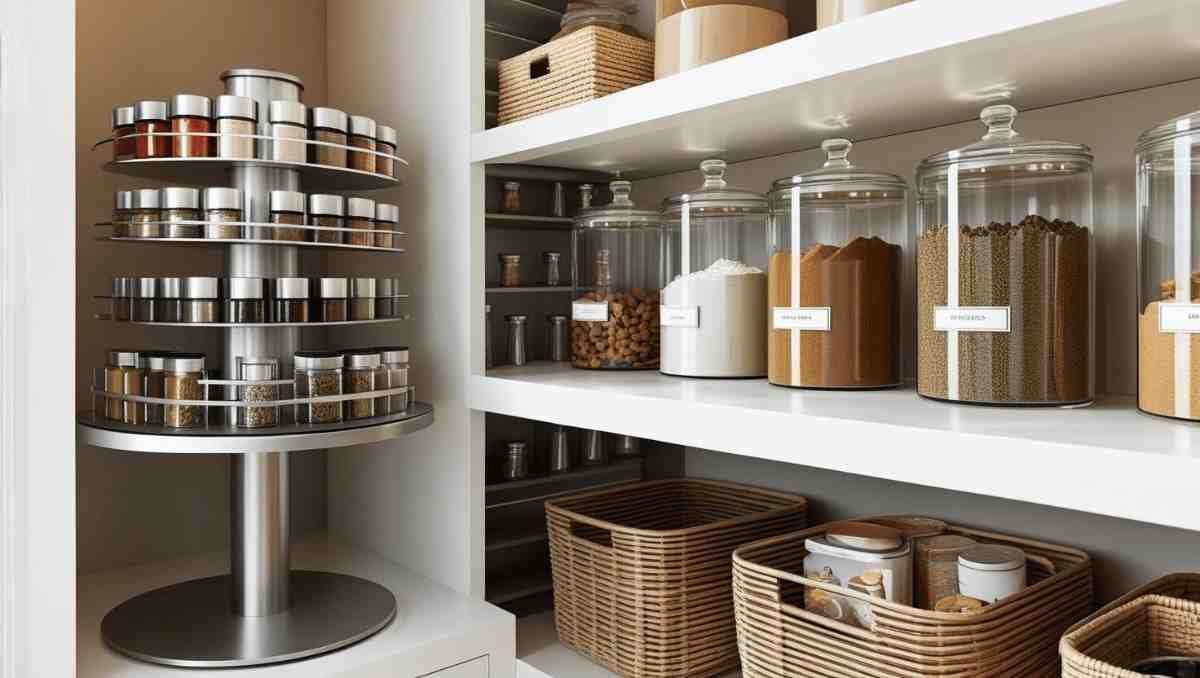
Here’s where you can get creative.
A few things I added:
- A skinny shelf just for spices. Super handy.
- An extra deep bottom shelf for dog food & bulk stuff.
- A lazy Susan (or two) in the corner shelves for sauces.
- Labels on the front of each shelf. Took 10 minutes, changed everything.
DIY pantry shelves let you make the rules. No weird wasted corners. No one-size-fits-none.
Real Talk: What Went Wrong
Okay, confession time.
The first shelf I installed? Totally crooked.
Like, cartoon-level tilted.
Turns out I forgot to check the level before screwing the cleat in. Rookie mistake. Had to redo the whole thing.
Also, I made one shelf way too deep. Couldn’t even reach the stuff in the back. Learned to keep most shelves around 12 inches deep max.
Point is—don’t stress when you mess up. That’s half the fun of diy pantry shelves. You get to mess up, learn, and still end up with something awesome.
Budget Breakdown (So You’re Not Shocked)
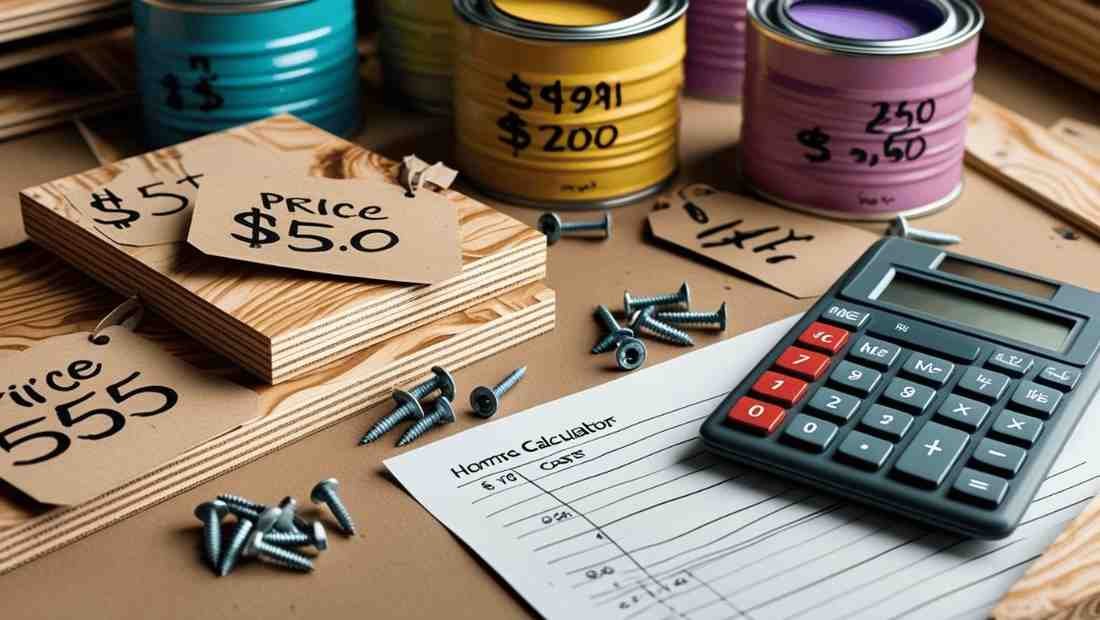
Here’s what I spent (roughly):
- Plywood: $45
- Cleat wood: $20
- Screws: $5
- Paint: $15
- Tools: Already had ’em
Total: Around $85 for a full pantry makeover.
Try getting custom shelves built for that. Spoiler alert: you can’t.
Maintenance? Easy Peasy
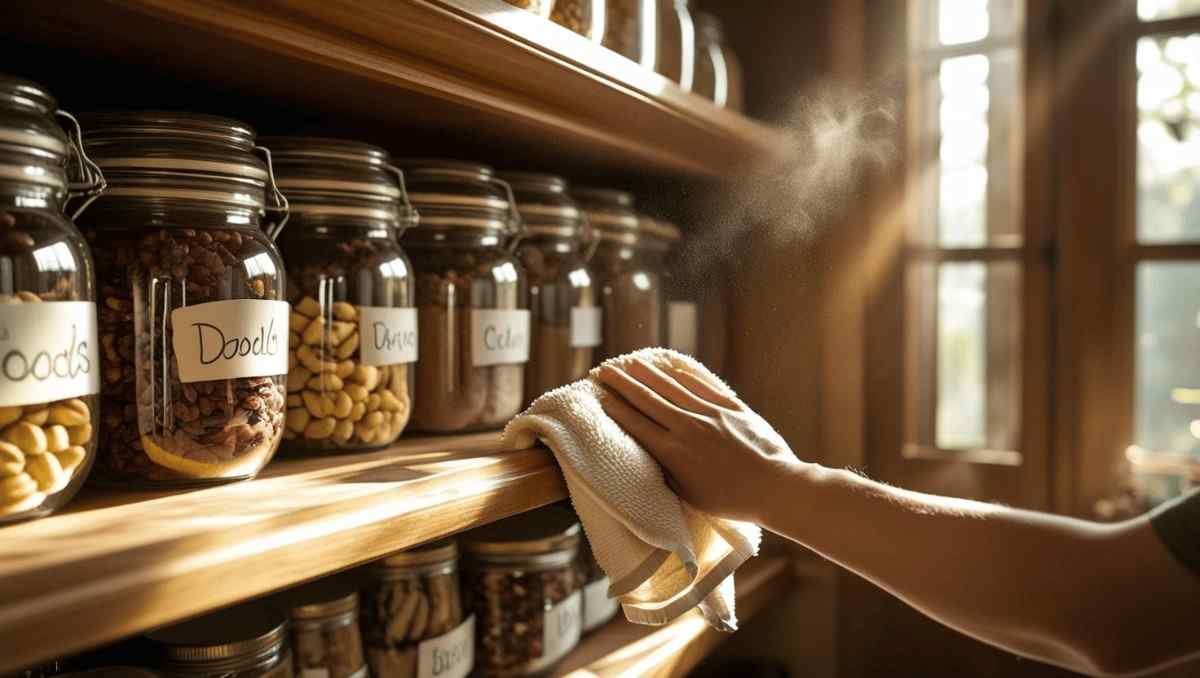
Once you’ve built your diy pantry shelves, keep ’em clean.
Wipe down once a month. Repaint if they get scuffed. That’s about it.
And every few months, reorganize. Things pile up, it happens. But it’s way easier now that everything has a place.
Final Thoughts: Is It Worth It?
1000% yes.
Diy pantry shelves changed how I feel about my kitchen. Seriously. No more digging through piles of pasta and random snacks.
Now everything’s organized. Easy to see. Easy to grab.
And best of all? I built it myself.
You can too.
Grab a drill. Cut some boards. Don’t overthink it. Your diy pantry shelves won’t be perfect—but they’ll be perfectly yours.
Quick Recap – Before You Grab That Saw
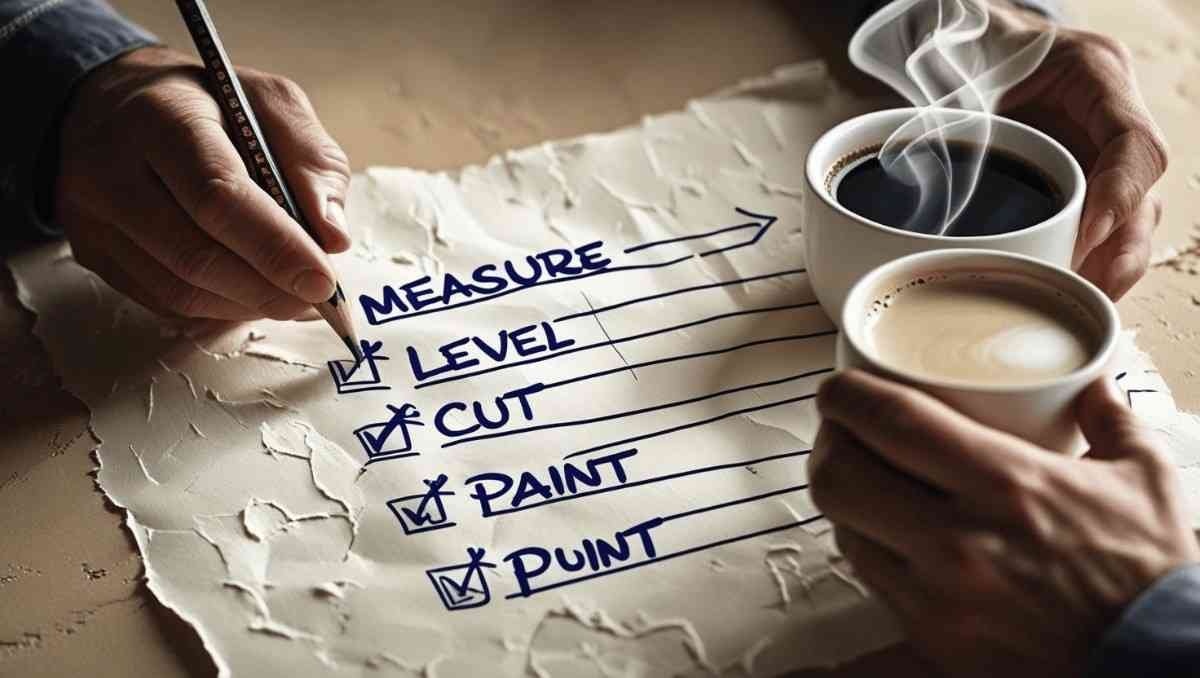
- Measure twice, cut once.
- Stick to 12-16 inch spacing between shelves.
- Don’t make ’em too deep.
- Paint before installing (or later, if you’re impatient).
- Level everything. Trust me.
- Use the studs!
- Customize it for your real-life needs.
And finally—have fun with it.
Building diy pantry shelves isn’t just about storage. It’s about making your space work for you. No more chaos. Just clean, simple, shelf-y goodness.
Do you know how diy pantry shelves helps in to propose in home? See Here
Want Even More Ideas?
You could:
- Add lighting under each shelf.
- Try peel-and-stick wallpaper behind the shelves.
- Add baskets or bins for loose items.
- Use vertical space for trays, lids, or baking sheets.
Once you’ve mastered diy pantry shelves, the whole kitchen feels possible. One project at a time.
If you loved this guide, bookmark it—or better yet—build your shelves and come back to tell me how it went.
Happy shelf-building, friend.
Want to see more DIY solutions?
Check these: