Okay, picture this…
You’ve just scrolled through Pinterest for, like, 3 hours. You keep seeing those dreamy modern slat walls—clean lines, natural wood tones, that cozy-but-classy vibe. And then it hits you: Wait a sec…I could totally do this myself, right?
Well… yes. Yes, you absolutely can. And guess what? I’m gonna walk you through exactly how to diy slat wall like a pro (minus the pro prices).
Let’s get messy.
Why Even Bother With a DIY Slat Wall?
I asked myself that too. And then I saw the price tag for pre-made ones. $600? For one wall? Nah.
But it wasn’t just about saving money. Slat walls are kinda magic. They add depth, texture, warmth, style… like, everything you want in a space without needing to bust down a wall. They work in bedrooms, offices, entryways—even bathrooms if you seal it right.
And you don’t need to be a master carpenter to pull it off.
Just a plan, some patience, and probably a few curse words (no judgment).
Planning the Vibe

Before you go all-in on your diy slat wall project, ask yourself:
- Where’s it going? Living room? Hallway? Office nook?
- Full wall or accent section? You can go dramatic or subtle.
- Natural wood, painted, stained, or black? Totally up to your aesthetic.
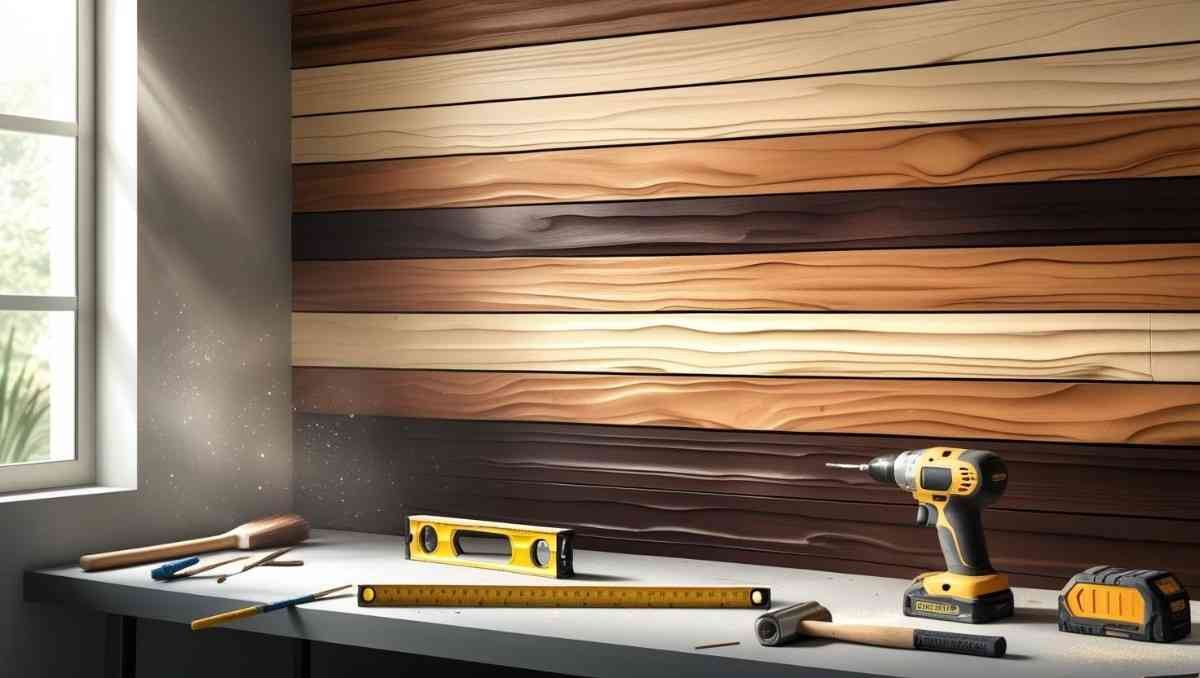
For mine, I went with a warm pine look. Kinda Scandinavian but still homey. But I’ve seen people do black matte walls that look super high-end. You do you.
Materials You’ll Need (Spoiler: Not That Much)
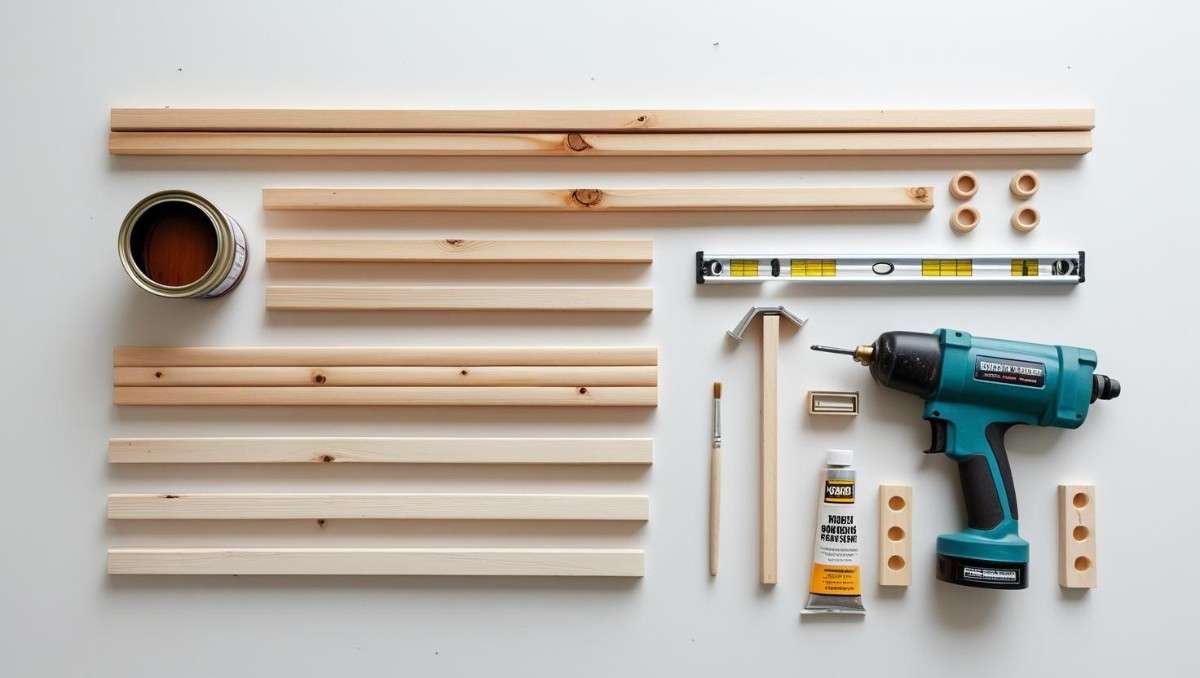
Okay, here’s your simple shopping list. Adjust based on how big your wall is.
- Wood slats (I used 1×2” pine boards)
- Plywood backing (optional, but makes life easier)
- Nail gun or drill with finishing nails
- Level (don’t eyeball it—trust me)
- Wood filler
- Sandpaper (120–220 grit)
- Wood stain or paint
- Polyurethane (if sealing)
- Spacers (pennies, tile spacers, or wood scraps)
- Construction adhesive (optional)
- Painter’s tape
- Drop cloth
Yeah, it seems like a lot. But you’ll use most of it over and over again if you’re the DIY type.
Step 1: Measure Twice, Cut Once
Classic advice. And still ignored way too often.
Start by measuring your wall height and width. Figure out how many slats you’ll need based on the width of your boards + the space between them. For example:
- Board width: 1.5 inches
- Spacing: 0.5 inch
- Wall width: 96 inches
So you’ll need 48 slats total (rough math). Add a few extras for mistakes and weird cuts.
Pro tip: Sketch your wall out on paper. It doesn’t need to be art. Just get a feel for spacing.
Step 2: Cut Your Slats (AKA Sawdust City)
Time to bring out the saw. A miter saw is best, but a circular saw will do. Just make sure your cuts are consistent. It makes a difference.
Lay your boards out and sand them. Don’t skip this. Even pre-sanded boards can be rough. You’ll thank yourself later when you’re not pulling splinters from your forehead.
Step 3: Paint or Stain (Your Hands Will Be a Mess)
You can do this before or after mounting, but I 100% recommend doing it before. It’s way easier to stain/paint slats on the ground than on a vertical wall.
Here’s a trick: lay all your slats on a drop cloth. Use a foam brush or rag to stain. For paint, go with a small roller. Let dry completely. Then flip and repeat.
Don’t forget to wear gloves unless you want zombie hands for a week.
Step 4: Find the Studs (No, Not That Kind)
Use a stud finder (or the old knock method) to locate studs on your wall. Mark them with painter’s tape. If you’re skipping a plywood backer and mounting directly on drywall, this is critical. Nail into studs for strength.
If you’re using a plywood backer (painted to match your slats), it adds dimension and makes installation more forgiving.
Step 5: Install Time (A Little Nerve-Wracking, Not Gonna Lie)
Start from one side (usually left) and work your way across.
You can use construction adhesive and nails for extra hold. Here’s how it goes:
- Place your first slat. Use a level. Don’t skip it.
- Nail it in place.
- Use spacers to line up the next slat.
- Repeat. Repeat. Repeat again.
- Step back every few boards and check your lines.
Yeah, your arms might ache by the 30th slat. That’s normal.
Step 6: Fill, Sand, Seal
If your nail holes bother you (they bothered me), use a little wood filler. Let it dry, then sand lightly.
Then, apply a protective finish like polyurethane, especially if your diy slat wall is in a bathroom or high-traffic area.
Don’t skip this if you’ve stained your wood. It’ll bring the color to life and protect it.
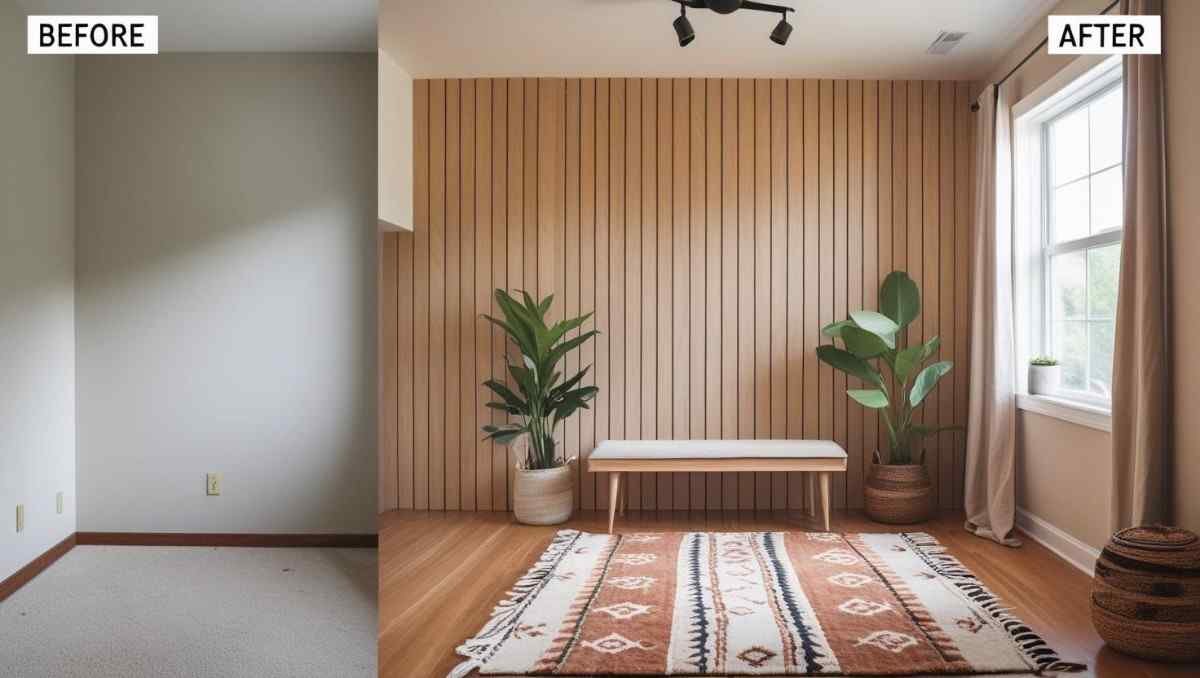
Step 7: Sit Back and Admire Your DIY Glory
You did it. You actually learned how to diy slat wall with your own two hands. No contractor, no massive bills. Just you, your tools, and maybe a few Band-Aids.
Take a pic. Brag online. Call your mom. You deserve it.
Common Mistakes (and How to Avoid Them)
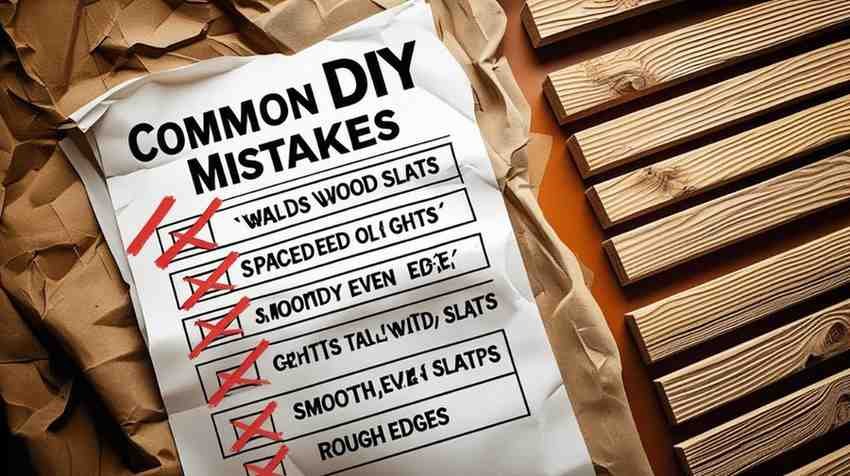
Real talk—stuff can go sideways. Here’s what I learned the hard way:
- Uneven spacing: Use proper spacers every time. Don’t just “guess it looks right.”
- Skipping sanding: Leads to rough edges and stain disasters.
- Cheap wood: Warps. Splits. Makes life harder.
- No sealing: Your slats will absorb moisture like a sponge.
Avoid these, and your diy slat wall will last years.
Creative Twists for Your DIY Slat Wall
Once you know the basics, you can start getting creative.
- Vertical slats for height.
- Horizontal slats for width.
- Diagonal pattern for drama.
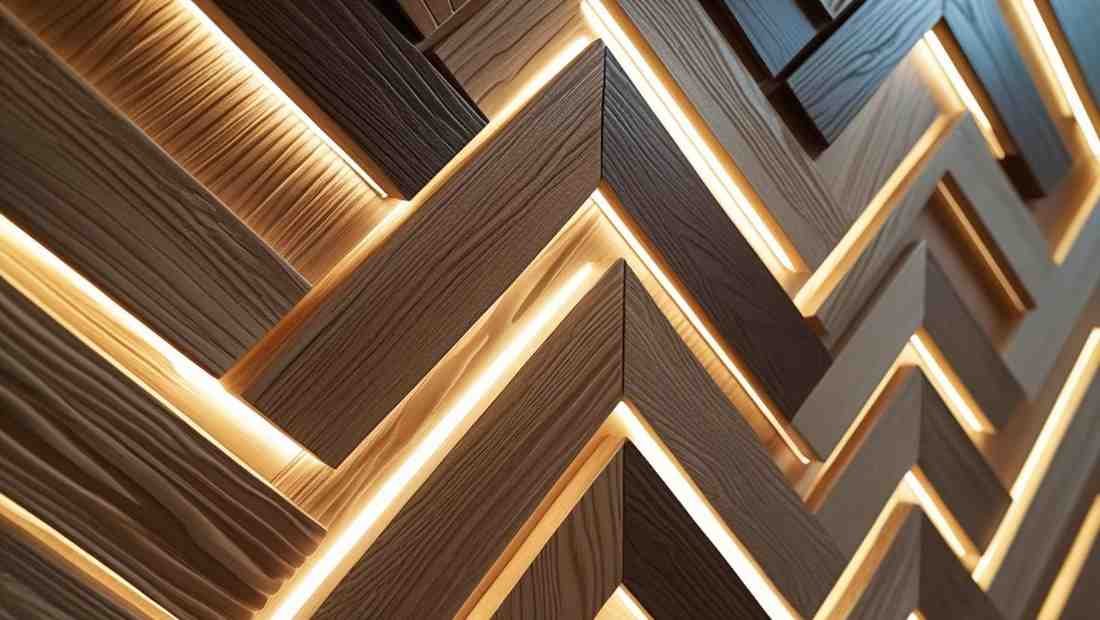
- LED lights behind for that glow-up moment.
- Mix wood tones for a patchwork effect.
You don’t have to follow a template. Your space, your vibe.
Do you know how Diy Slat Wall helps in to propose? See Here
Slat Wall FAQ (Because You’re Not Alone)
Q: Can I use MDF instead of real wood?
Yeah, sure. It’s cheaper, easy to cut, but doesn’t look quite as real. If you’re painting it, go ahead. If you’re staining—go wood.
Q: What’s the best wood to use?
Pine is budget-friendly and stains well. Poplar and oak are great too. Avoid warped or knot-heavy boards.
Q: Will this damage my wall?
Not if you’re smart. Mounting on plywood helps reduce wall holes. Just patch and repaint if you ever remove it.
Q: Can I use this behind a TV?
Heck yes. It looks stunning. Just plan wiring before you mount.
Final Thoughts
Learning how to diy slat wall is kinda like baking a cake from scratch. Seems scary. But once you get started, it’s mostly just about patience and the right tools.
And it feels really freaking good when it’s done.
So if you’ve been on the fence, staring at that blank wall every day… this is your sign. Get those slats. Fire up the sander. Grab a level and a vision.
Your dream wall is waiting.
TL;DR Recap for the Busy Bees 🐝
- DIY slat wall adds modern style without big bucks.
- You need wood slats, stain/paint, spacers, nails, and some tools.
- Plan your wall, stain first, mount carefully.
- Use spacers for consistency.
- Seal it if you want it to last.
- Don’t panic. It’s easier than it looks.
DIY isn’t about perfection. It’s about creating a space that feels like you. So embrace the mess. Enjoy the process. And don’t forget to share your before-and-after pics—we wanna see!
Want to see more DIY solutions?
Check these: