
Tiling your own shower is not like rearranging your living room. It’s wet. Messy. You will question your life choices at least three times during the process. Maybe four.
But… when it’s done? Dang, it’s satisfying. And it looks legit. Like Pinterest-worthy legit.
So if you’ve been staring at your old shower tiles (or the moldy walls where tiles should be), wondering if you could maybe handle a diy tile shower… let’s dive in.
You got this.
Why Even Try a DIY Tile Shower?
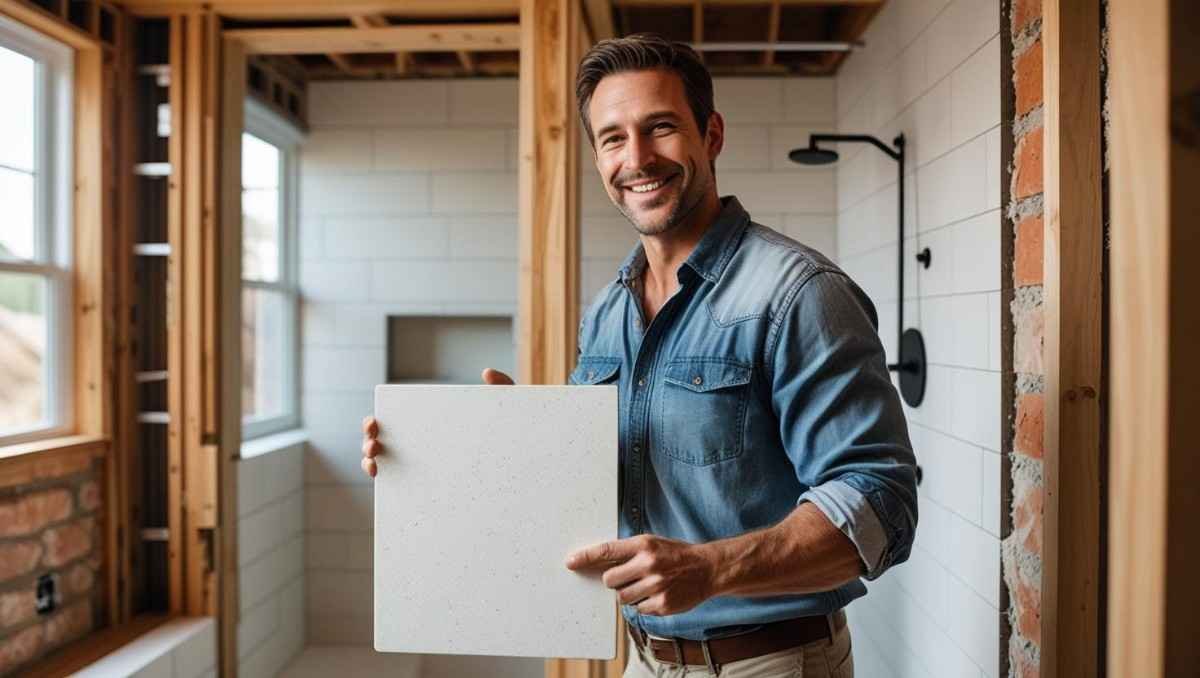
Money. Let’s start there.
A pro tiler can charge anywhere from $1,000 to $5,000+ depending on your space, materials, and how complicated your layout is. That’s not small change. Doing your own diy tile shower? Way cheaper. Like, cut-it-in-half cheaper.
Also—control. You get to pick everything. Tile style, pattern, grout color, edge trim. You’re not stuck explaining to a contractor that you want “rustic but modern but also kinda spa-like.”
Plus, bragging rights.
Nothing hits quite like someone walking in and going, “Whoa! Who did your shower?”
And you get to say, “Me.”
Mic drop.
Step 1: Mentally Prepare (You’ll Need Grit)

Tiling a shower isn’t like slapping peel-and-stick on a kitchen wall. You’re working with water. Moisture is the enemy. So before anything else—know this will take time.
This isn’t a weekend job if it’s your first time. Budget at least a week. More if you’ve got a job, kids, or just a regular need for sleep.
And patience. Oh, you’ll need that too.
Step 2: Gather the Right Stuff (No, Duct Tape Won’t Help)
Here’s a breakdown of what you’ll probably need for your diy tile shower:
Tools:
- Tile cutter (manual or wet saw)
- Notched trowel
- Grout float
- Level (get a long one!)
- Tape measure
- Sponge (LOTS of them)
- Buckets
- Mixing paddle (drill attachment)
- Caulk gun
Materials:
- Cement board (for walls)
- Waterproofing membrane or paint-on barrier
- Thinset mortar
- Your tiles (obviously)
- Grout (sanded or unsanded depending on your tile spacing)
- Tile spacers
- Edge trim (metal or plastic)
- Silicone caulk (mold-resistant, for sure)
You can grab all this at your local hardware store. Just don’t expect to walk out under $300 unless you already own some tools.
Step 3: Rip It All Out (Let’s Demo)
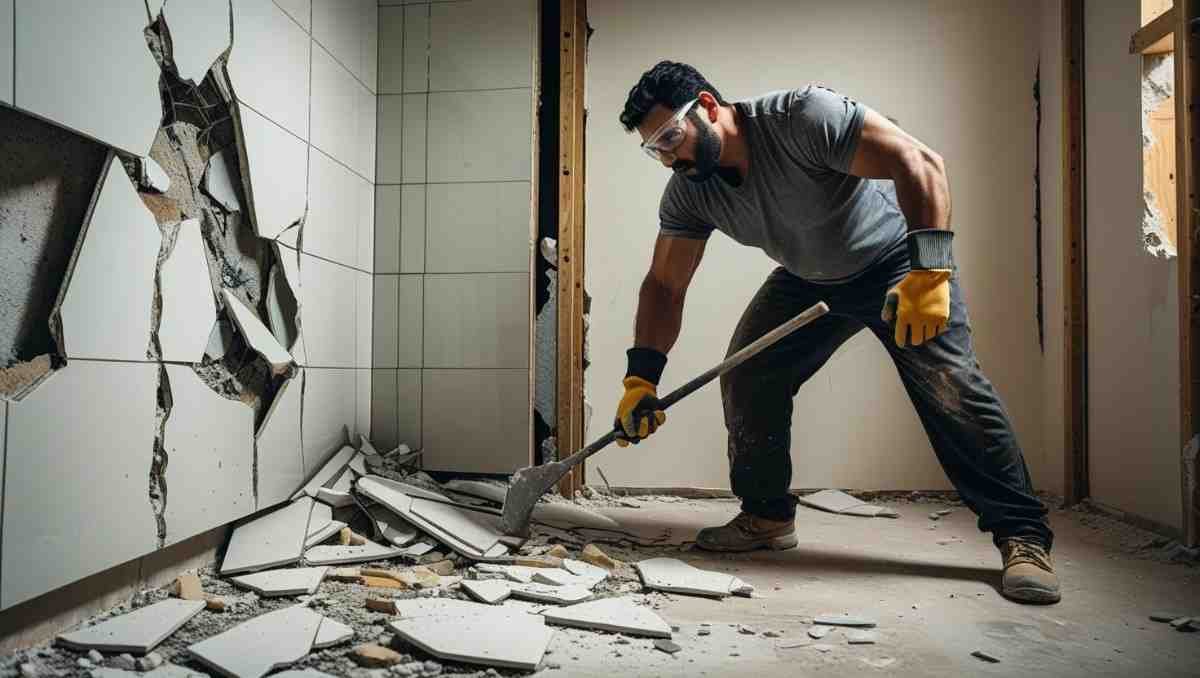
This part is kinda fun. And also, kinda terrifying.
Tear out everything down to the studs. Old tile? Gone. Backer board? Rip it out. Any drywall? It doesn’t belong here. Moldy insulation? Sorry buddy, you’re done.
You want clean, dry, strong walls to build your diy tile shower. If you find water damage (spoiler alert: you might), fix it now. Don’t skip this.
Take photos before you cover it all back up. Just in case.
Step 4: Backer Board Goes Up (Drywall is NOT Invited)
You’re gonna need cement board or something equivalent. HardieBacker is a popular brand. It’s heavy, not fun to cut, and dusty—but it holds up.
Screw it to the studs. Tape the seams with mesh tape and thinset. Let it dry.
Then waterproof. This is non-negotiable.
Paint-on waterproofing like RedGard? Lifesaver. Two coats. Let it dry in between. No shortcuts. Your future self will thank you when you’re not dealing with moldy walls in six months.
Step 5: Plan Your Tile Layout (Avoid Sad-Looking Cuts)
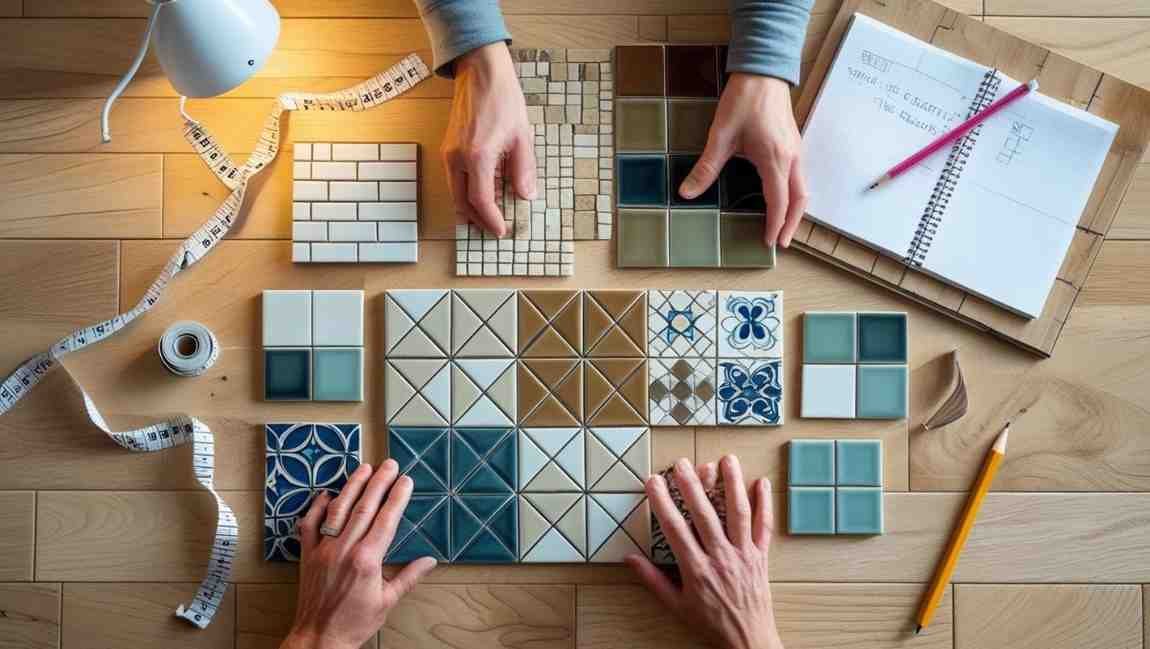
Don’t just start slapping tiles on the wall.
Do a dry layout. Start from the center and work your way out. That way you don’t end up with weird, skinny cuts in the corners.
Also, decide now: stacked or staggered? Diagonal? Mosaic niche? Accent strip?
This is where your diy tile shower gets personality. Choose your vibe.
Measure twice. Or ten times.
Step 6: It’s Tile Time (Let the Chaos Begin)
Mix your thinset. Not too runny. Think peanut butter-ish.
Use your notched trowel to apply it on the wall in small sections. Comb it. Back-butter tiles if they’re big. Stick them on. Press firm. Wiggle a bit.
Use spacers.
Seriously, use them. Even if your tile says it’s “self-spacing.” You’ll thank me when your lines are straight and don’t look like a drunk person did it.
Level every row. Every tile.
Take breaks when you’re frustrated. Don’t rush.
Step 7: Wait (This Part’s Boring)
Let it dry. At least 24 hours. Maybe longer depending on humidity.
Don’t grout too soon. It’ll mess up your whole diy tile shower and you’ll cry. Trust me.
Step 8: Grout Like a Boss

Mix your grout. Work it into the gaps with a float at a 45° angle. Diagonal motions work best.
Don’t overthink this.
Wipe with a damp sponge (not wet—damp). Clean excess. Wait. Wipe again. And again.
Grout haze will try to live on your tiles forever if you let it. Don’t.
Also—pick a grout color you can live with. Bright white looks good… for about two weeks. Just saying.
Step 9: Seal It and Caulk It
If your grout isn’t pre-sealed, seal it.
Then silicone all the corners—wall to wall, wall to floor. No grout in those joints. It cracks.
Use tape to get clean caulk lines. Pull the tape before it dries. Boom. Pro look.
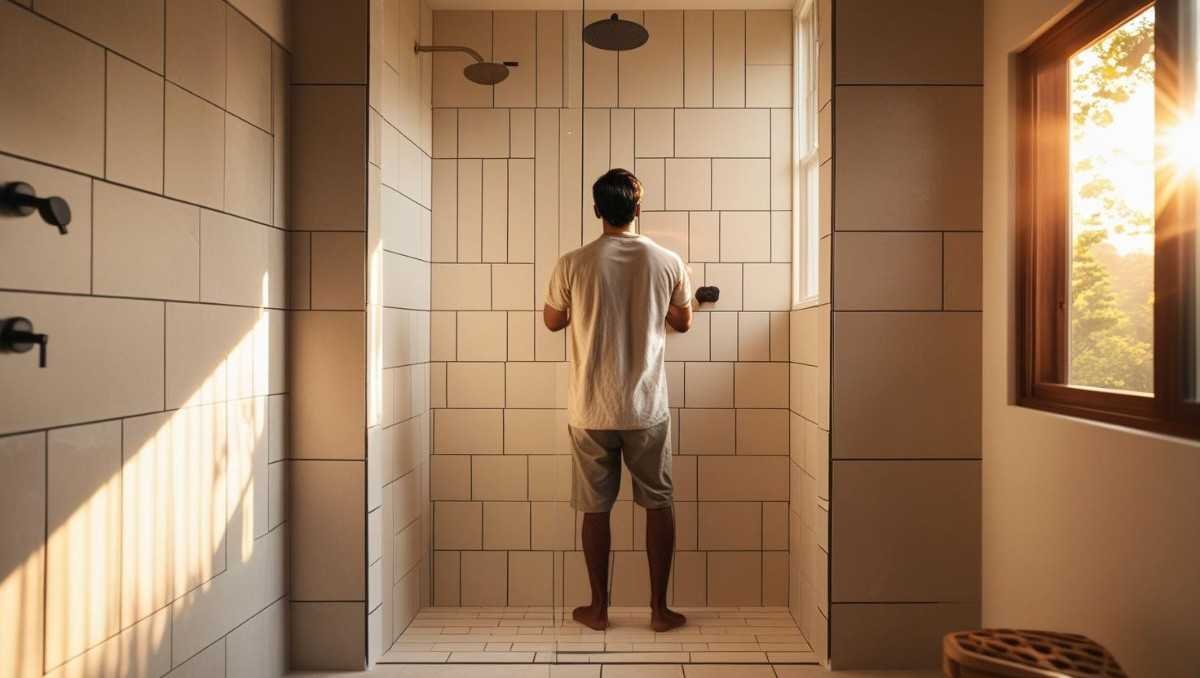
Step 10: Step Back and Stare
You did it. You really did it.
Your diy tile shower is a thing of beauty. Maybe not perfect. (You’ll see your mistakes every day. It’s okay. It’s yours.)
But it’s real. Functional. And you made it.
That’s power.
Mistakes I Made (So You Don’t Have To)
Oh, I made plenty. Learn from me.
- Didn’t waterproof correctly the first time. Had to tear back out.
- Bought cheap tile spacers. They bent. My lines were a mess.
- Didn’t plan my niche size around tile layout. Ended up with awkward cuts.
- Grouted too soon. Tiles shifted.
- Used the wrong type of grout for tight joints. It cracked.
You’ll make your own too. It’s part of the story.
But hey—that’s why it’s DIY.
Real Talk: Is a DIY Tile Shower Worth It?
100%. If you’ve got time, patience, and a bit of grit.
It’s not easy. Your arms will hurt. Your knees will hate you. You’ll make late-night runs to the hardware store in sweatpants covered in mortar.
But then… the first hot shower you take in that space you built with your own two hands?
Yeah. Totally worth it.
Do you know how DIY Tile Shower helps in to propose? See Here
Bonus Tips (Because I’m Feeling Generous)
- Start with a small wall. Build confidence.
- A laser level is your new best friend.
- Always mix a little extra grout. Matching later is near impossible.
- Use painter’s tape to protect tub edges or flooring.
- Have music or a podcast playing. Silence can make you spiral.
Final Thoughts: You’re Basically a Tile God Now
Okay maybe not god, but you did the thing.
Tiling a shower isn’t for the faint of heart. But you’re here. Reading this. Planning. Dreaming.
And honestly? You’ve already done the hardest part.
So go. Plan your diy tile shower. Grab your tools. And don’t be afraid to mess up a little. That’s part of the magic.
And hey—send me a pic when it’s done. I want to see it.
Want to see more DIY solutions?
Check these: