
Okay, let’s be real for a sec.
You’ve probably stared at your blank wall, thought, “Hmm, I could really use a whiteboard here,” and then checked online. Boom. Price tag hits like a brick—$60, $80, $100+. And for what? A glossy board and a frame?
Nah. We’re not doing that.
We’re about to show you how to diy whiteboard like a boss. Even if you’ve never picked up a screwdriver in your life. Pinky promise—no power tools unless you’re feeling spicy.
Why Even Make a DIY Whiteboard?

Let me tell you how it started for me.
There I was, in my home office, juggling sticky notes like a mad scientist. Every wall? Blank. Every idea? Floating around in my head like popcorn in a microwave. It was chaos.
Then I saw this Pinterest post—someone had made a diy whiteboard out of shower board. SHOWER BOARD. Genius.
I grabbed a coffee, rolled up my sleeves (mentally), and decided: yep, I’m doing this.
And now you can too.
Here’s why making your own is better:
- Way cheaper. Like, ridiculously cheap.
- Custom size. Want it huge? Want it small? You’re the boss.
- Looks cool. You’ll feel like a pro every time you scribble on it.
First: Pick Your Vibe
Before diving into materials and all that jazz, figure out your whiteboard’s personality.
- Is it going in your office?
- Your kitchen?
- Your classroom corner?
- Or maybe your dorm room (hi broke college student, I see you)?
The vibe matters. Because your diy whiteboard isn’t just functional—it’s gotta fit in. Trust me, you don’t want a random glossy slab clashing with your plants and posters.
Materials You’ll Need (No, It’s Not That Much)

Alright, time for a supply run. Don’t panic, we’re keeping this simple.
Basic Stuff:
- Melamine panel / white marker board / tileboard
- Measuring tape
- Pencil or marker
- Utility knife
- Double-sided mounting tape / Command strips / screws
- Optional: Frame moldings / washi tape
Honestly, that’s it. You don’t need a truckload of supplies. Just the essentials.
Where Do You Even Get a Melamine Board?
This part can feel intimidating. But it’s not.
Head to your local hardware store and ask for a “marker board panel” or “white tileboard”. They’re usually around 8×4 feet and cost like $15–$25. Yup, for real.
Tell the store peeps your dimensions—they can cut it for you. Free cuts, usually. Bless their souls.
Step 1: Measure Twice, Regret Zero
Here’s where you pause and channel your inner geometry teacher.
Measure your wall space. Width. Height. Where will it go? Is it vertical? Horizontal? Framed?
Use painter’s tape to mock it up on your wall. Walk around it. See how it feels. Trust your gut.
Once you’re locked in, mark your board’s dimensions.
Pro tip: always re-measure. Because measuring once is how you end up crying in the corner.
Step 2: Cut (Or Have It Cut)
If your store didn’t cut it for you, no stress.
Use a utility knife and a straightedge. Score the board a few times until it snaps. Don’t rush. No one’s timing you.
Safety first—cut on a flat surface, and maybe don’t do it on your fancy rug.
If you’re scared to cut—honestly? Let the store do it. Zero shame.
Step 3: Add a Frame (Optional But 🔥)
So, technically you don’t need a frame. Your diy whiteboard will work fine without one.
But. A frame just makes it look next level.
Buy thin molding strips or use leftover wood if you’ve got it lying around. You can paint them, stain them, bedazzle them. Go wild.
Glue or nail them to the board edges. Boom—now it looks expensive.
Don’t want the hassle? Use washi tape around the edge. Clean, simple, low-effort glam.
Step 4: Mount It On the Wall
Now for the big moment.
Choose your weapon:
- Command strips
- Double-sided mounting tape
- Screws and wall anchors
Mark your wall with a level. Use painter’s tape as a guide. Then stick, screw, or slap that baby up.
Stand back. Admire. Cry happy tears (optional).
Step 5: Write On It Like a Boss
Grab your dry erase markers. Test it out.
Scribble. Doodle. Make a list. Erase it. Write it again.
Your diy whiteboard is alive.
One warning though—some cheaper boards might ghost.
- Clean with a whiteboard cleaner or rubbing alcohol.
- Don’t leave writing on it for days (oops).
- Use good-quality dry erase markers.
But mostly? Don’t overthink it. It’s a whiteboard. It’s supposed to get messy.
Creative Uses for Your DIY Whiteboard
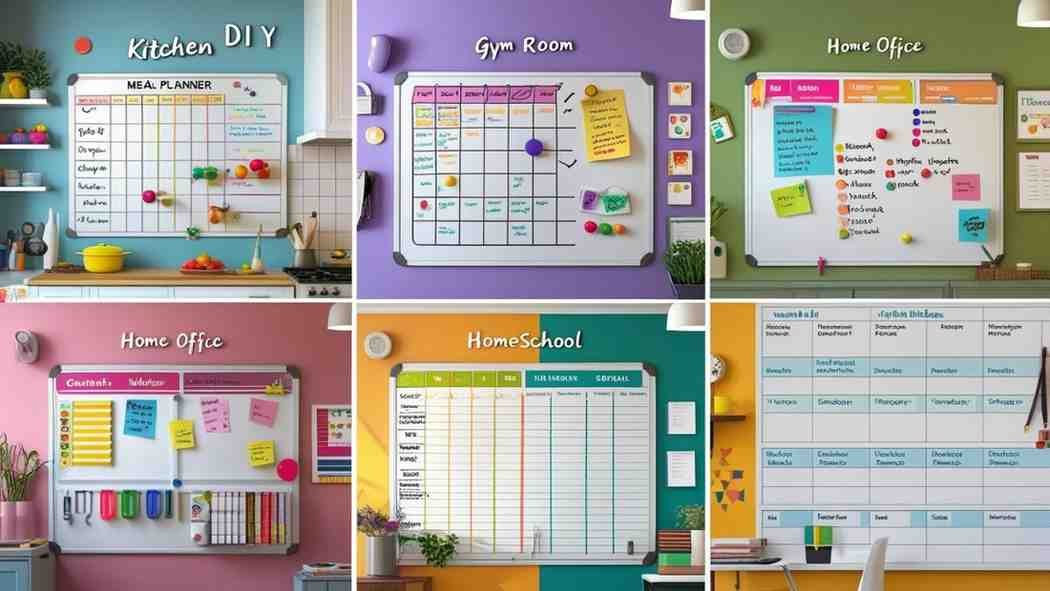
Here’s where it gets fun. Because this thing? It’s not just for to-do lists.
Try these:
- Meal planning board in the kitchen
- Family message center
- Vision board
- Homeschooling tool
- Workout tracker
- Content planning board
- Kids art zone
The beauty of your diy whiteboard is… it’s whatever you want it to be.
Do you know how DIY Whiteboard helps in to propose? See Here
Mistakes I Made (So You Don’t Have To)

1. I didn’t clean the board first.
Fresh outta the store, I slapped it on the wall and wrote on it. The marker stained. Big oops.
Tip: Wipe it down before first use. Even if it looks clean.
2. I used weak tape.
It fell. At 2 a.m. The crash? Terrifying. My cat still hasn’t forgiven me.
Tip: Use heavy-duty mounting tape or screws if your board is big.
Wanna Get Even Fancier?
You overachiever, you.
Here’s some ways to level it up:
- Add a magnetic sheet underneath
- Use chalkboard contact paper
- Paint the back with your fave color before framing
- Add a calendar grid using permanent marker + ruler
Once you start customizing… it’s hard to stop. But in the best way.
Final Thoughts (aka Go Do the Thing)

So now you know how to diy whiteboard. And not just know—but really know.
You don’t need to be a pro. You don’t need fancy tools. You just need a little courage, a dash of effort, and maybe a trip to Home Depot.
Your wall will thank you. Your brain will thank you. And hey, maybe your wallet will thank you too.
Go get messy. Get organized. Get creative. Make your space work for you.
That’s what this whole diy whiteboard thing is about, anyway.
Wait, Before You Go…
If you make your own, tag it. Share it. Show it off. Brag a little—you earned it.
DIY doesn’t mean it’s second-rate.
It means you’re the kind of person who makes stuff happen.
Now get out there and make that diy whiteboard magic.
Want to see more DIY solutions?
Check these: