Okay, let’s get real. You probably landed here because you’re tired of sweating like you’re in a sauna. Or maybe you’re freezing when your living room feels like Antarctica. Yeah? Good. You’re thinking about getting a diy mini split, and trust me, that’s a solid plan. A diy mini split can be a game changer. It’s efficient, quiet, and way easier to install than you might think.
But, hey, let’s be honest. Installing a diy mini split isn’t like snapping Lego bricks together. It takes some patience. Some sweat. But it’s totally doable. Let me walk you through this, step by step, no sugar-coating. Just you, me, and the diy mini split.
What is a DIY Mini Split Anyway?

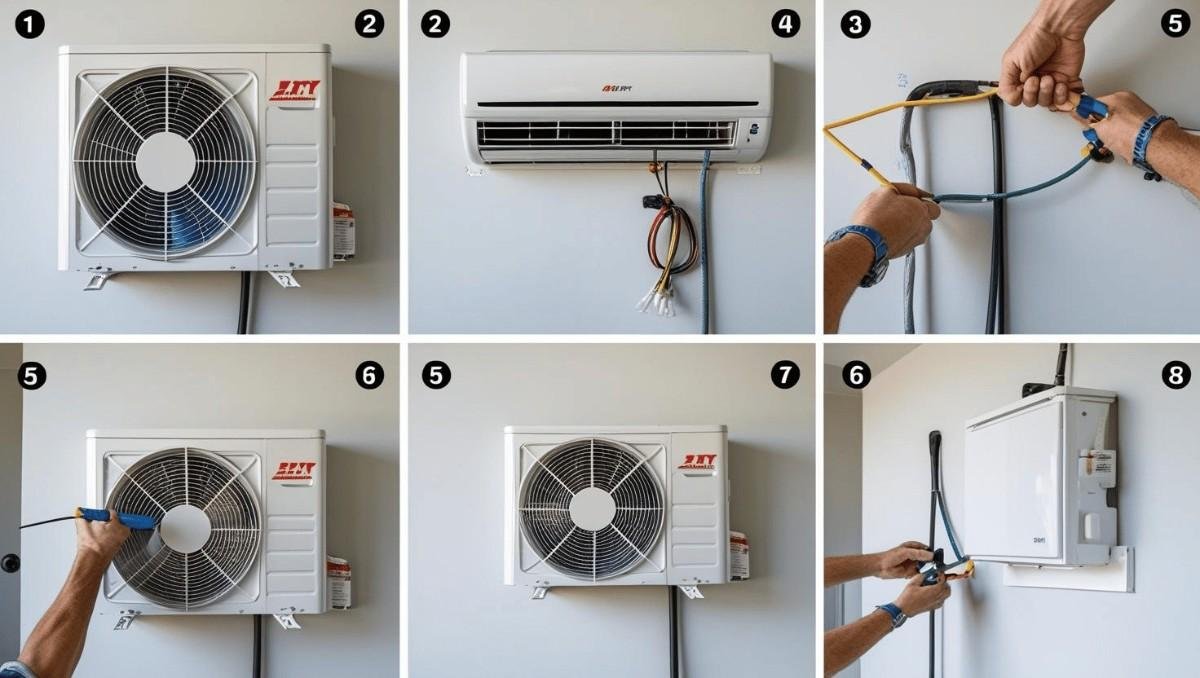
Before we start drilling holes, let’s back up. What the heck is a diy mini split? Simple. It’s a heating and cooling system with two main parts: the indoor air handler and the outdoor compressor. They connect through small pipes and wires. That’s it. No ductwork. No crazy construction.
The best part? DIY mini splits come pre-charged with refrigerant. So you don’t need to mess with that part. Perfect for us weekend warriors.
Tools You’re Gonna Need
Don’t jump in empty-handed. Here’s your battle gear:
- Drill (cordless, preferably)
- Hole saw bit (usually 3.5 inches)
- Level (cause crooked is not cool)
- Adjustable wrench
- Stud finder (yep, walls have rules)
- Screwdrivers
- Utility knife
- Torque wrench (seriously, this matters)
- Vacuum pump (don’t skip it)
See? Nothing too fancy. Most of this stuff might already be sitting in your garage.
Prep Your Space
First, where are you gonna put your diy mini split? Location matters. Like, a lot.
For the indoor unit:
- High up on the wall.
- Away from heat sources, doors, or windows.
- In a spot where airflow isn’t blocked.
For the outdoor unit:
- Flat, stable surface.
- At least 12 inches from walls.
- No plants or junk crowding it.
Got your spots? Cool. Let’s keep moving.
Mounting the Indoor Unit
Time to get that drill buzzing.
- Find the studs. Drywall can’t hold this beast alone.
- Screw in the mounting plate.
- Use your level. Trust me, you’ll hate a crooked unit.
- Drill the hole for the line set—that’s your copper pipes, wiring, and drain hose. Aim slightly downward so water drains outside, not in your walls.
Take a breath. This part is kinda fun.
Installing the Outdoor Unit
Let’s get outside now.
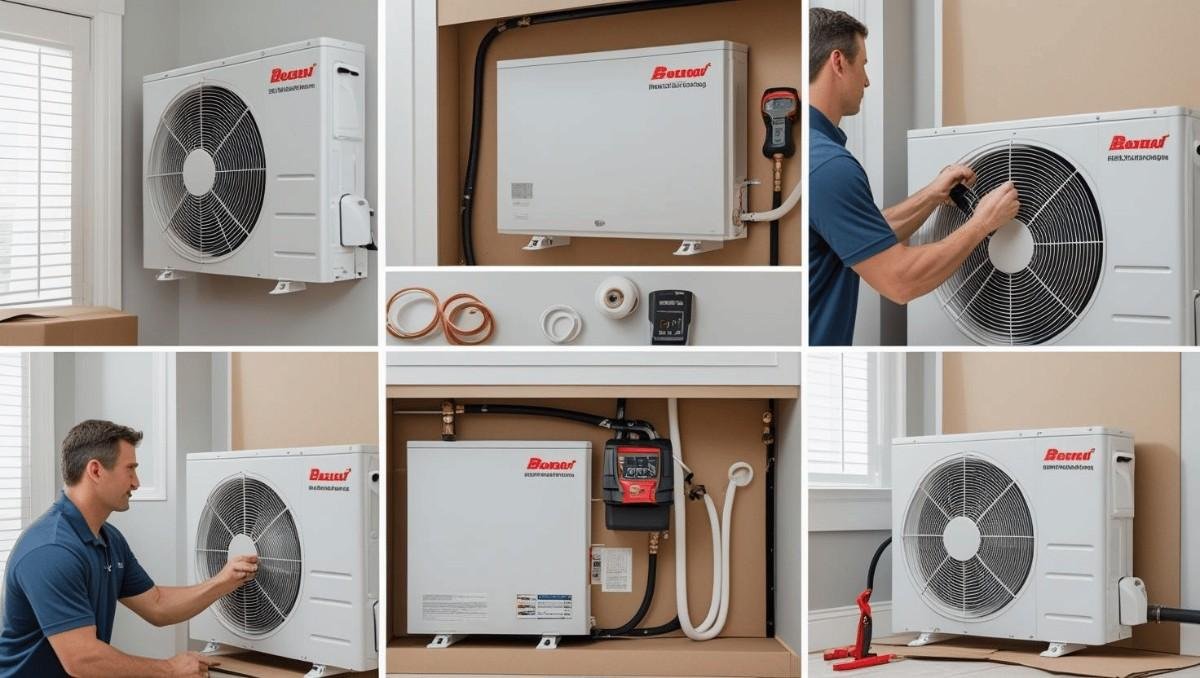
- Place the outdoor unit on a concrete pad or sturdy brackets.
- Make sure it’s sitting level.
- Connect the copper lines. Go slow. Be careful not to bend or kink ’em.
- Connect the electrical wiring. Follow the manual here. Don’t freestyle this part.
- Connect the drain hose. Water has to go somewhere.
It’s starting to look like a real system now, huh?
Vacuuming the Lines
Here’s where most people try to cut corners. Don’t be that person.
- Hook up the vacuum pump to the service port.
- Pull vacuum until the gauge reads 500 microns or less.
- Close the valve and let it sit. No leaks? Awesome.
Why this matters? Moisture and air inside the lines can wreck your diy mini split. Don’t skip this. Please.
Releasing the Refrigerant
Okay, moment of truth.
- Slowly open the refrigerant valves on the outdoor unit.
- Check for leaks with soapy water. Bubbles? Tighten those connections.
When it’s good? You just gave life to your diy mini split.
Wiring It All Together
Don’t worry, you got this.
- Connect the control wire from the indoor unit to the outdoor unit.
- Follow the color codes carefully. Like super carefully.
- Connect the power line to your breaker box. (Okay, maybe call a buddy or an electrician if you’re nervous about this step. Totally fine.)
Double check everything. Seriously.
Testing Your DIY Mini Split
Flip the breaker. Power on your diy mini split.
Does it hum? Do you feel cool or warm air?
Congrats, you just installed your own diy mini split. Pretty satisfying, right?
Pro Tips for a Smooth Install
- Read the manual. Yes, I know. But seriously, read it.
- Get a helper. Some parts are awkward to handle alone.
- Seal the hole well. Bugs, rain, cold air—you don’t want any of it sneaking in.
- Take your time. Rushing is where mistakes happen.
Common Mistakes to Avoid
Let me save you some pain.
- Skipping the vacuum step. Major no-no.
- Mounting it uneven. You’ll hate it later.
- Wrong wire connections. Fried systems aren’t fun.
- Not securing the line set. It can rub and get damaged over time.
Why People Love DIY Mini Splits
They’re efficient. They’re quiet. They save money. Plus, installing a diy mini split yourself is kinda empowering. Like, you did that. You made your home better.
And the best part? No ductwork. Traditional systems waste a ton of energy in those dusty old ducts. A diy mini split delivers clean, direct heating and cooling.
Final Thoughts
So, should you install a diy mini split? If you’re handy and can follow steps? Heck yes.
It takes patience, but it’s not rocket science. You save money. You get the satisfaction of doing it yourself. And you get to brag a little when your friends come over.
“Yeah, I installed that diy mini split myself.”
Sounds pretty cool, right?
So go ahead. Grab your tools. Take your time. Follow the steps. And enjoy the comfort you just built with your own two hands.
Your diy mini split is waiting.
Want to know more DIY solutions?
Visit Here:

